Free Dusty Rose Chunky Ribbed Crochet Beanie Pattern
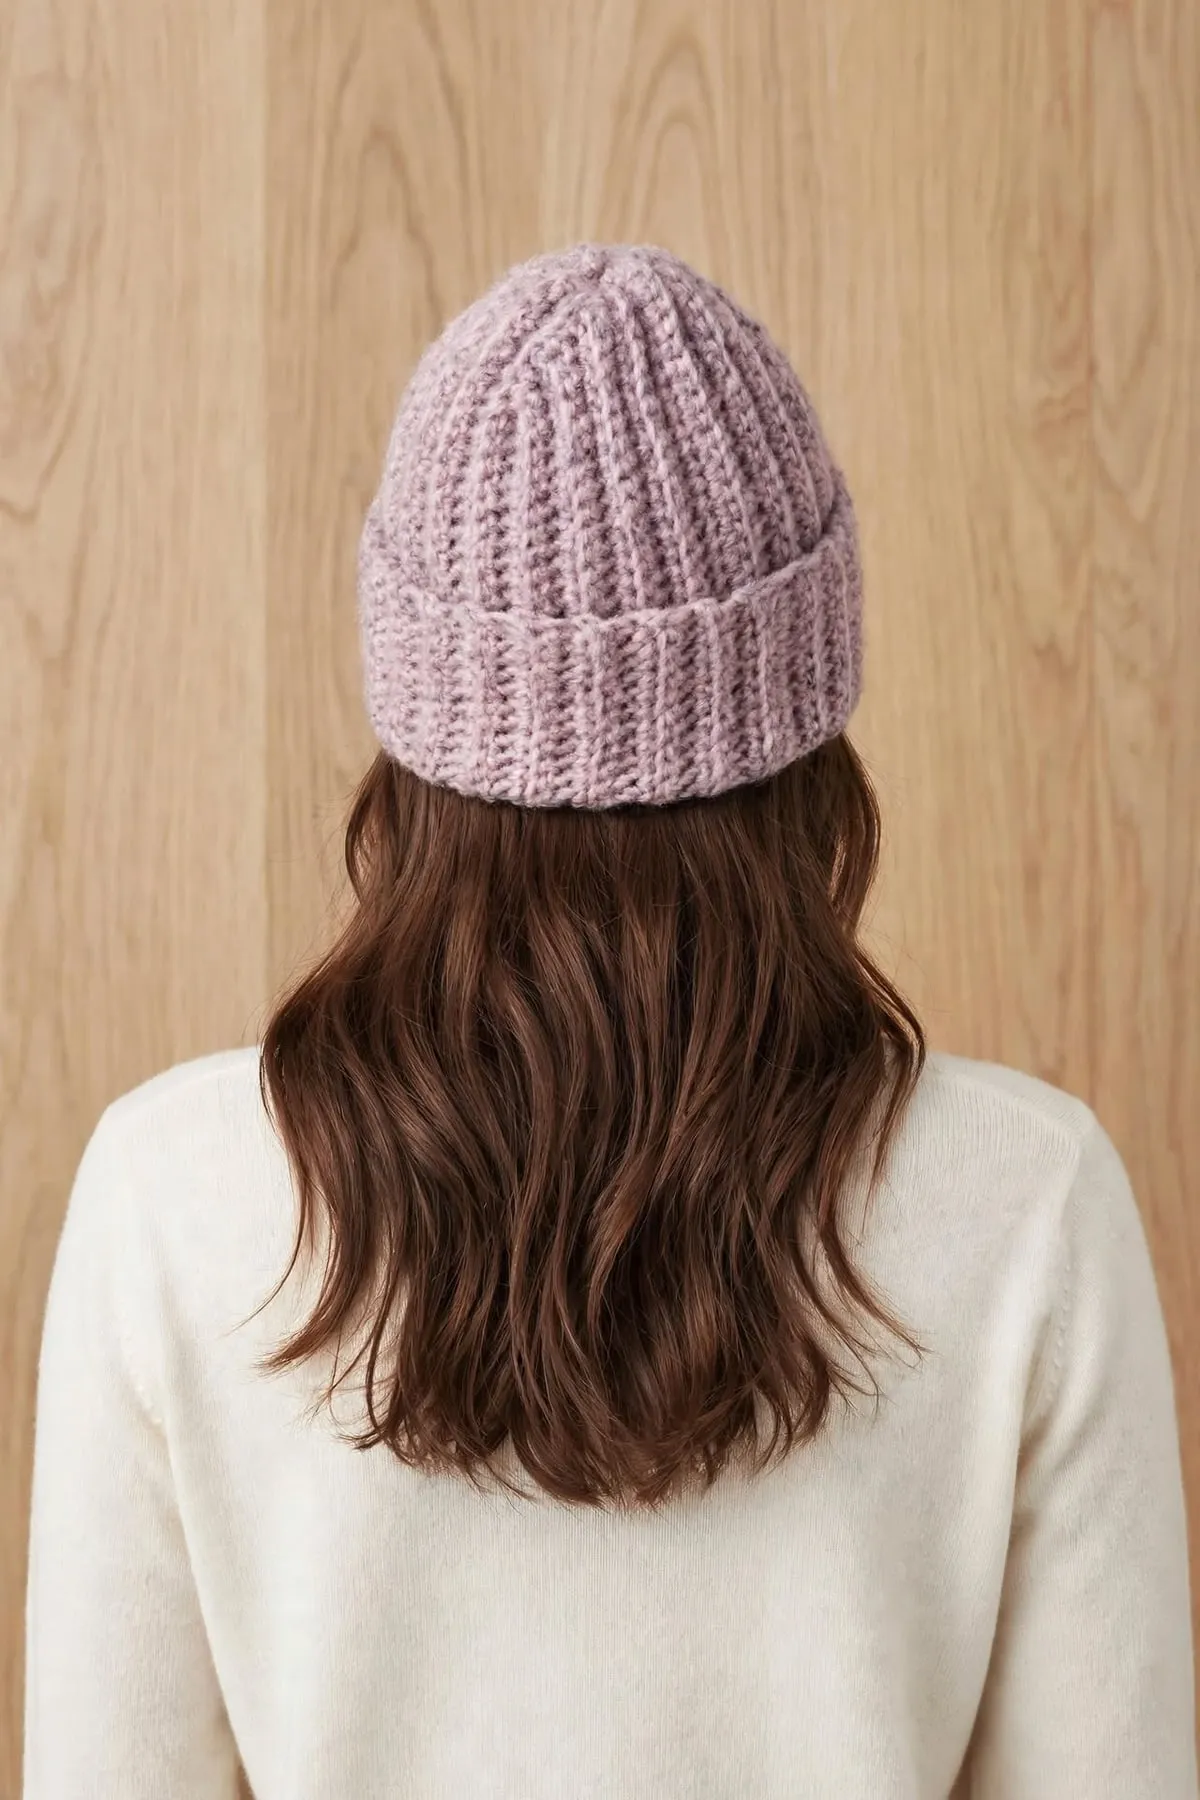
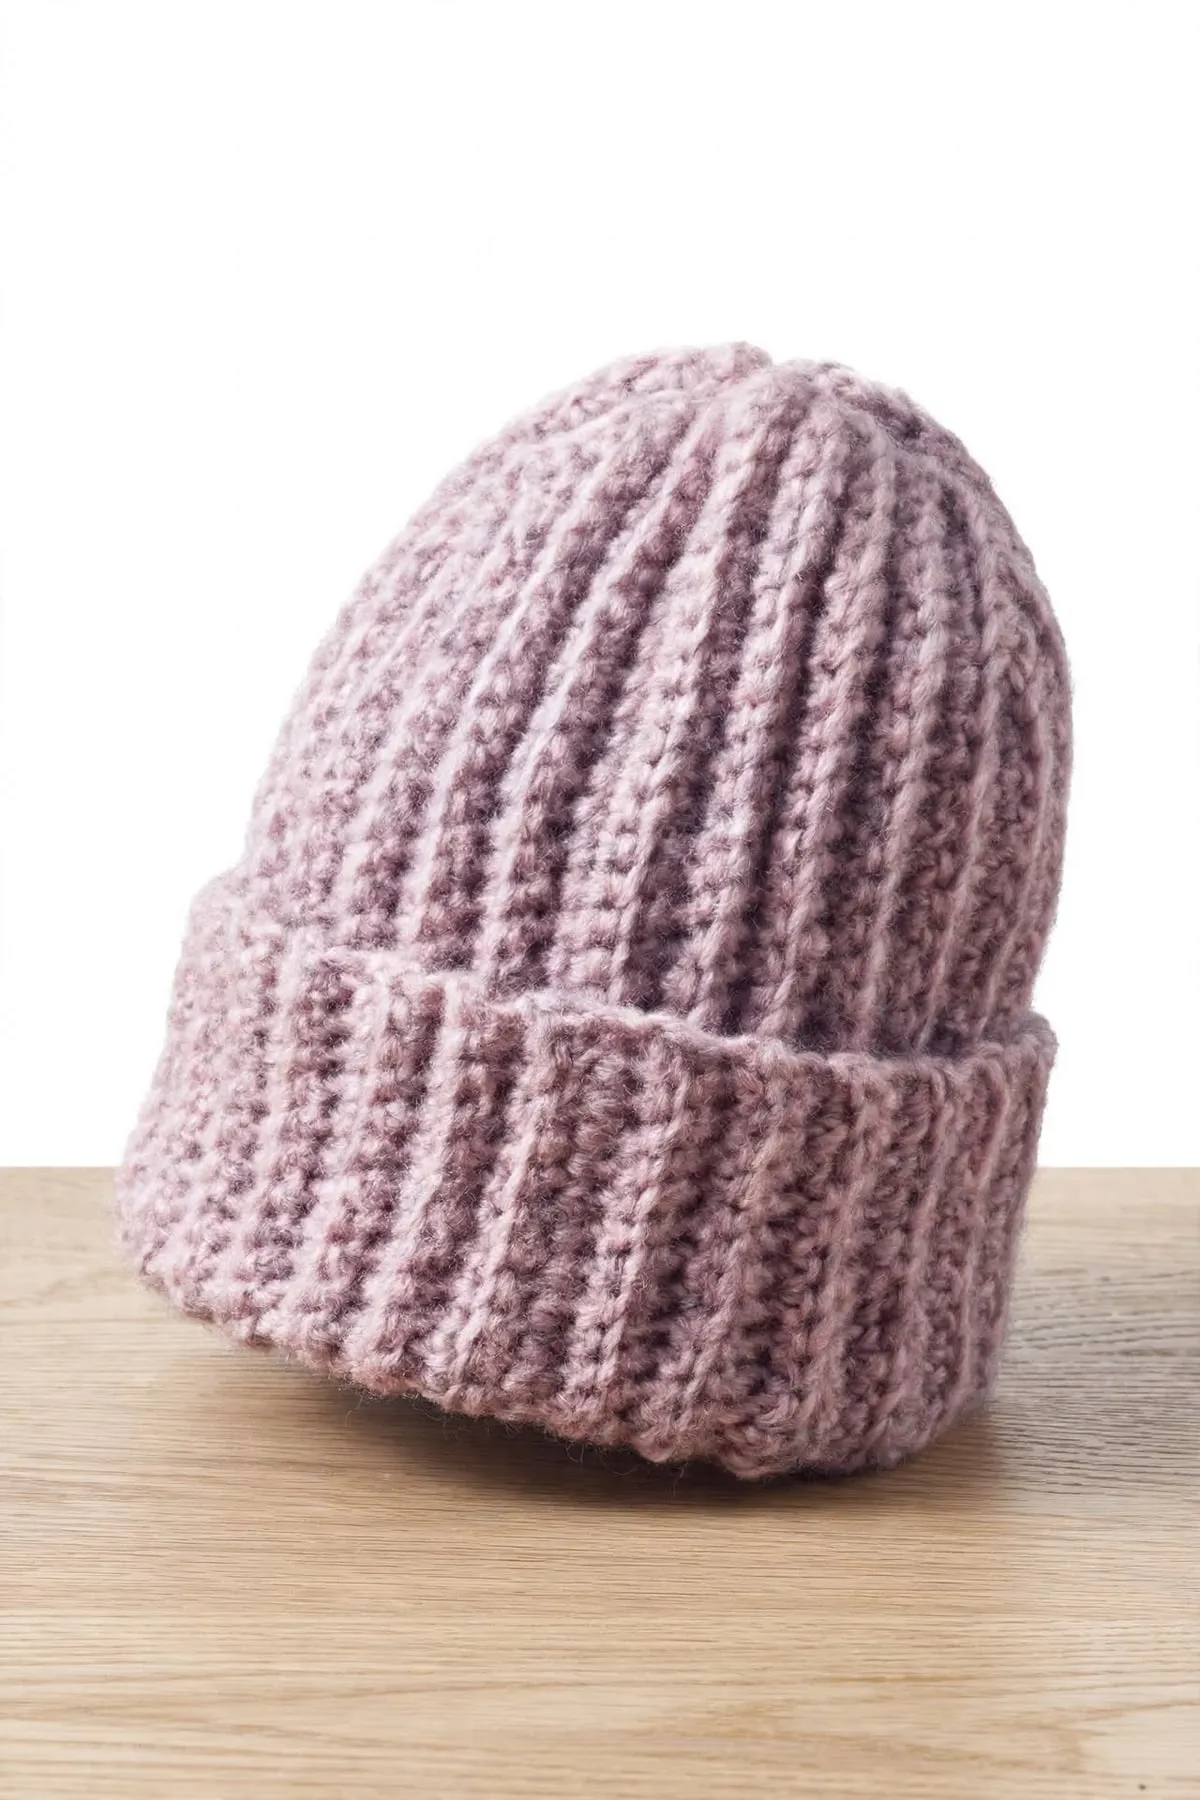
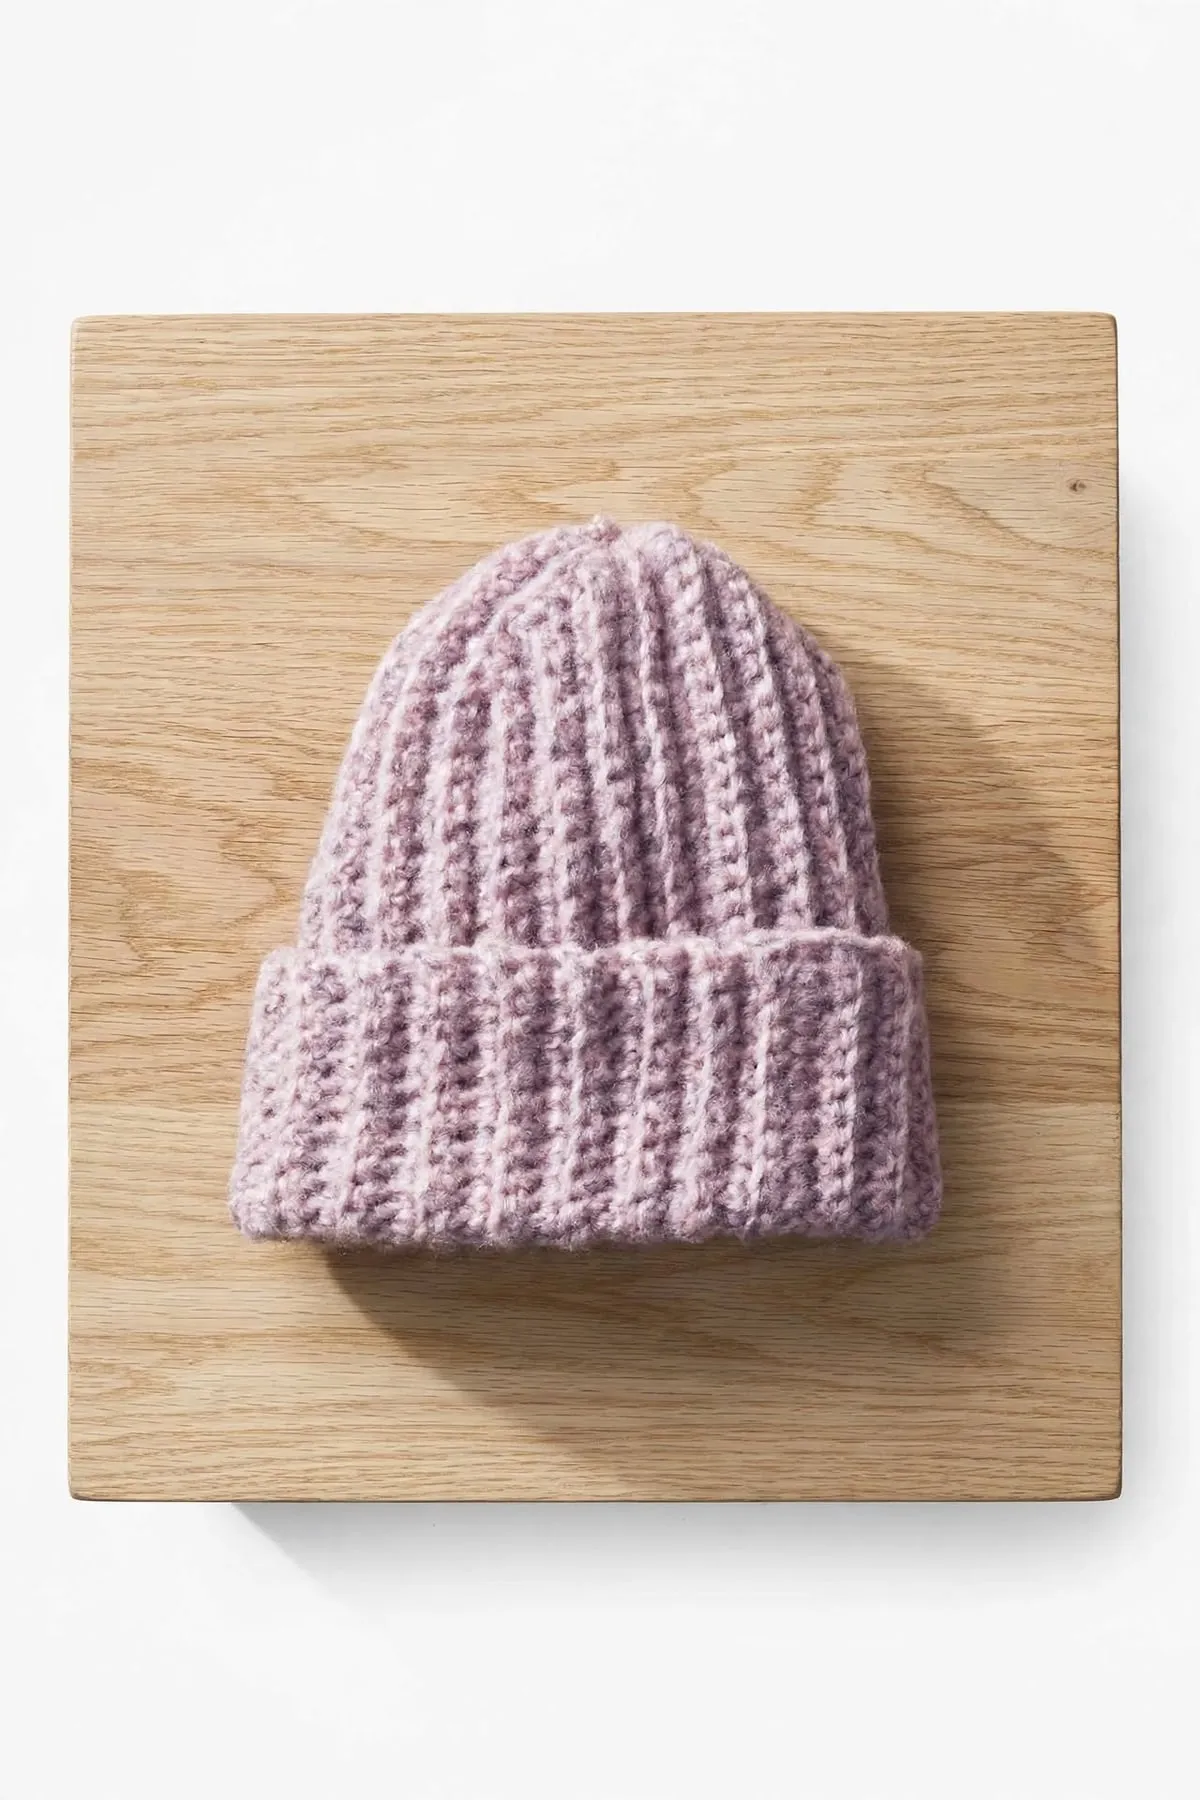
This chunky beanie has a cozy, knit-look rib and a deep folded cuff. It's worked sideways in rows of super bulky yarn, then seamed into a tube and gathered at the top, so it's a quick and easy make.
 Save
Pattern Highlights
- Back loop stitches make ribs that look just like knitting.
- Super bulky yarn means it's done in an evening or two.
- Only 2 stitches, worked in simple rows with no rounds to count.
- The single crochet at the crown end shapes the top for you.
Materials
- About 140 yd (128 m) super bulky (#6) yarn
- 8 mm (L-11) crochet hook
- Yarn needle
- Stitch marker (optional)
Abbreviations used
This pattern uses US crochet terms. Tap any abbreviation for a full explanation, or see the complete crochet abbreviations list.
About this beanie
This beanie is made as one flat rectangle, worked sideways in rows. Each row runs from the brim to the crown, so the back loop stitches stack up into vertical ribs that look like knitting. Once it’s long enough to go around your head, you sew the ends together into a tube, gather the top closed and fold up the cuff.
A soft, heathered super bulky yarn in dusty rose gives it that cozy, chunky look.
Before you start
This one is rated easy. You’ll only need half double crochet and single crochet, worked in the back loop.
- It’s worked in rows. No rounds to join, just turn at the end of each row.
- The stitch counts never change. Every row has 20 hdc and 6 sc, so there’s nothing to increase or decrease.
- Mark the crown end. A stitch marker at the sc end helps you remember which end is which.
How the shaping works
Each row has two parts: 20 half double crochet for the brim and body, and 6 single crochet at the crown end. Since a single crochet is shorter than a half double, the crown end of the fabric is a little narrower. When you gather it, the top of the hat closes up neatly without a big bunch of fabric.
Tips for success
- Check your gauge. A hat needs to fit, so make a small swatch first. If it’s too big, use a smaller hook.
- Keep the edges straight. Always work into the first and last stitch of each row so the seam and crown look neat.
- Try it on. Before you sew it up, wrap it around your head. Add or take away rows in pairs to get the right fit.
- Pull the crown tight. Gather the top firmly and sew a few stitches across it so there’s no hole.
Skills you’ll use
- How to make a slip knot and chain, to start the hat
- How to half double crochet, for the body and brim
- How to single crochet, for the crown
- How to weave in ends, to finish neatly
Make one for yourself and a few more for gifts, they’re that quick. 🧶
The Pattern
- Skill level
- Easy
- Yarn
- Super bulky (#6) yarn
- Yarn amount
- About 140 yd (128 m) of super bulky yarn. This is an estimate, so buy a little extra.
- Hook
- 8 mm (US L-11)
- Gauge
- 9 hdc and 7 rows = 4 in (10 cm) in back loop hdc
- Finished size
- Fits an average adult head. About 20 in (51 cm) around unstretched and 8.5 in (22 cm) tall with the cuff folded.
- Time
- Varies with experience
Hat
- Ch 28.
- Row 1: Hdc in the 3rd ch from the hook and in each of the next 19 ch, then 1 sc in each of the last 6 ch. Turn. (20 hdc and 6 sc) The hdc end is the brim and the sc end is the crown.
- Row 2: Ch 1 (doesn't count as a st), 1 sc blo in each of the first 6 sts, then 1 hdc blo in each of the next 20 sts. Turn. (6 sc and 20 hdc)
- Row 3: Ch 2 (doesn't count as a st), 1 hdc blo in each of the first 20 sts, then 1 sc blo in each of the last 6 sts. Turn. (20 hdc and 6 sc)
- Rows 4–36: Repeat Rows 2–3 sixteen more times, then work Row 2 once more. (26 sts in every row)
- Fasten off, leaving a 24 in (61 cm) tail.
Finishing
- Fold the piece in half so Row 1 and Row 36 meet. Thread the long tail on a yarn needle and sew the two edges together to make a tube, matching the stitches.
- At the crown end, weave the tail in and out along the ends of the rows all the way around. Pull tight to close the top, then make a few stitches across the center to secure it.
- Weave in all the ends. Turn the hat right side out and fold up about 3 in (7.5 cm) at the brim for the cuff.
Pattern notes
- The hat is worked sideways, so the rows run from the brim up to the crown. Each pair of rows makes one rib.
- Always work into the back loop only, except in Row 1, which is worked into the chain.
- The 6 sc at the crown end are shorter than the hdc, so the top of the hat is a little narrower and gathers neatly.
- Turning chains don't count as stitches. Work your first stitch into the first stitch of the row.
Keep this pattern handy
Print it now, or get the free PDF to save on your phone or tablet.
Free Dusty Rose Chunky Ribbed Crochet Beanie Pattern · Pattern by mycrochetmakes · mycrochetmakes.com/chunky-ribbed-crochet-beanie-pattern/
Free for personal use. Please don't sell or redistribute this pattern.
Frequently asked questions
What does "back loop only" mean?
Each stitch has two loops on top. Working in only the back loop leaves the front loop as a little ridge, and those ridges stack up into ribs.
How do I make it bigger or smaller?
Add or take away rows in pairs. Each 2 rows add or remove about 1 in (2.5 cm) around the head. For a slouchier hat, add a few chains to the starting chain and work the extra stitches as hdc.
My hat is too tall. What can I do?
Just fold the cuff deeper. Next time, start with 2 or 4 fewer chains and work that many fewer hdc in each row.
Can I use a thinner yarn?
You can, but you'll need more rows and longer rows to get the same size. A super bulky yarn gives the chunky look in the photos.
Should I add a pom-pom?
Go for it! A faux fur or yarn pom-pom sewn to the top looks lovely and hides the gathered crown.