Free Rosewood Textured V-Neck Crochet Cardigan Pattern
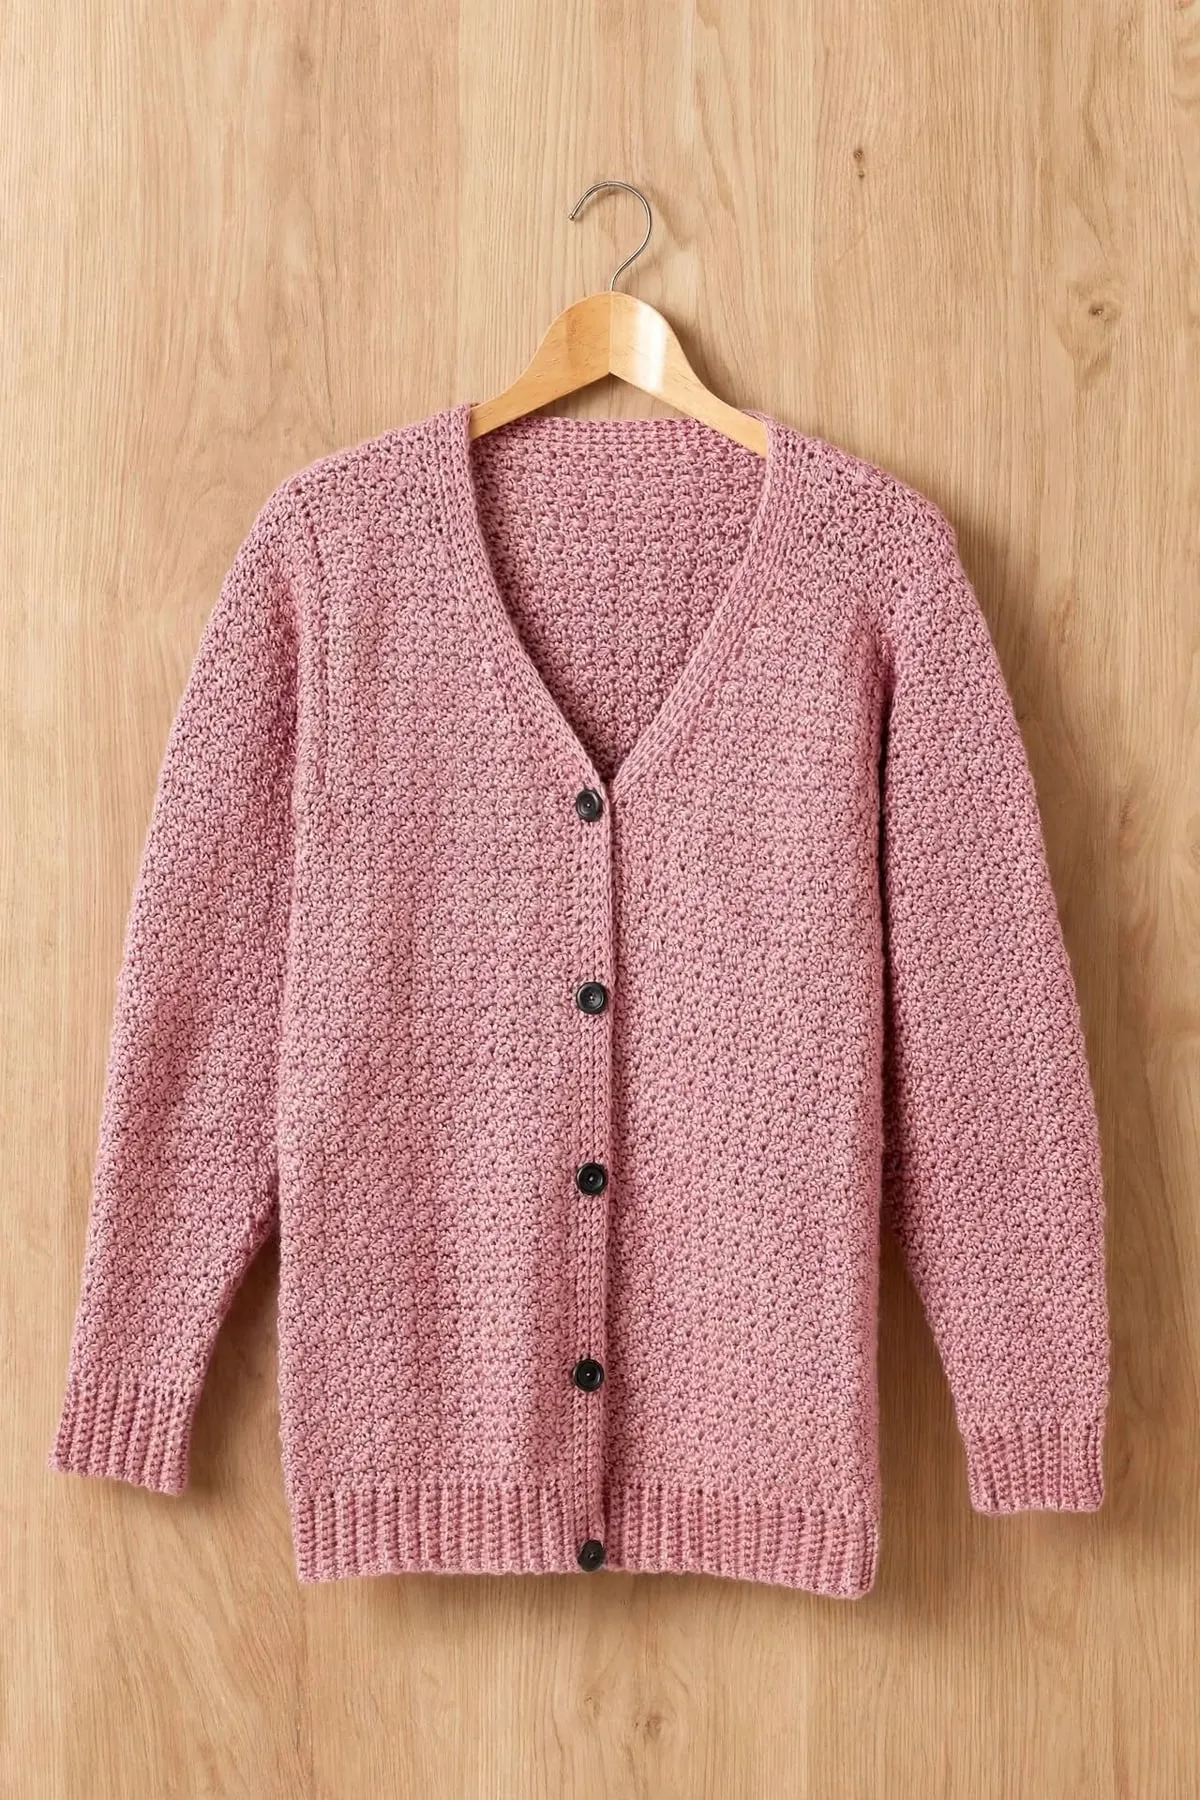
This cozy V-neck cardigan is made in an easy textured stitch that's just single and double crochet. The pieces are simple drop-shoulder shapes with ribbed edges, so it's a lovely first sweater, in sizes S to 2XL.
 Save
Pattern Highlights
- The textured stitch is only sc and dc, and every row is the same.
- Drop shoulders mean no armhole shaping, just straight pieces.
- The V-neck is a simple decrease every other row.
- Five sizes, from S to 2XL, with room to move.
Materials
- Worsted (#4) yarn, see the amount for your size
- 5 mm (H-8) crochet hook
- 5 buttons, about ¾ in (20 mm)
- Stitch markers
- Yarn needle
Abbreviations used
This pattern uses US crochet terms. Tap any abbreviation for a full explanation, or see the complete crochet abbreviations list.
- ch – chain
- sc – single crochet (UK: double crochet (dc))
- dc – double crochet (UK: treble crochet (tr))
- hdc – half double crochet (UK: half treble crochet (htr))
- BLO – back loop only
- sc2tog – single crochet 2 together (UK: double crochet 2 together (dc2tog))
- sl st – slip stitch (UK: slip stitch (ss))
- st(s) – stitch(es)
- RS – right side
- WS – wrong side
- pm – place marker
- FO – fasten off
About this cardigan
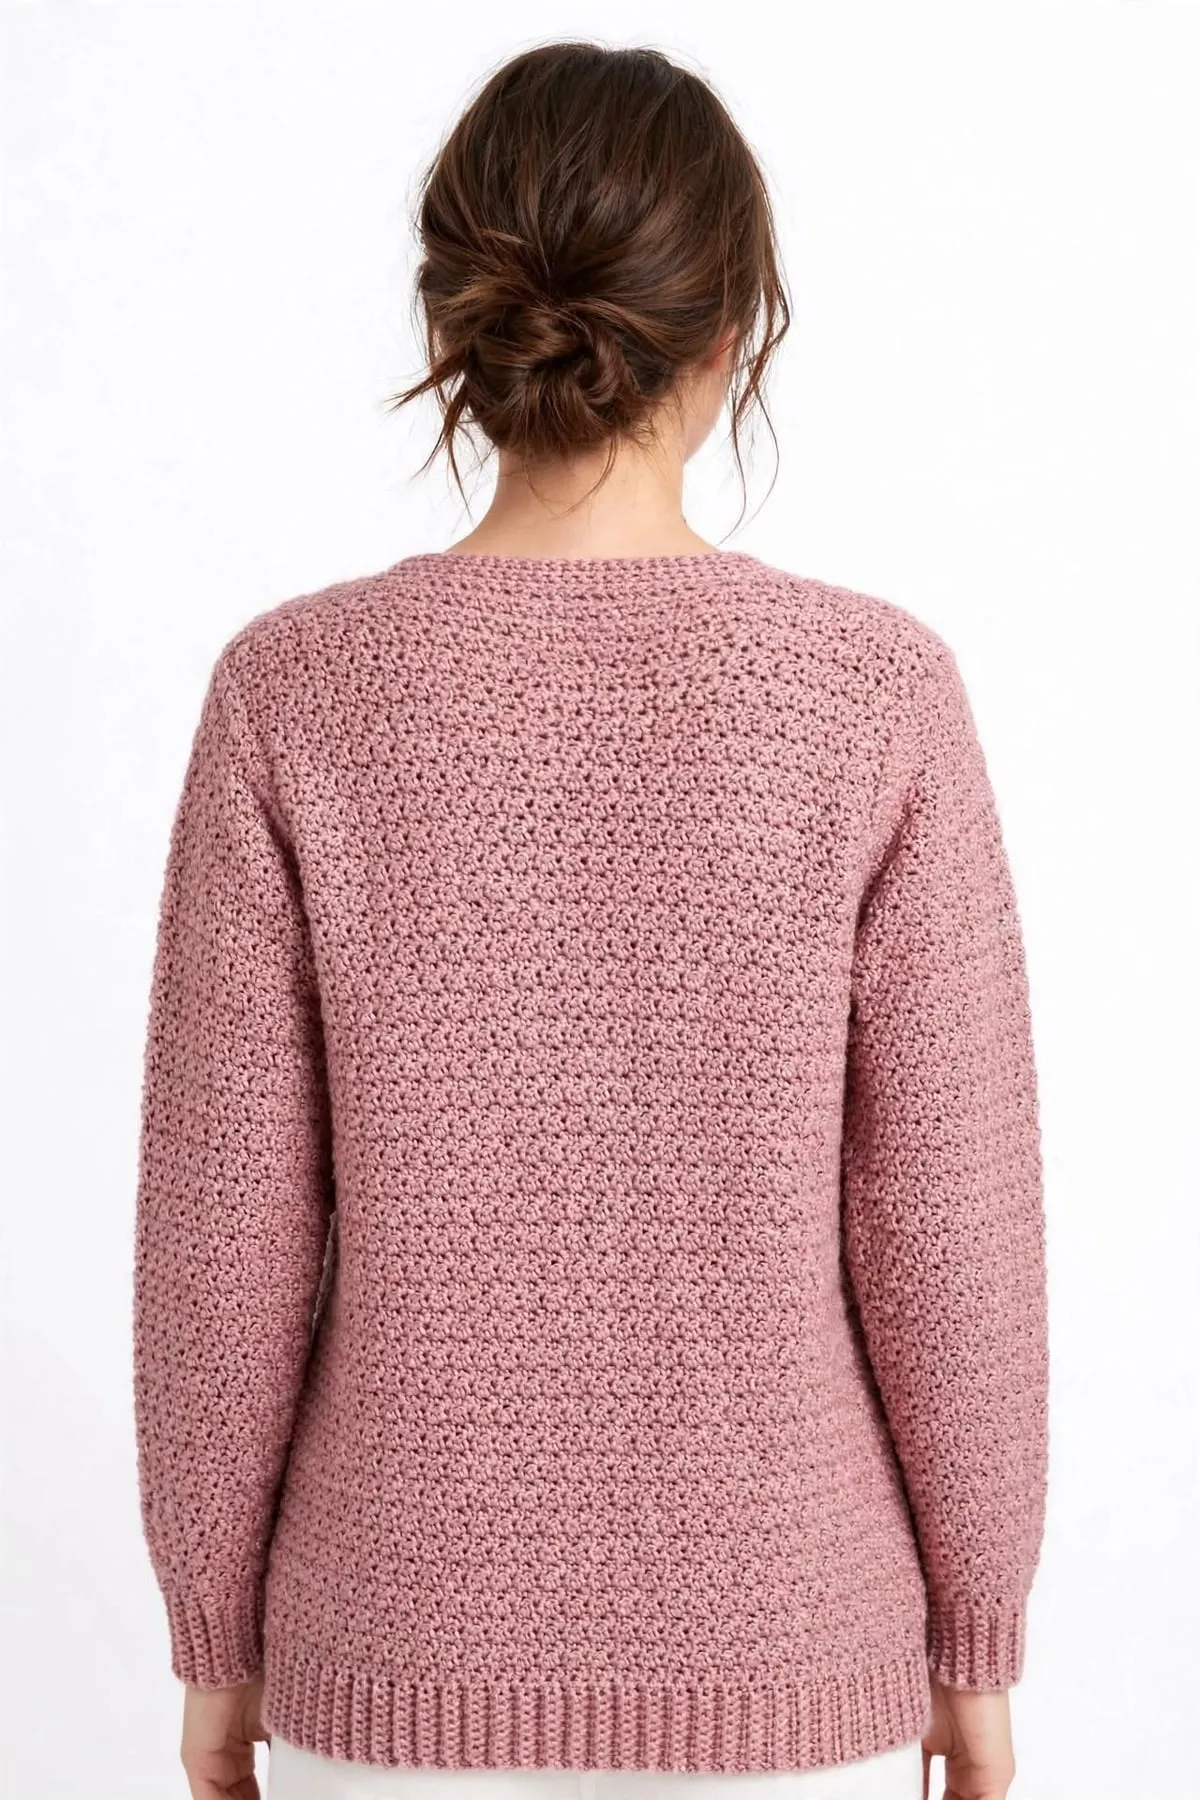
This cardigan is made from five simple pieces: a Back, two Fronts and two Sleeves. Each piece starts with a strip of ribbing worked sideways, then you work up from its long edge in an easy textured stitch. The shoulders are drop shoulders, so there’s no armhole shaping at all. The only shaping is the V-neck on the Fronts and the slow increases on the Sleeves.
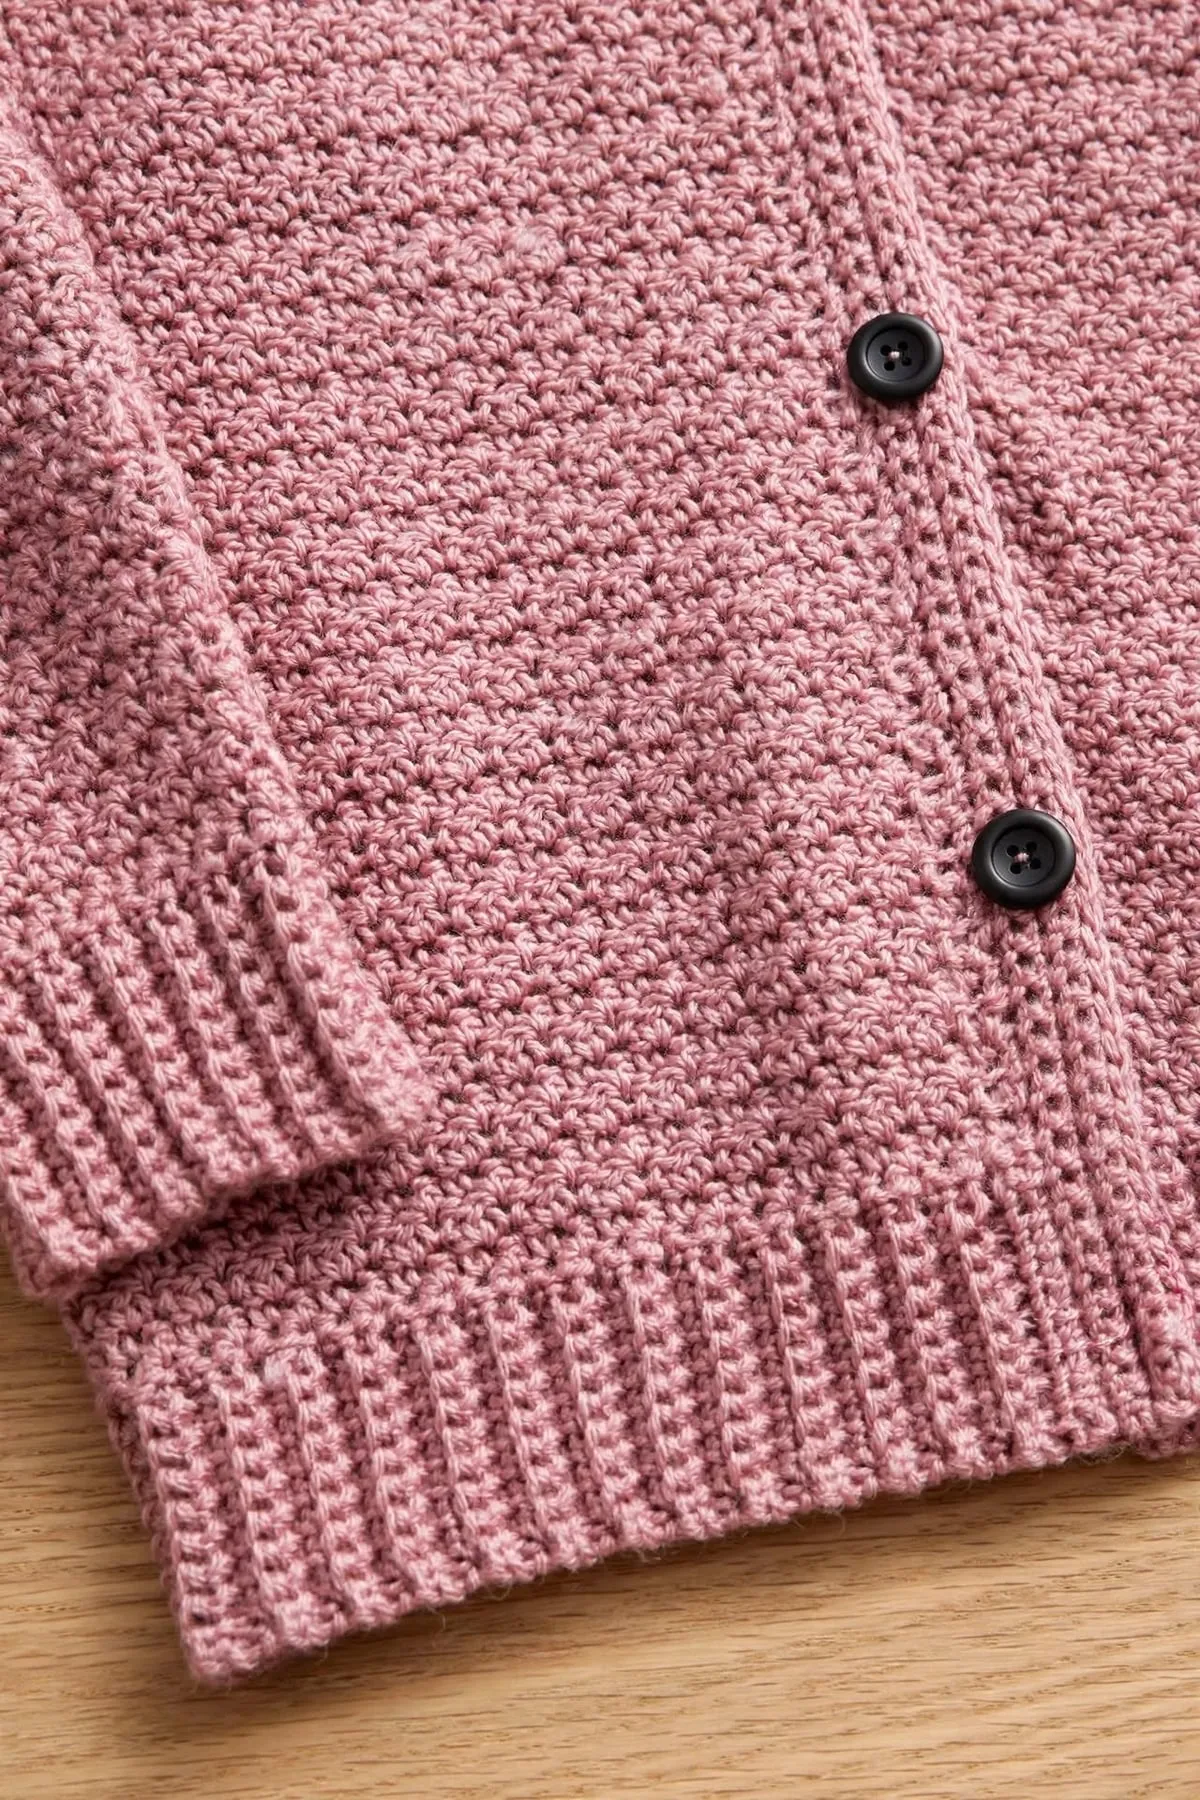
Once the pieces are sewn together, a single crochet band goes up one front, around the neck and down the other, with five buttonholes.
Before you start
This one is rated easy. If you can single and double crochet and follow a stitch count, you can make it.
- Check your gauge. It really matters for a garment. Make a 6 in (15 cm) swatch in the textured stitch and measure the middle. If you have more stitches than 14 to 4 in, use a bigger hook; if you have fewer, use a smaller one.
- Pick your size. Sizes are written as S (M, L, XL, 2XL). Highlight the numbers for your size before you start.
- Count rows, not inches. The Back and both Fronts have the same number of rows, so the side seams line up perfectly.
How the textured stitch works
The first row alternates sc and dc. On every row after that, you work a sc into each dc and a dc into each sc. The short and tall stitches stagger, which makes the bumpy, woven-looking texture you see in the photos. Since the rule only looks at the stitch below, it keeps working even after a decrease or increase.
Tips for success
- Mark the right side. A stitch marker on the right side helps you keep track of where the neck decreases go.
- Block your pieces. Pin each piece to its measurements and spray it lightly with water before sewing. The seams will be much neater.
- Use a flat seam. Mattress stitch or a whip stitch through the edge stitches keeps the seams soft and flat.
- Try it on. After sewing the shoulders, hold the sleeves up to check the length before you sew them in.
Skills you’ll use
- How to make a slip knot and chain, to start the ribbing
- How to half double crochet, for the ribbing
- How to single crochet and how to double crochet, for the textured stitch
- How to read a crochet pattern, for the sizes and repeats
- How to weave in ends, to finish neatly
A soft, textured cardigan you’ll reach for all autumn and winter. 🌸
The Pattern
- Skill level
- Easy
- Yarn
- Worsted (#4) yarn
- Yarn amount
- About 1250 (1400, 1500, 1625, 1775) yd / 1143 (1280, 1372, 1486, 1623) m. These are estimates, so buy a little extra.
- Hook
- 5 mm (US H-8)
- Gauge
- 14 sts and 12 rows = 4 in (10 cm) in the textured pattern
- Finished size
- Sizes S (M, L, XL, 2XL). To fit bust 32–34 (36–38, 40–42, 44–46, 48–50) in. Finished bust 38 (42½, 45½, 50, 54) in / 97 (108, 116, 127, 137) cm. Length about 24 (24¾, 25¼, 26, 26¾) in / 61 (63, 64, 66, 68) cm.
- Time
- Varies with experience
Back
- Ribbing: Ch 9.
- Row 1: Hdc in the 3rd ch from the hook and in each ch across. Turn. (7 hdc)
- Row 2: Ch 2 (doesn't count as a st), 1 hdc blo in each st across. Turn. (7 hdc)
- Repeat Row 2 until the ribbing measures 19 (21, 23, 25, 27) in / 48 (53, 58, 64, 69) cm, slightly stretched. Don't fasten off.
- Turn the ribbing so you can work along one long edge. Ch 1, then work 66 (74, 80, 88, 94) sc evenly along the edge. Turn.
- Row 1: This is the right side. Ch 1 (doesn't count as a st), [1 sc in the next st, 1 dc in the next st] across. Turn.
- Row 2: This is the pattern row. Ch 1, then work 1 sc in each dc and 1 dc in each sc across. Turn.
- Repeat Row 2 until you've worked 66 (68, 70, 72, 74) rows above the ribbing. Fasten off.
- Place a marker on each side edge, 8 (8½, 9, 9½, 10) in / 20 (22, 23, 24, 25) cm down from the top. The sleeves are sewn in above these markers.
Left Front
- Make the ribbing as for the Back until it measures 9 (10, 11, 12, 13) in / 23 (25, 28, 30, 33) cm. Work 32 (36, 38, 42, 46) sc evenly along one long edge. Turn.
- Row 1: This is the right side. Ch 1, [1 sc in the next st, 1 dc in the next st] across. Turn.
- Row 2: Ch 1, 1 sc in each dc and 1 dc in each sc across. Turn.
- Repeat Row 2 until you've worked 38 (40, 42, 44, 46) rows. The next row is a RS row, and the neck shaping starts there. The neck edge is at the start of each RS row.
- Decrease row (RS): Ch 1, sc2tog, then work in pattern to the end. Turn. (31 (35, 37, 41, 45) sts)
- Next row (WS): Work in pattern across. Turn.
- Repeat the last 2 rows 10 (10, 10, 10, 12) more times. (21 (25, 27, 31, 33) sts)
- Work even in pattern until you've worked 66 (68, 70, 72, 74) rows in total, the same as the Back. Fasten off.
Right Front
- Work as for the Left Front until you've worked 38 (40, 42, 44, 46) rows. On this front, the neck edge is at the end of each RS row.
- Decrease row (RS): Ch 1, work in pattern to the last 2 sts, sc2tog. Turn. (31 (35, 37, 41, 45) sts)
- Next row (WS): Work in pattern across. Turn.
- Repeat the last 2 rows 10 (10, 10, 10, 12) more times. (21 (25, 27, 31, 33) sts)
- Work even in pattern until you've worked 66 (68, 70, 72, 74) rows in total. Fasten off.
Sleeves (make 2)
- Make the ribbing as for the Back until it measures 8½ (9, 9, 9½, 10) in / 22 (23, 23, 24, 25) cm. Work 30 (32, 32, 34, 36) sc evenly along one long edge. Turn.
- Row 1: Ch 1, [1 sc in the next st, 1 dc in the next st] across. Turn.
- Row 2: Ch 1, 1 sc in each dc and 1 dc in each sc across. Turn.
- Row 3: This is an increase row. Ch 1, 2 sc in the first st, work in pattern to the last st, 2 sc in the last st. Turn. (32 (34, 34, 36, 38) sts)
- Rows 4–5: Work in pattern across. Turn.
- Repeat Rows 3–5 another 12 (13, 15, 15, 16) times. (56 (60, 64, 66, 70) sts)
- Work even in pattern until you've worked 48 (48, 50, 50, 52) rows above the ribbing. The sleeve measures about 18 (18, 18½, 18½, 19) in / 46 (46, 47, 47, 48) cm with the cuff. Fasten off.
Joining
- Lay the Back flat with the Fronts on top, right sides together. Sew the shoulder seams over the 21 (25, 27, 31, 33) sts at each side. The 24 (24, 26, 26, 28) sts in the middle of the Back are the back neck.
- Fold a sleeve in half lengthwise to find the middle of its top edge. Pin that point to the shoulder seam, then sew the top of the sleeve to the side edges of the body between the markers. Repeat for the second sleeve.
- Sew each side seam and sleeve seam in one go, from the hem up to the underarm and down to the cuff.
Button band
- Row 1: With the RS facing, join the yarn at the bottom corner of the Right Front. Ch 1, then sc evenly up the Right Front edge, around the back neck and down the Left Front edge to the bottom. Work about 3 sc for every 2 rows along the fronts and 1 sc in each st across the back neck. Make sure both fronts have the same number of sc. Turn.
- Row 2: Ch 1, 1 sc in each st across. Turn.
- Place 5 markers on the Right Front edge for buttonholes: the lowest about ½ in (1 cm) above the hem, the highest just below where the V starts, and the other 3 spaced evenly between.
- Row 3: Ch 1, [1 sc in each st to the next marker, ch 2, skip the next 2 sts] 5 times, then 1 sc in each st to the end. Turn.
- Row 4: Ch 1, 1 sc in each sc and 2 sc in each ch-2 space across. Turn.
- Row 5: Ch 1, 1 sc in each st across. Fasten off.
- Sew the buttons to the Left Front band to match the buttonholes. Weave in all the ends and block lightly.
Pattern notes
- Sizes are written as S (M, L, XL, 2XL). If there's only one number, it's for all sizes.
- The pattern row is always the same: work 1 sc in each dc and 1 dc in each sc. After a decrease or increase, just keep following this rule.
- Turning chains don't count as stitches. It's fine for a row to start with a dc.
- Sc2tog (single crochet 2 together): [insert hook in the next st, yarn over and pull up a loop] twice, yarn over and pull through all 3 loops.
- The ribbing is worked sideways, then the body is worked up from one long edge of it.
Keep this pattern handy
Print it now, or get the free PDF to save on your phone or tablet.
Free Rosewood Textured V-Neck Crochet Cardigan Pattern · Pattern by mycrochetmakes · mycrochetmakes.com/v-neck-crochet-cardigan-pattern/
Free for personal use. Please don't sell or redistribute this pattern.
Frequently asked questions
Which size should I make?
Pick the size closest to your bust measurement in the "To fit" line. The cardigan has about 4 to 6 in (10 to 15 cm) of ease, so it's relaxed. For a closer fit, go down a size.
How do I make it longer or shorter?
Add or take away rows on the Back and both Fronts before the neck shaping starts. Each 3 rows adds about 1 in (2.5 cm). Change the Back and Fronts by the same number of rows.
How do I make the sleeves longer?
Work a few extra rows at the end of the sleeve, after the last increase. Each 3 rows adds about 1 in (2.5 cm).
What's the textured stitch called?
It's often called lemon peel stitch. You alternate sc and dc, and on every row you work a sc into each dc and a dc into each sc, so the bumps stagger.
Why are my edges a bit uneven?
Rows that start with a dc can look a little short at the edge. Don't worry, all the side edges are sewn into seams or covered by the button band.