Free Amigurumi Pumpkin Crochet Pattern (3 Sizes)
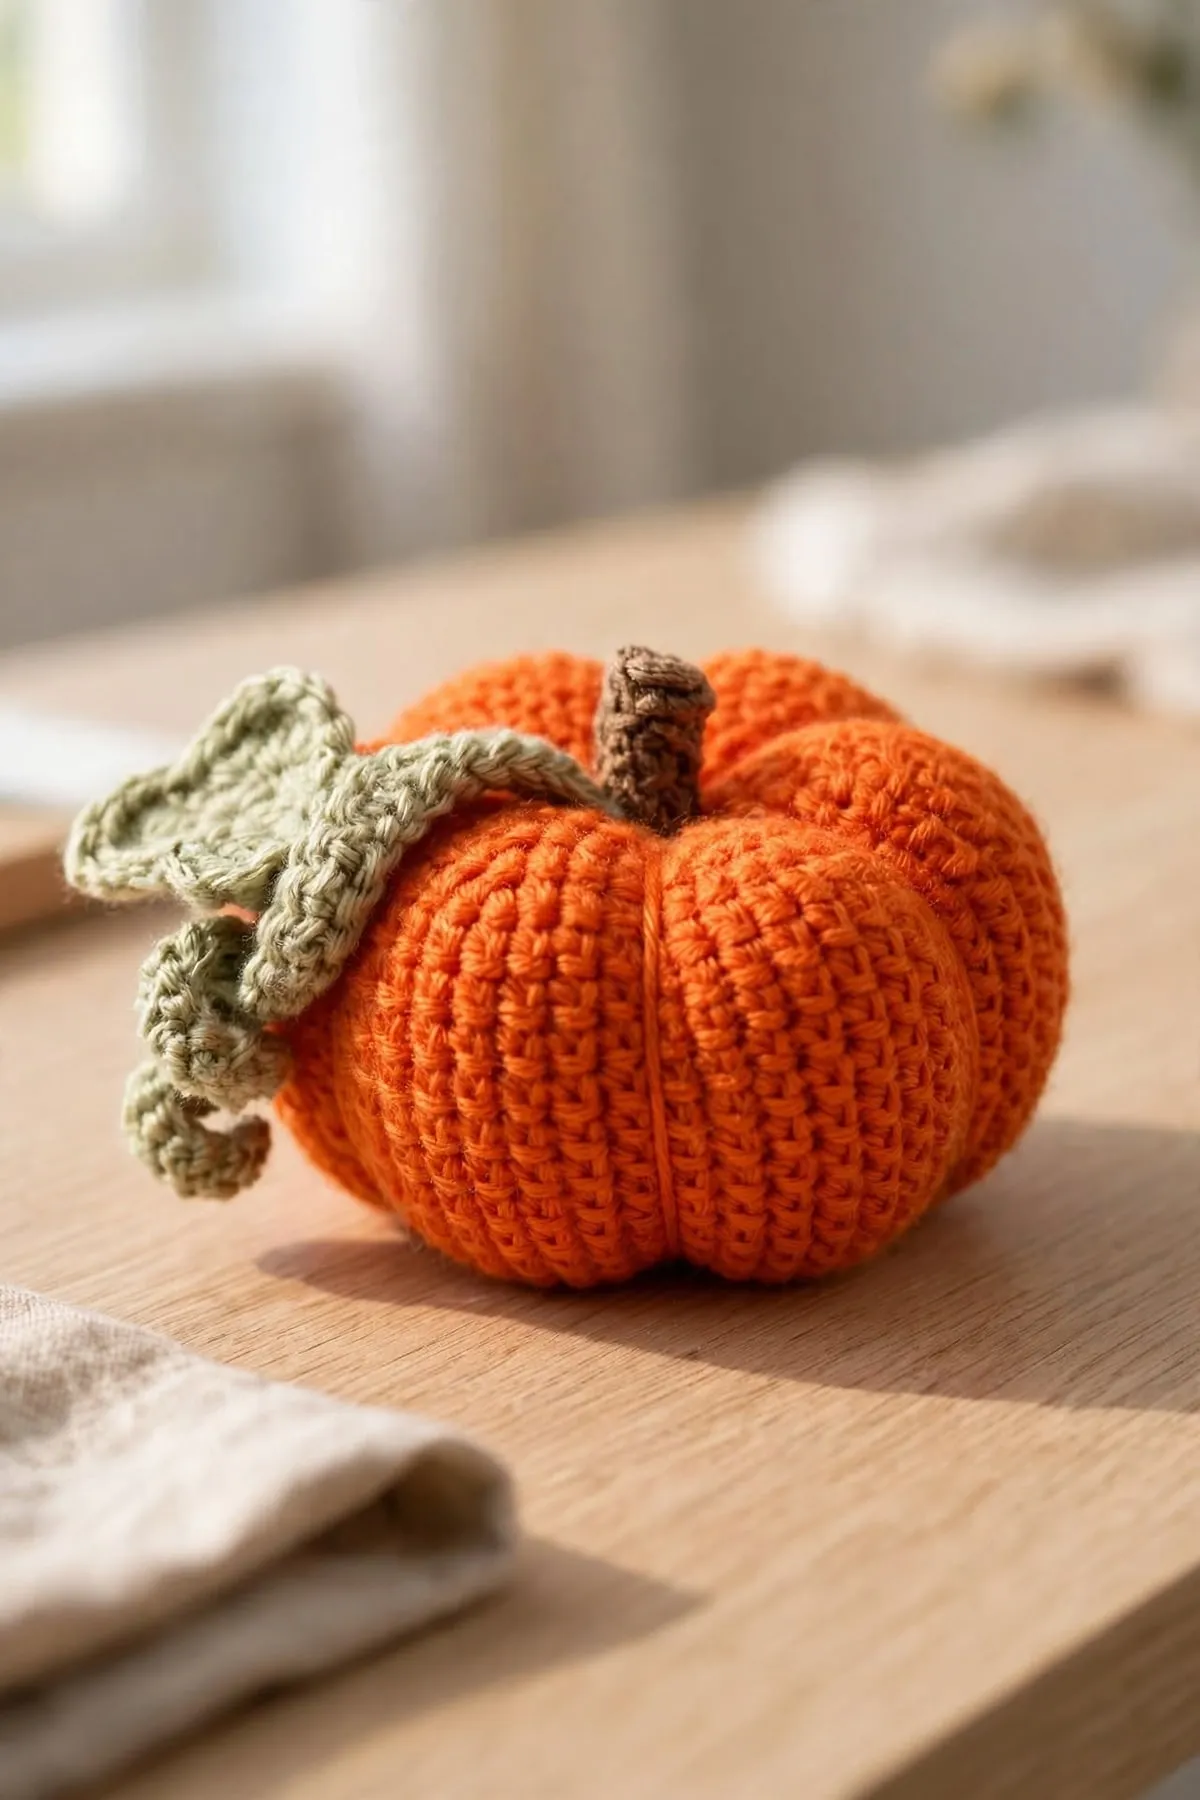
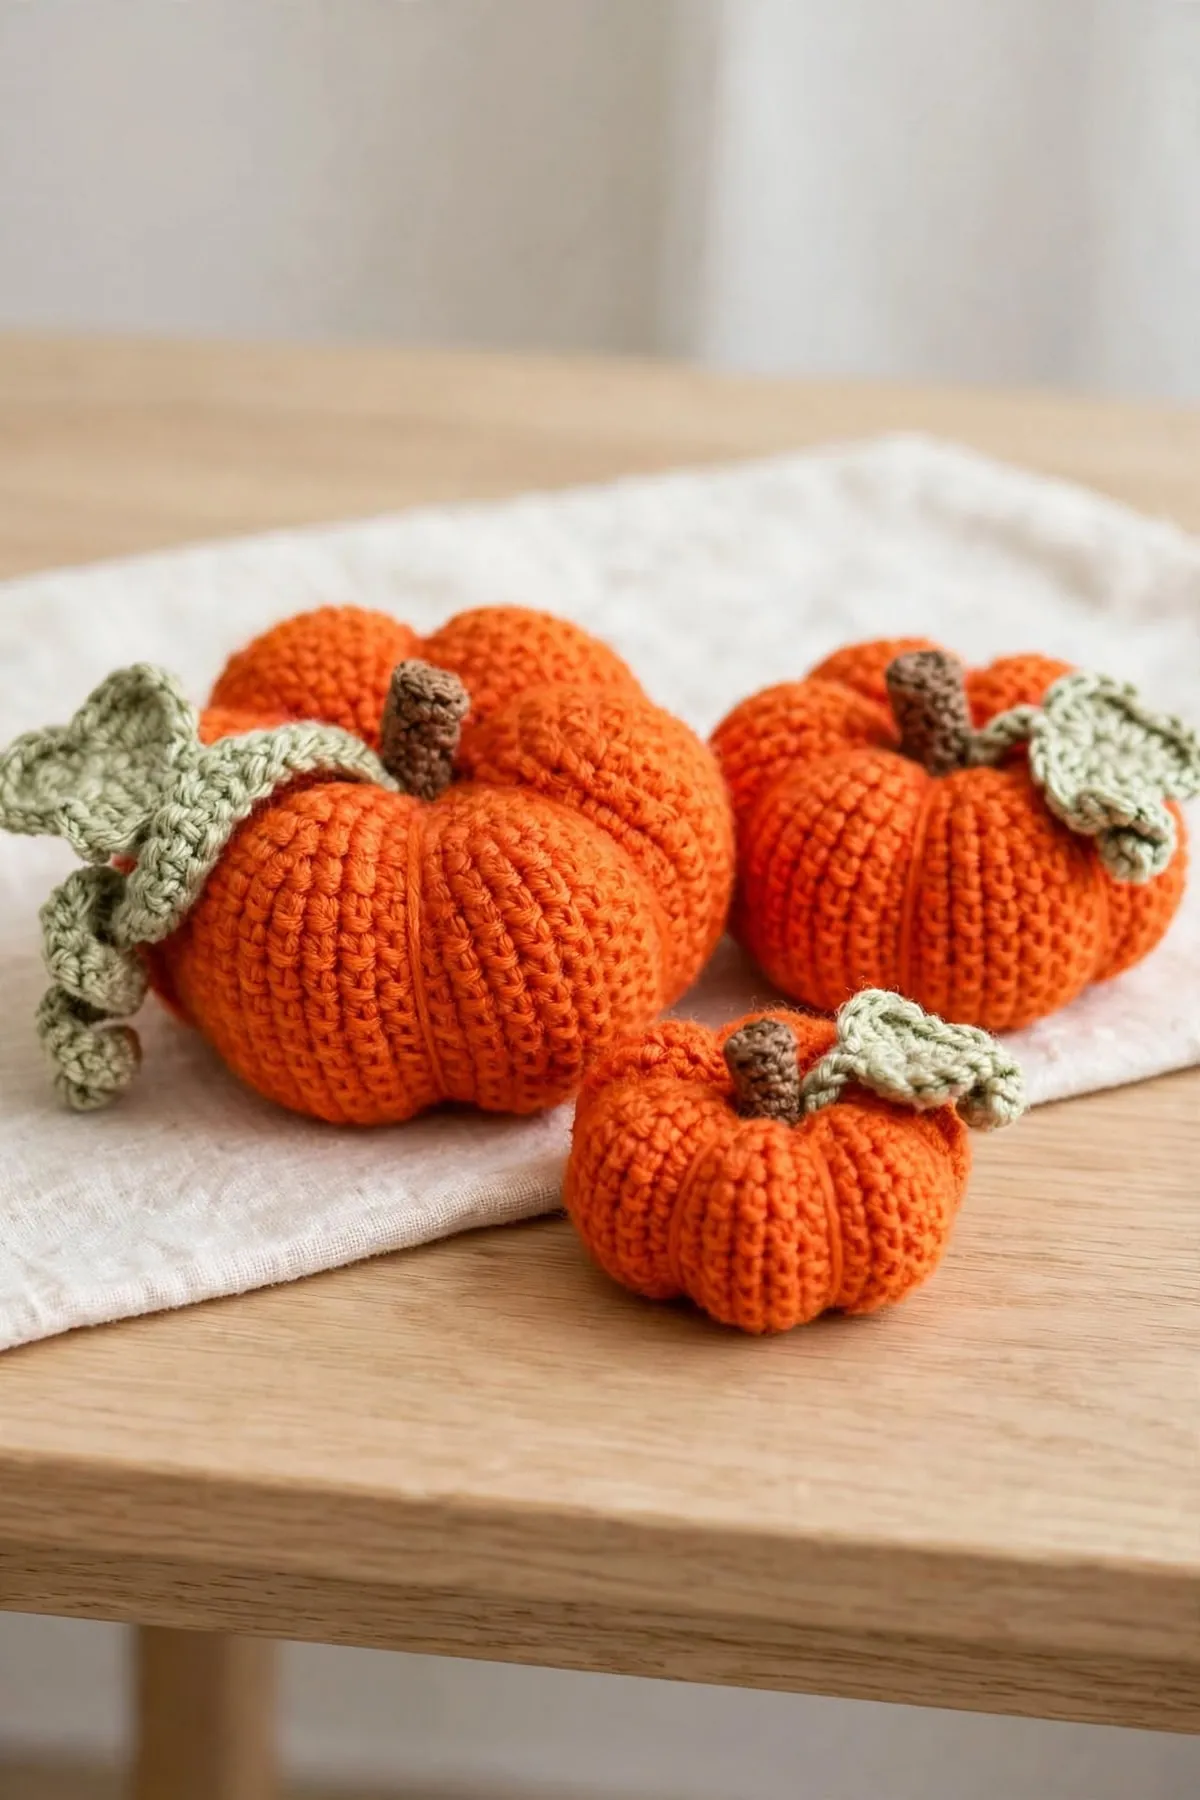
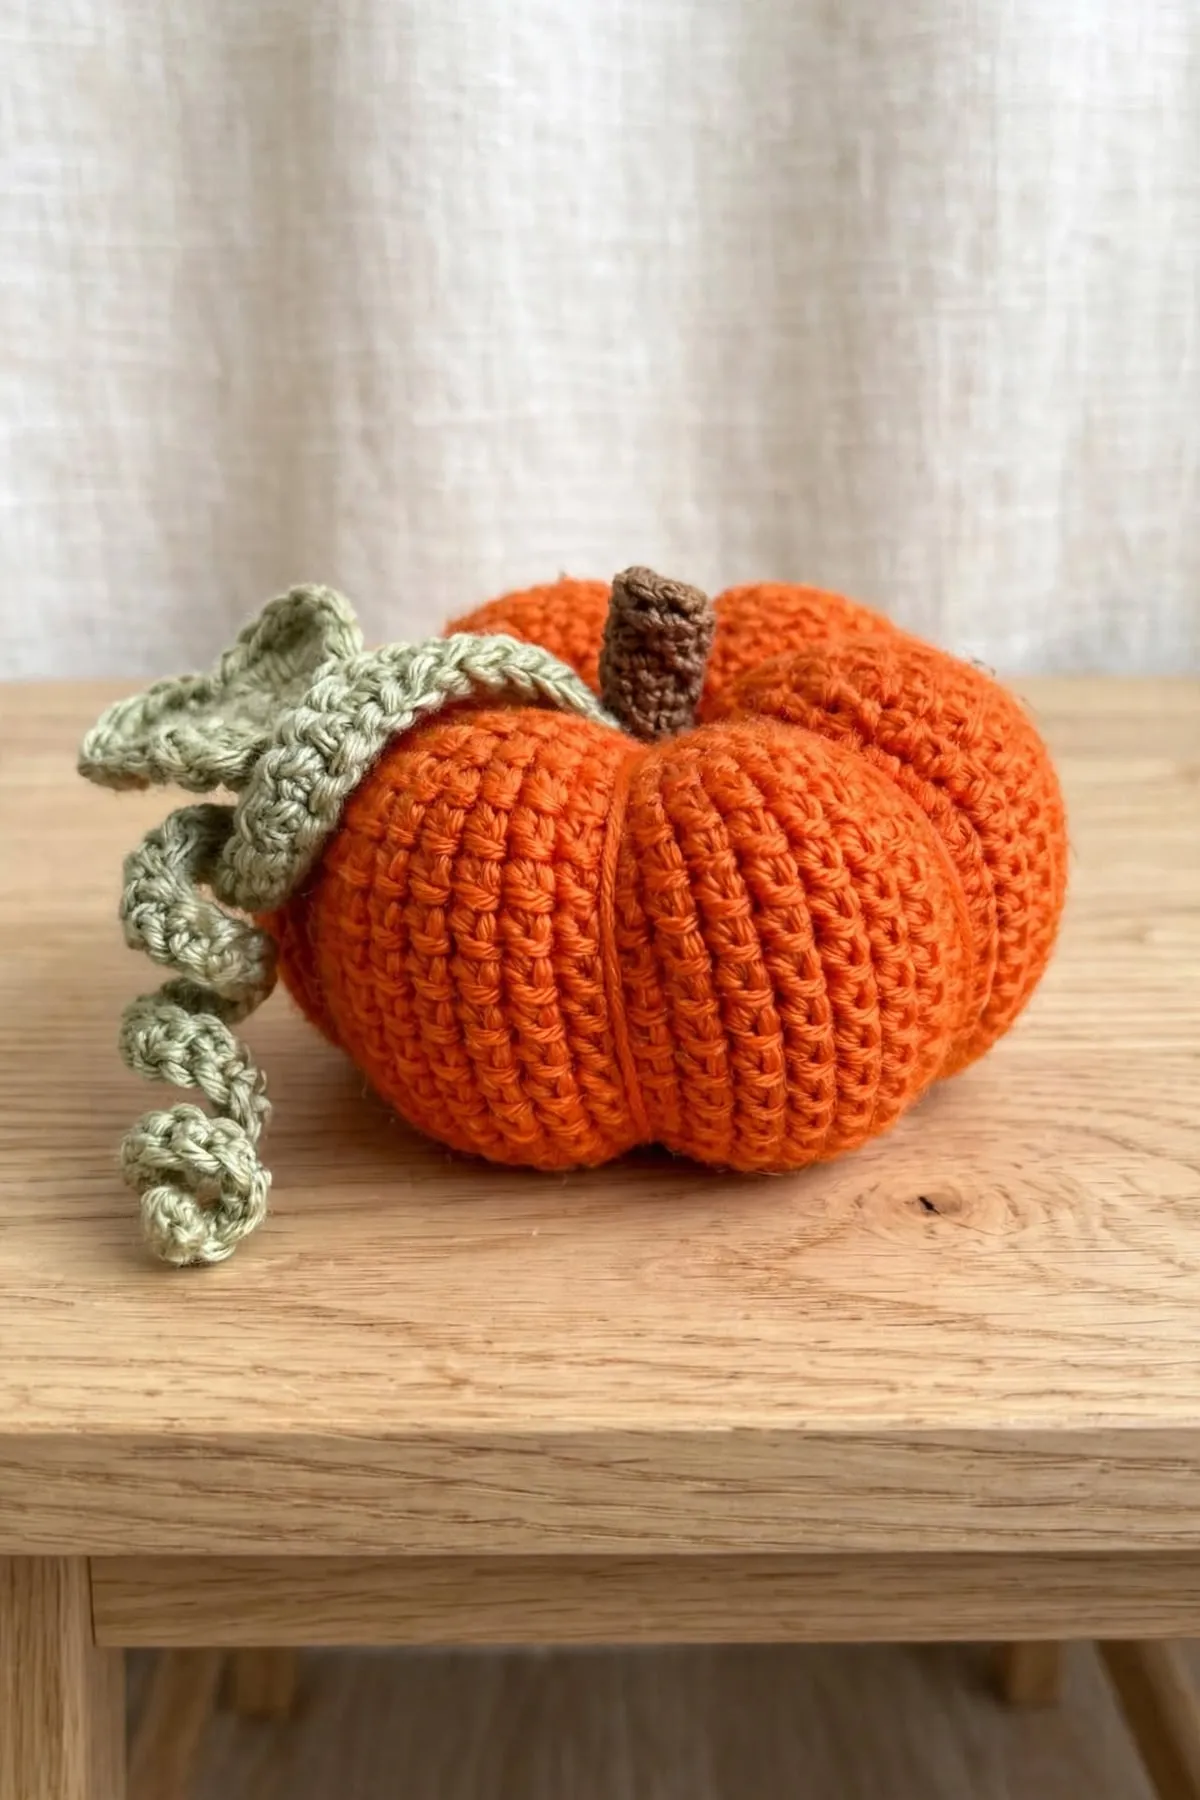
These plump little pumpkins come in three sizes, so you can make a whole cozy pile for your table or mantel. They're all single crochet, and the pumpkin shape comes from a simple trick with the yarn tail at the end.
 Save
Pattern Highlights
- Three sizes from one simple pattern, so they look lovely grouped together.
- It's all single crochet for the pumpkins, so it's a great easy project.
- The segments come from wrapping the yarn tail, with no extra pieces to sew.
- The curly vine makes itself. Just chain and single crochet back along it.
Materials
- Medium weight (#4) yarn in orange, brown and green (a soft sage green looks lovely)
- 2.75 mm (C-2) crochet hook
- Polyester fiberfill stuffing
- Stitch marker
- Yarn needle
- Scissors
Abbreviations used
This pattern uses US crochet terms. Tap any abbreviation for a full explanation, or see the complete crochet abbreviations list.
- MR – magic ring
- ch – chain
- sc – single crochet (UK: double crochet (dc))
- hdc – half double crochet (UK: half treble crochet (htr))
- dc – double crochet (UK: treble crochet (tr))
- tr – treble crochet (UK: double treble (dtr))
- inc – increase
- dec – decrease
- sl st – slip stitch (UK: slip stitch (ss))
- BLO – back loop only
- FLO – front loop only
- rnd(s) – round(s)
- st(s) – stitch(es)
- FO – fasten off
About these pumpkins
Each pumpkin is one round piece, stuffed and closed. The fun part comes at the end: you wrap the long yarn tail around the outside and pull, and the pumpkin puffs up into soft sections. Then you add a little brown stem, a leaf and a curly vine.
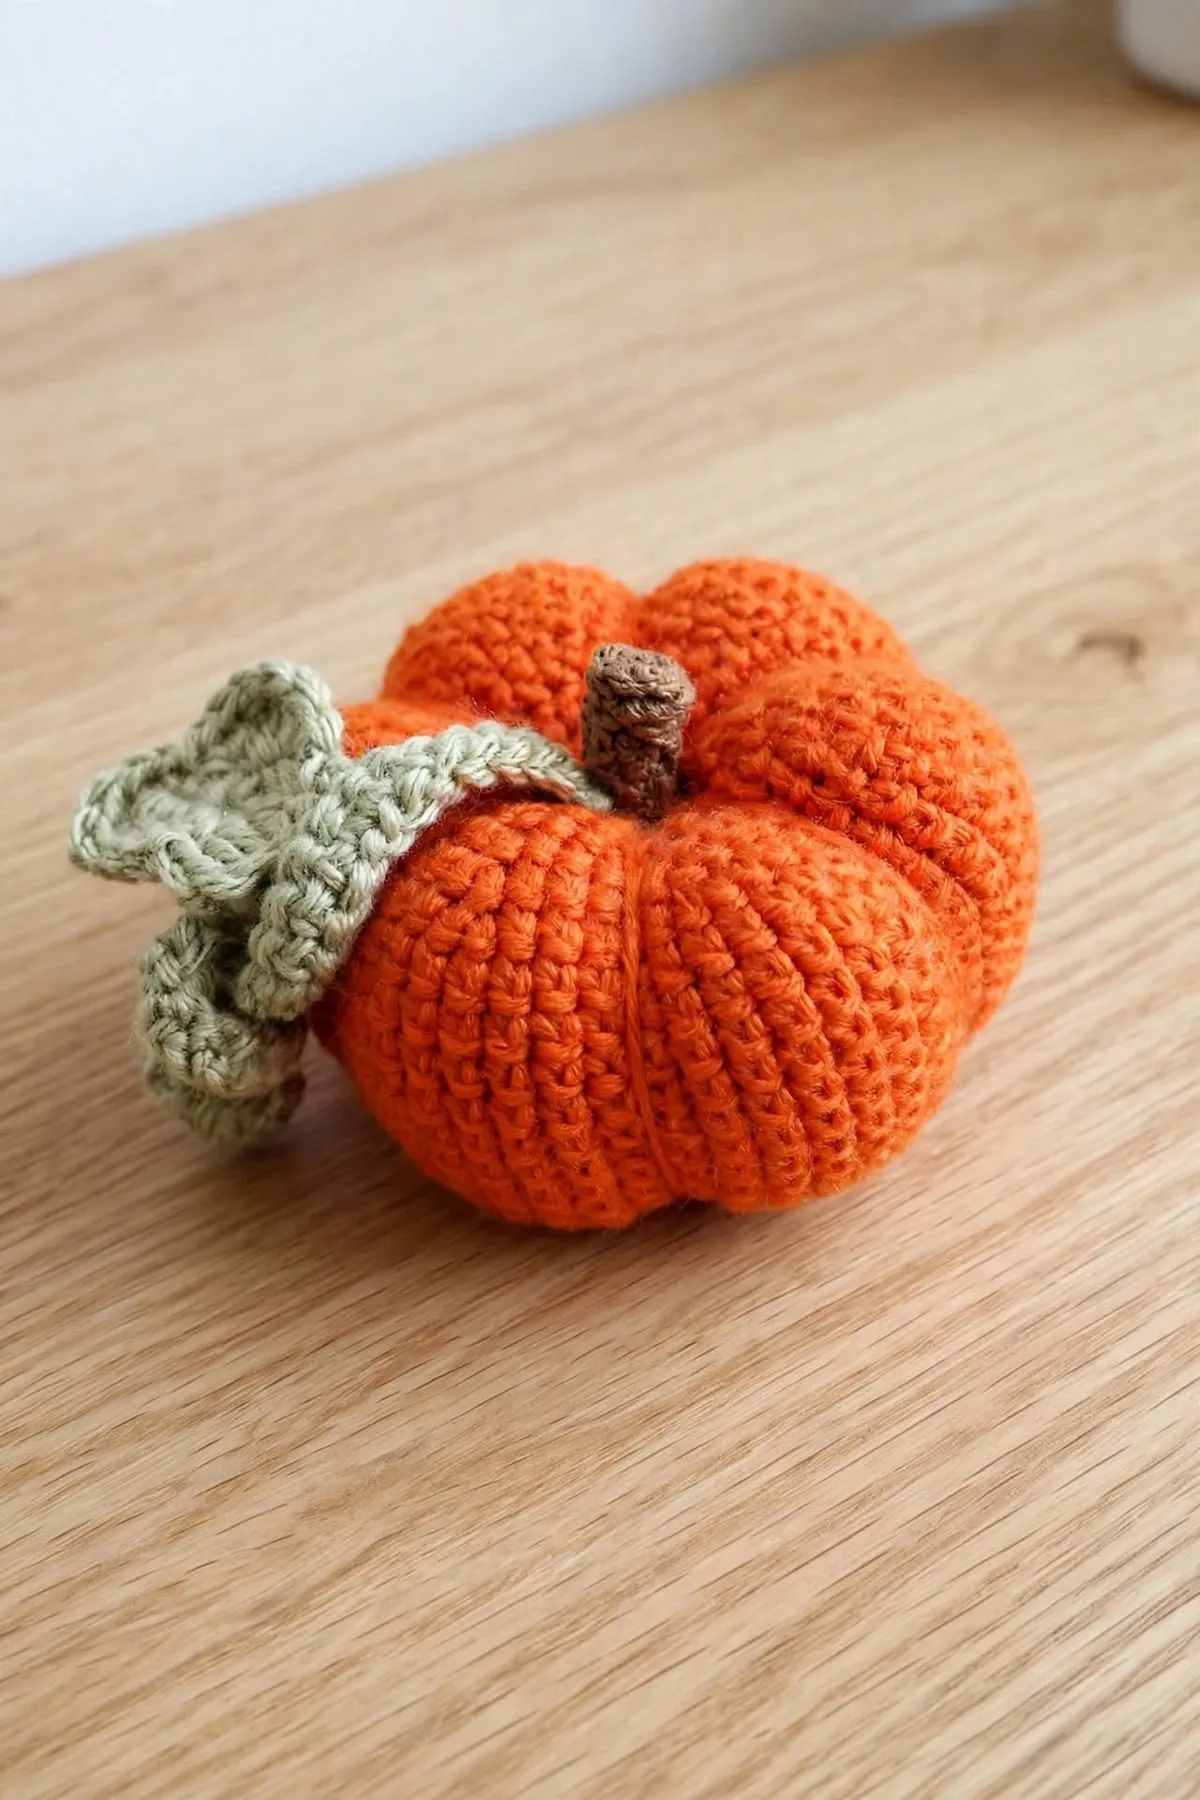
All three sizes follow the same steps. The only difference is how many stitches you start with: 5 for the small, 7 for the medium and 8 for the large.
Before you start
This one is rated easy. The pumpkins are all single crochet worked in the round. The leaf uses a few taller stitches, but it’s only two rows.
- It’s worked in a spiral. Don’t join your rounds. A stitch marker in the first stitch of each round keeps your place.
- Every piece starts with a magic ring. If you’re new to it, my magic ring tutorial walks you through it step by step.
- Leave a really long tail. You’ll use it to shape the segments, so leave more than you think you need.
How to shape the segments
This is the step that turns a ball into a pumpkin.
- Thread the tail and push the needle straight down through the middle of the pumpkin, out the bottom.
- Bring the yarn up the outside, and go down through the top again.
- Pull firmly. You’ll see the first dent appear.
- Repeat until you have 6 even sections.
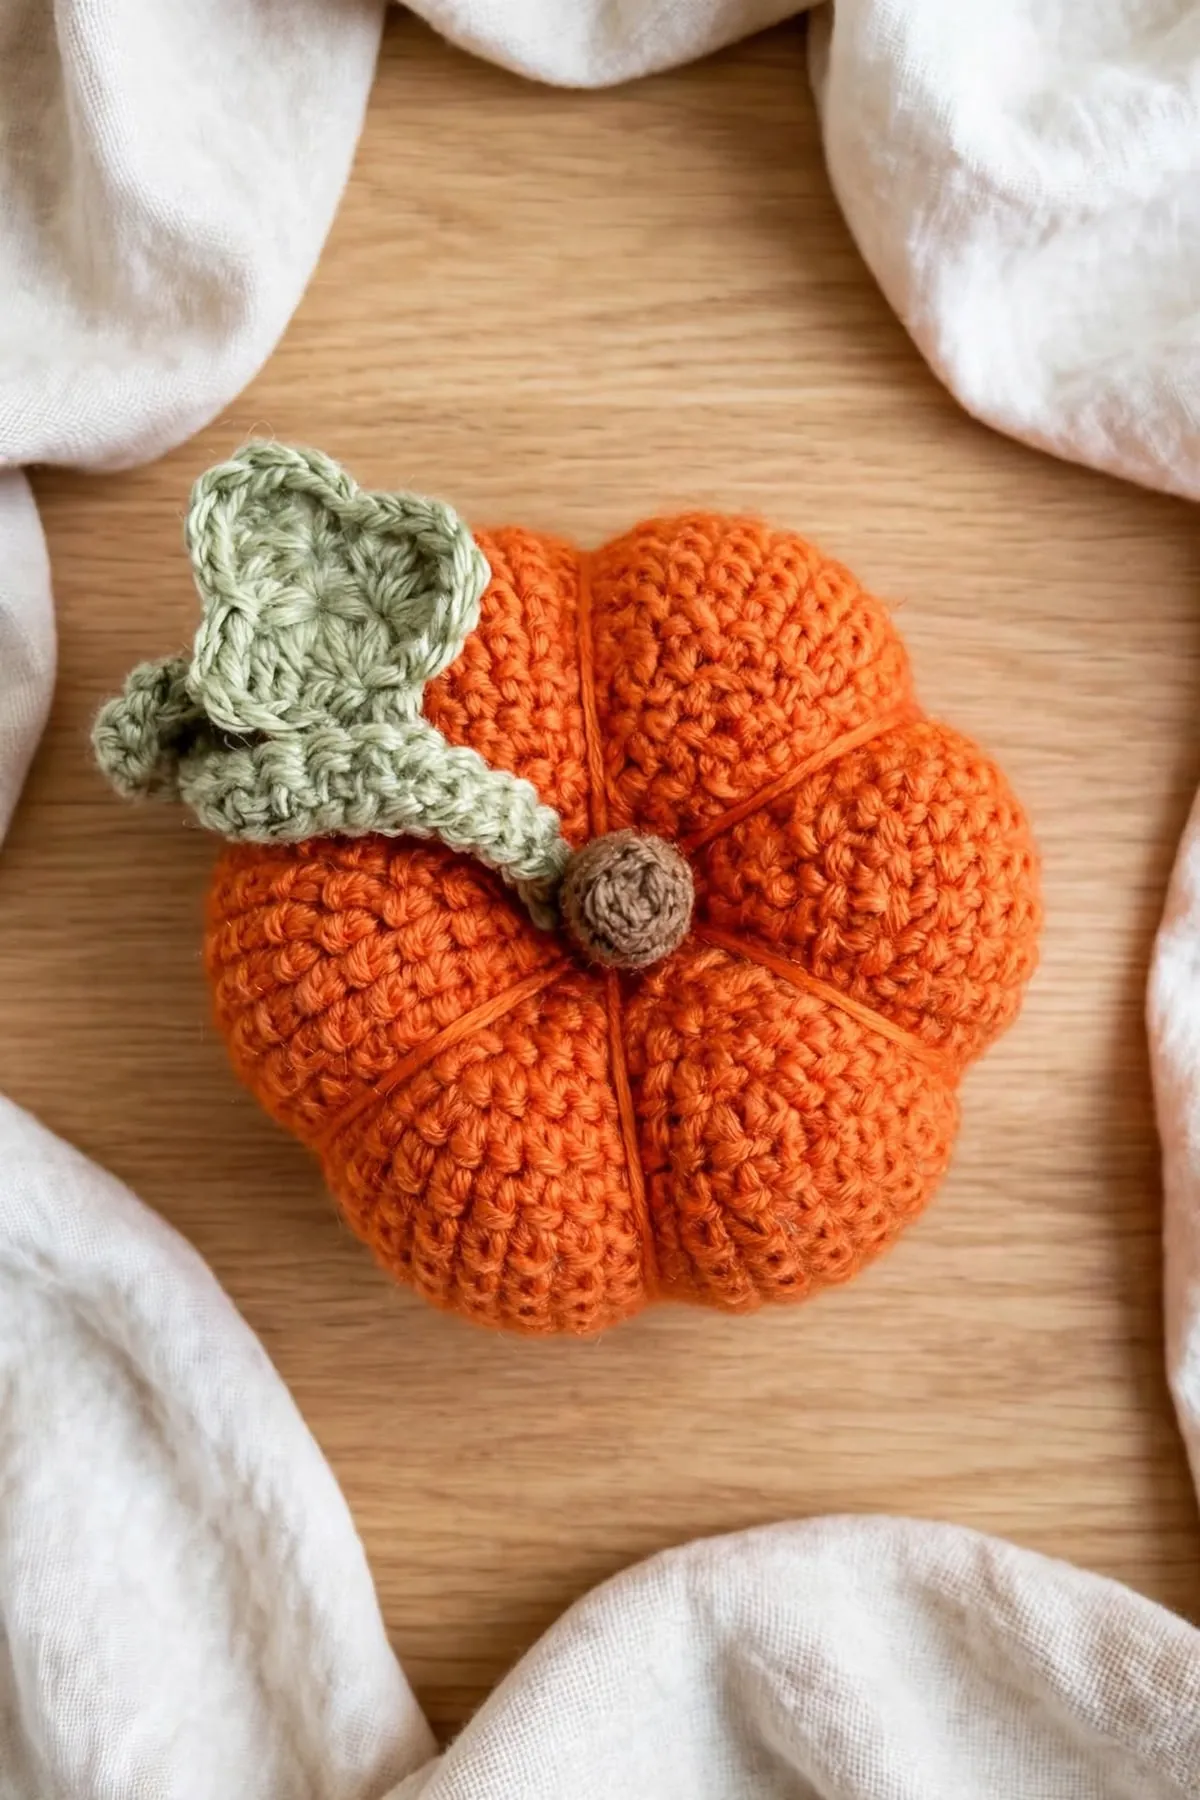
Looking down from the top helps you space the wraps evenly, like slices of a pie. Go around each section a second time if you’d like deeper dents.
Tips for success
- Keep your stitches tight. The small hook gives a firm fabric that holds its shape and hides the stuffing.
- Don’t overstuff. Firm but squishy is perfect. Too much stuffing makes it hard for the dents to sink in.
- Pull the tail steadily. Tug a little, check the shape, then tug a little more.
- Make a group. One of each size, in a few shades of orange, looks lovely together.
Skills you’ll use
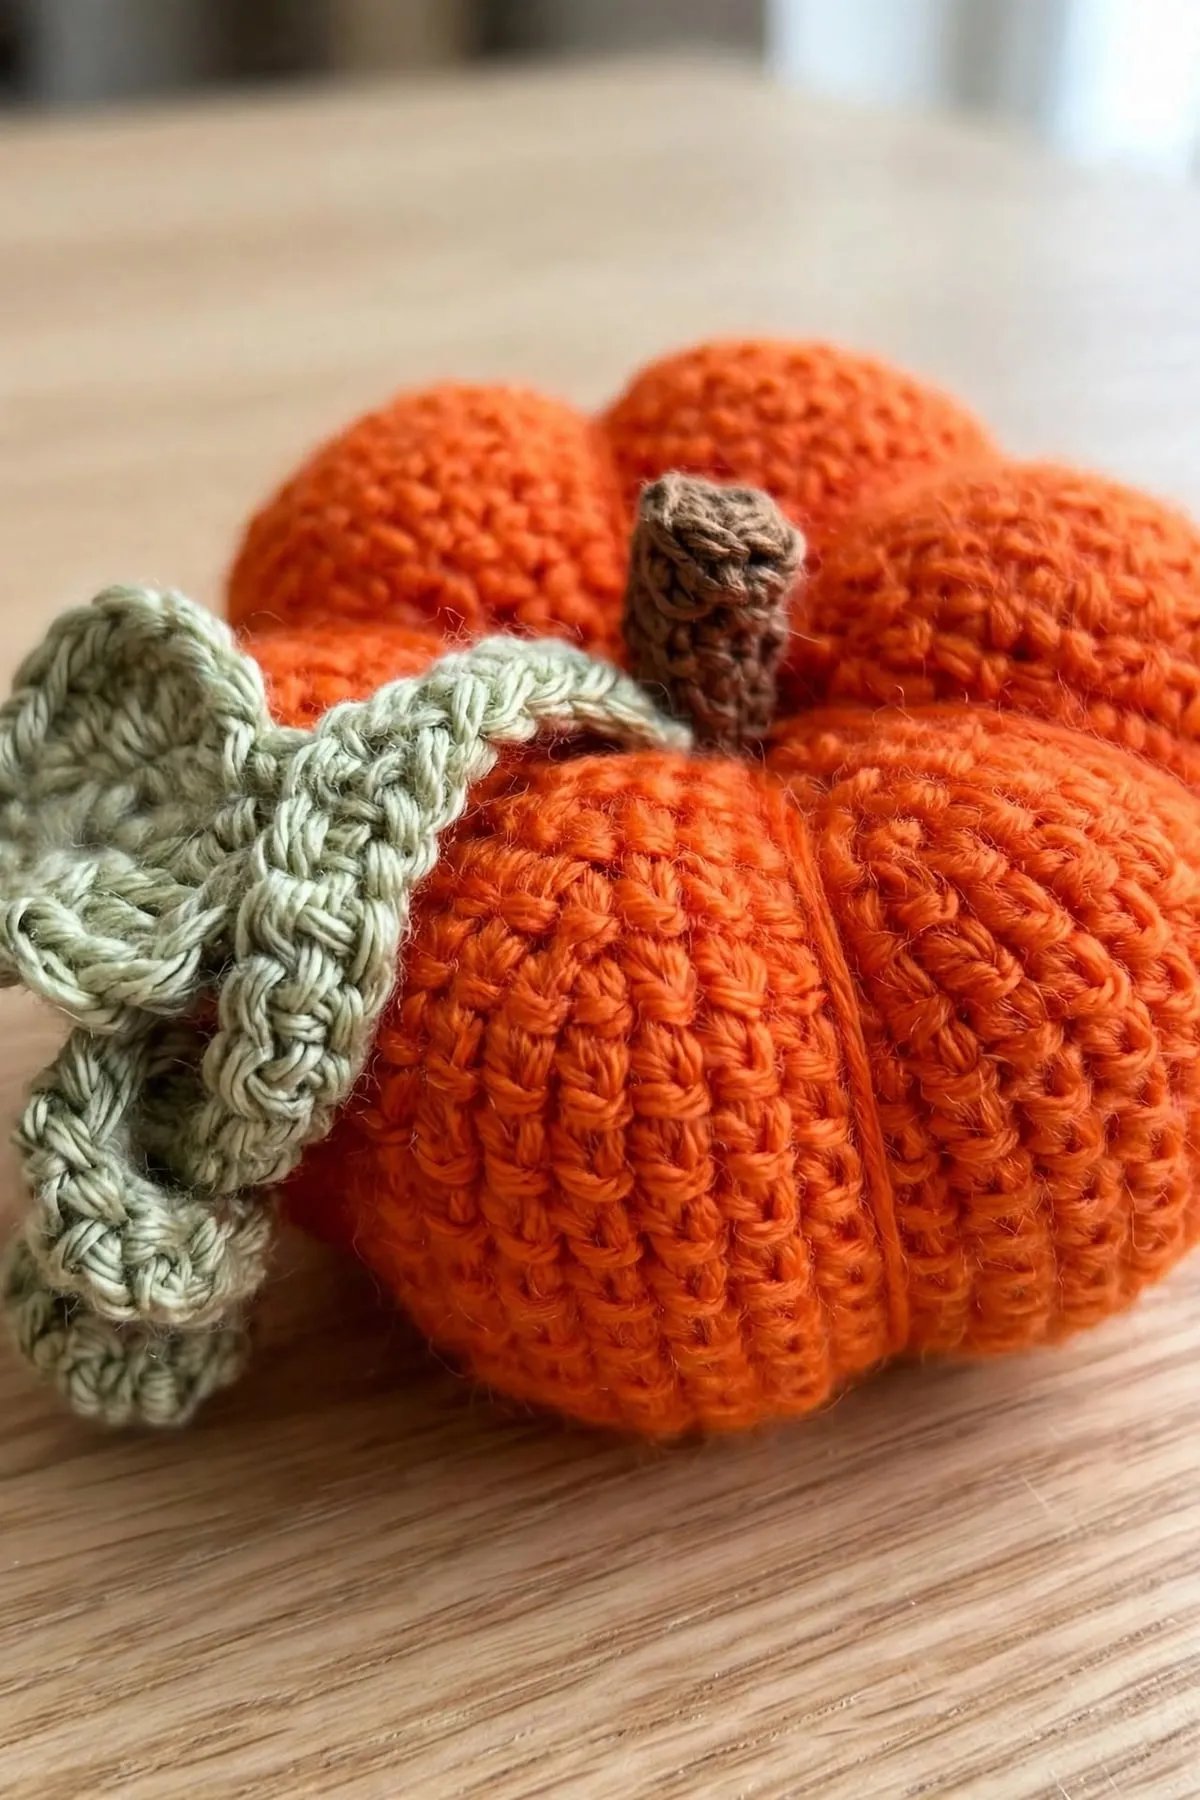
- How to crochet a magic ring, to start every piece
- How to single crochet, for the pumpkins, stems and vines
- How to half double crochet and how to double crochet, for the leaf
- How to weave in ends, including hiding ends inside stuffed pieces
Make a little pile for your fall table, and add a new one every year. 🍂
The Pattern
- Skill level
- Easy
- Yarn
- Medium weight (#4) yarn
- Yarn amount
- For all three: about 45 yd (41 m) orange, 5 yd (5 m) brown and 15 yd (14 m) green. Amounts are estimates.
- Hook
- 2.75 mm (US C-2)
- Gauge
- Not critical. Work tightly so the stuffing doesn't show.
- Finished size
- Approximately: small 2 in (5 cm), medium 2.75 in (7 cm) and large 3.5 in (9 cm) wide, depending on your yarn, tension and how firmly you shape the segments
- Time
- Varies with experience
Small pumpkin (orange)
- Rnd 1: 5 sc in MR. (5)
- Rnd 2: Inc 5 times. (10)
- Rnd 3: [Inc, sc in next st] 5 times. (15)
- Rnd 4: [Inc, sc in next 2 sts] 5 times. (20)
- Rnd 5: [Inc, sc in next 3 sts] 5 times. (25)
- Rnds 6–8: Sc in each st around. (25)
- Rnd 9: [Dec, sc in next 3 sts] 5 times. (20)
- Rnd 10: [Dec, sc in next 2 sts] 5 times. (15)
- Rnd 11: [Dec, sc in next st] 5 times. (10)
- Stuff firmly.
- Rnd 12: Dec 5 times. (5)
- Fasten off, leaving a long tail of about 18 in (45 cm) for shaping. Thread the tail through the front loops of the last 5 sts and pull tight to close. Don't weave it in yet.
Medium pumpkin (orange)
- Rnd 1: 7 sc in MR. (7)
- Rnd 2: Inc 7 times. (14)
- Rnd 3: [Inc, sc in next st] 7 times. (21)
- Rnd 4: [Inc, sc in next 2 sts] 7 times. (28)
- Rnd 5: [Inc, sc in next 3 sts] 7 times. (35)
- Rnds 6–11: Sc in each st around. (35)
- Rnd 12: [Dec, sc in next 3 sts] 7 times. (28)
- Rnd 13: [Dec, sc in next 2 sts] 7 times. (21)
- Rnd 14: [Dec, sc in next st] 7 times. (14)
- Stuff firmly.
- Rnd 15: Dec 7 times. (7)
- Fasten off, leaving a long tail of about 30 in (75 cm) for shaping. Thread the tail through the front loops of the last 7 sts and pull tight to close. Don't weave it in yet.
Large pumpkin (orange)
- Rnd 1: 8 sc in MR. (8)
- Rnd 2: Inc 8 times. (16)
- Rnd 3: [Inc, sc in next st] 8 times. (24)
- Rnd 4: [Inc, sc in next 2 sts] 8 times. (32)
- Rnd 5: [Inc, sc in next 3 sts] 8 times. (40)
- Rnd 6: [Inc, sc in next 4 sts] 8 times. (48)
- Rnds 7–18: Sc in each st around. (48)
- Rnd 19: [Dec, sc in next 4 sts] 8 times. (40)
- Rnd 20: [Dec, sc in next 3 sts] 8 times. (32)
- Rnd 21: [Dec, sc in next 2 sts] 8 times. (24)
- Rnd 22: [Dec, sc in next st] 8 times. (16)
- Stuff firmly.
- Rnd 23: Dec 8 times. (8)
- Fasten off, leaving a long tail of about 40 in (100 cm) for shaping. Thread the tail through the front loops of the last 8 sts and pull tight to close. Don't weave it in yet.
Shaping the segments
- Thread the long tail onto your yarn needle. It comes out at the top center, where you closed the pumpkin.
- Push the needle straight down through the middle of the pumpkin and out at the bottom center (the magic ring).
- Bring the yarn up around the outside of the pumpkin, and go down through the top center again. Pull firmly to make the first dent.
- Repeat 5 more times, spacing the wraps evenly, for 6 sections in all.
- For deeper dents, go around each section a second time. Fasten off securely at the top and hide the end inside the pumpkin.
Small stem (brown)
- Rnd 1: 4 sc in MR. (4)
- Rnd 2: Working in back loops only, sc in each st around. (4)
- Rnd 3: Sc in each st around. (4)
- Fasten off, leaving a tail for sewing. Don't stuff.
Medium stem (brown)
- Rnd 1: 5 sc in MR. (5)
- Rnd 2: Working in back loops only, sc in each st around. (5)
- Rnds 3–4: Sc in each st around. (5)
- Fasten off, leaving a tail for sewing. Don't stuff.
Large stem (brown)
- Rnd 1: 6 sc in MR. (6)
- Rnd 2: Working in back loops only, sc in each st around. (6)
- Rnds 3–5: Sc in each st around. (6)
- Fasten off, leaving a tail for sewing. Don't stuff.
Leaf (make 1 per pumpkin, green)
- Row 1: 9 sc in MR. (9) Don't join. Ch 1 and turn.
- Row 2: [(Sc, hdc, dc, tr) in next st, (dc, hdc, sc) in next st, sl st in next st] 3 times. (3 points)
- Pull the ring closed. Ch 2 for a tiny stalk and fasten off, leaving a tail for sewing.
Vine (green)
- Chain as long as you like, plus a little extra. About 25 ch makes a nice curl for the large pumpkin.
- Sc in the 2nd ch from the hook and in each ch to the end. The vine curls up on its own as you work.
- Fasten off, leaving a tail for sewing.
Assembly
- Sew the stem to the top center of the pumpkin, covering the dip where the segments meet.
- Sew the leaf next to the stem, letting it lie over one of the sections.
- Sew one end of the vine beside the stem and let the curl hang down the side.
- Weave in all remaining ends.
Pattern notes
- Work the pumpkins and stems in a continuous spiral. Don't join the rounds. A stitch marker in the first stitch of each round helps.
- Stems: rnd 2 is worked in back loops only, so the top of the stem is flat. If your stem has turned inside out (the smooth V stitches are on the inside), work rnd 2 in front loops only instead.
- To change the size, use a bigger or smaller hook, or add more plain rounds before the decreases.
Keep this pattern handy
Print it now, or get the free PDF to save on your phone or tablet.
Free Amigurumi Pumpkin Crochet Pattern (3 Sizes) · Pattern by mycrochetmakes · mycrochetmakes.com/amigurumi-pumpkin-crochet-pattern/
Free for personal use. Please don't sell or redistribute this pattern.
Frequently asked questions
Can I use a bigger hook?
Yes. The 2.75 mm hook keeps the stitches very tight so the stuffing doesn't show. A 3.25 or 3.5 mm hook works too and makes slightly bigger pumpkins. Just keep your stitches snug.
How do I make a taller pumpkin?
Add a few more rounds of sc in each st around before you start decreasing. Each extra round makes it a little taller.
My segments aren't very deep. What can I do?
Pull the tail more firmly, and go around each section twice. Stuffing a little less firmly also lets the dents sink in deeper.
How long should I leave the tail?
Longer than you think. Each wrap goes all the way around the pumpkin. About 18 in for the small, 30 in for the medium and 40 in for the large is safe.
What can I use these pumpkins for?
Fall table decor, a mantel display, a Thanksgiving centerpiece, or a sweet little gift. The small ones are cute in a bowl with pine cones.