Free Crochet Cat Pattern (Amigurumi Cat with a Ruffle Collar)
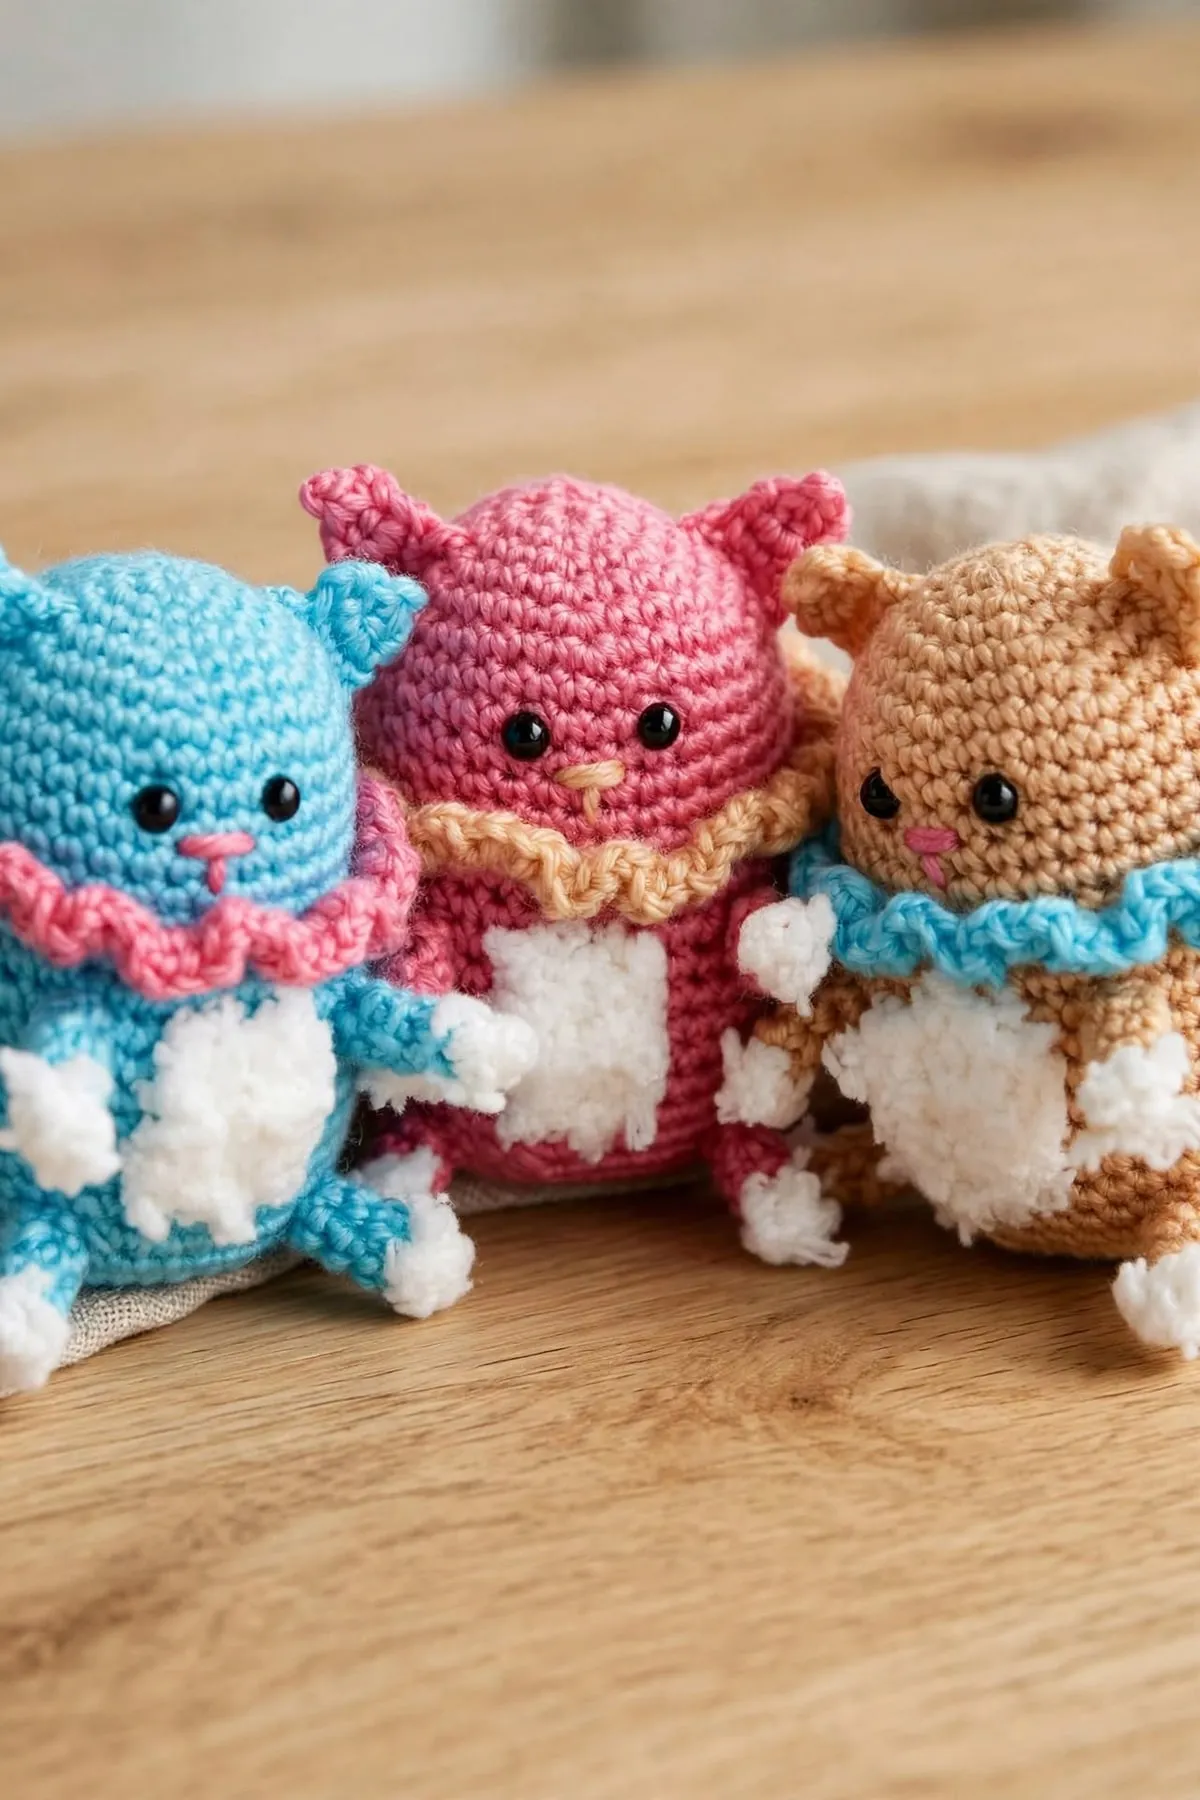
This chubby little cat has a ruffled collar, a fluffy white belly and tiny paws, and it's just as sweet in blue, pink or beige. Each one takes only a little yarn, so you can make a whole family.
 Save
Pattern Highlights
- Each cat uses only small amounts of yarn, so it's perfect for gifts and using up leftovers.
- The ruffle collar is easier than it looks. It's just 3 half double crochet in each stitch.
- Three color versions to choose from, or mix your own.
- Every round is written out with a stitch count, so you can check your work as you go.
Materials
- Super fine (#1) yarn in Color 1 (main), Color 2 (collar), Color 3 (fluffy white) and Color 4 (nose)
- 2.25 mm (B-1) crochet hook, or the size you need to get gauge
- 2 black safety eyes, 1/4 in (6 mm), for each cat
- Polyester fiberfill stuffing
- Yarn needle
Abbreviations used
This pattern uses US crochet terms. Tap any abbreviation for a full explanation, or see the complete crochet abbreviations list.
- ch – chain
- sc – single crochet (UK: double crochet (dc))
- hdc – half double crochet (UK: half treble crochet (htr))
- sl st – slip stitch (UK: slip stitch (ss))
- sc2tog – single crochet 2 together (UK: double crochet 2 together (dc2tog))
- sc3tog – single crochet 3 together (UK: double crochet 3 together (dc3tog))
- FLO – front loop only
- BLO – back loop only
- rnd(s) – round(s)
- rep – repeat
- st(s) – stitch(es)
- yo – yarn over (UK: yarn over hook (yoh))
- FO – fasten off
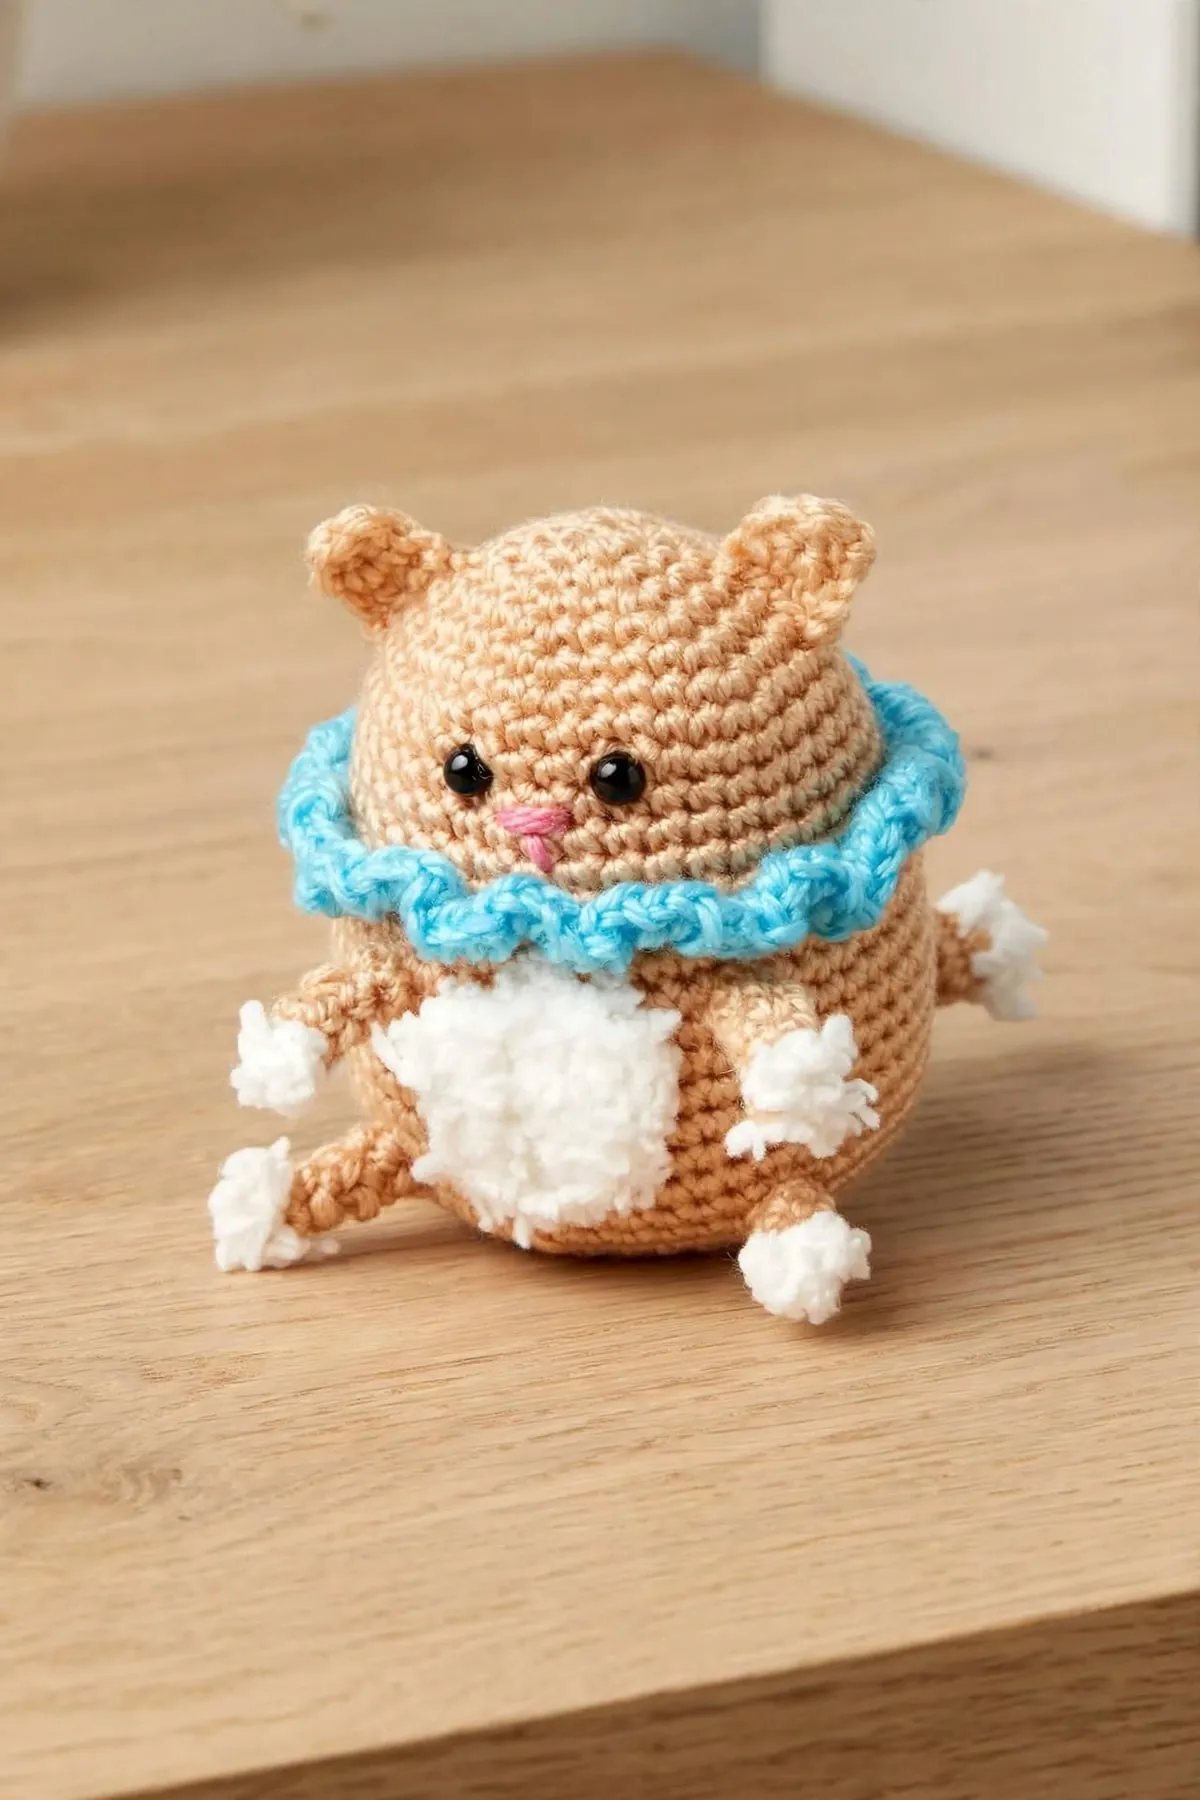
Choose your colors
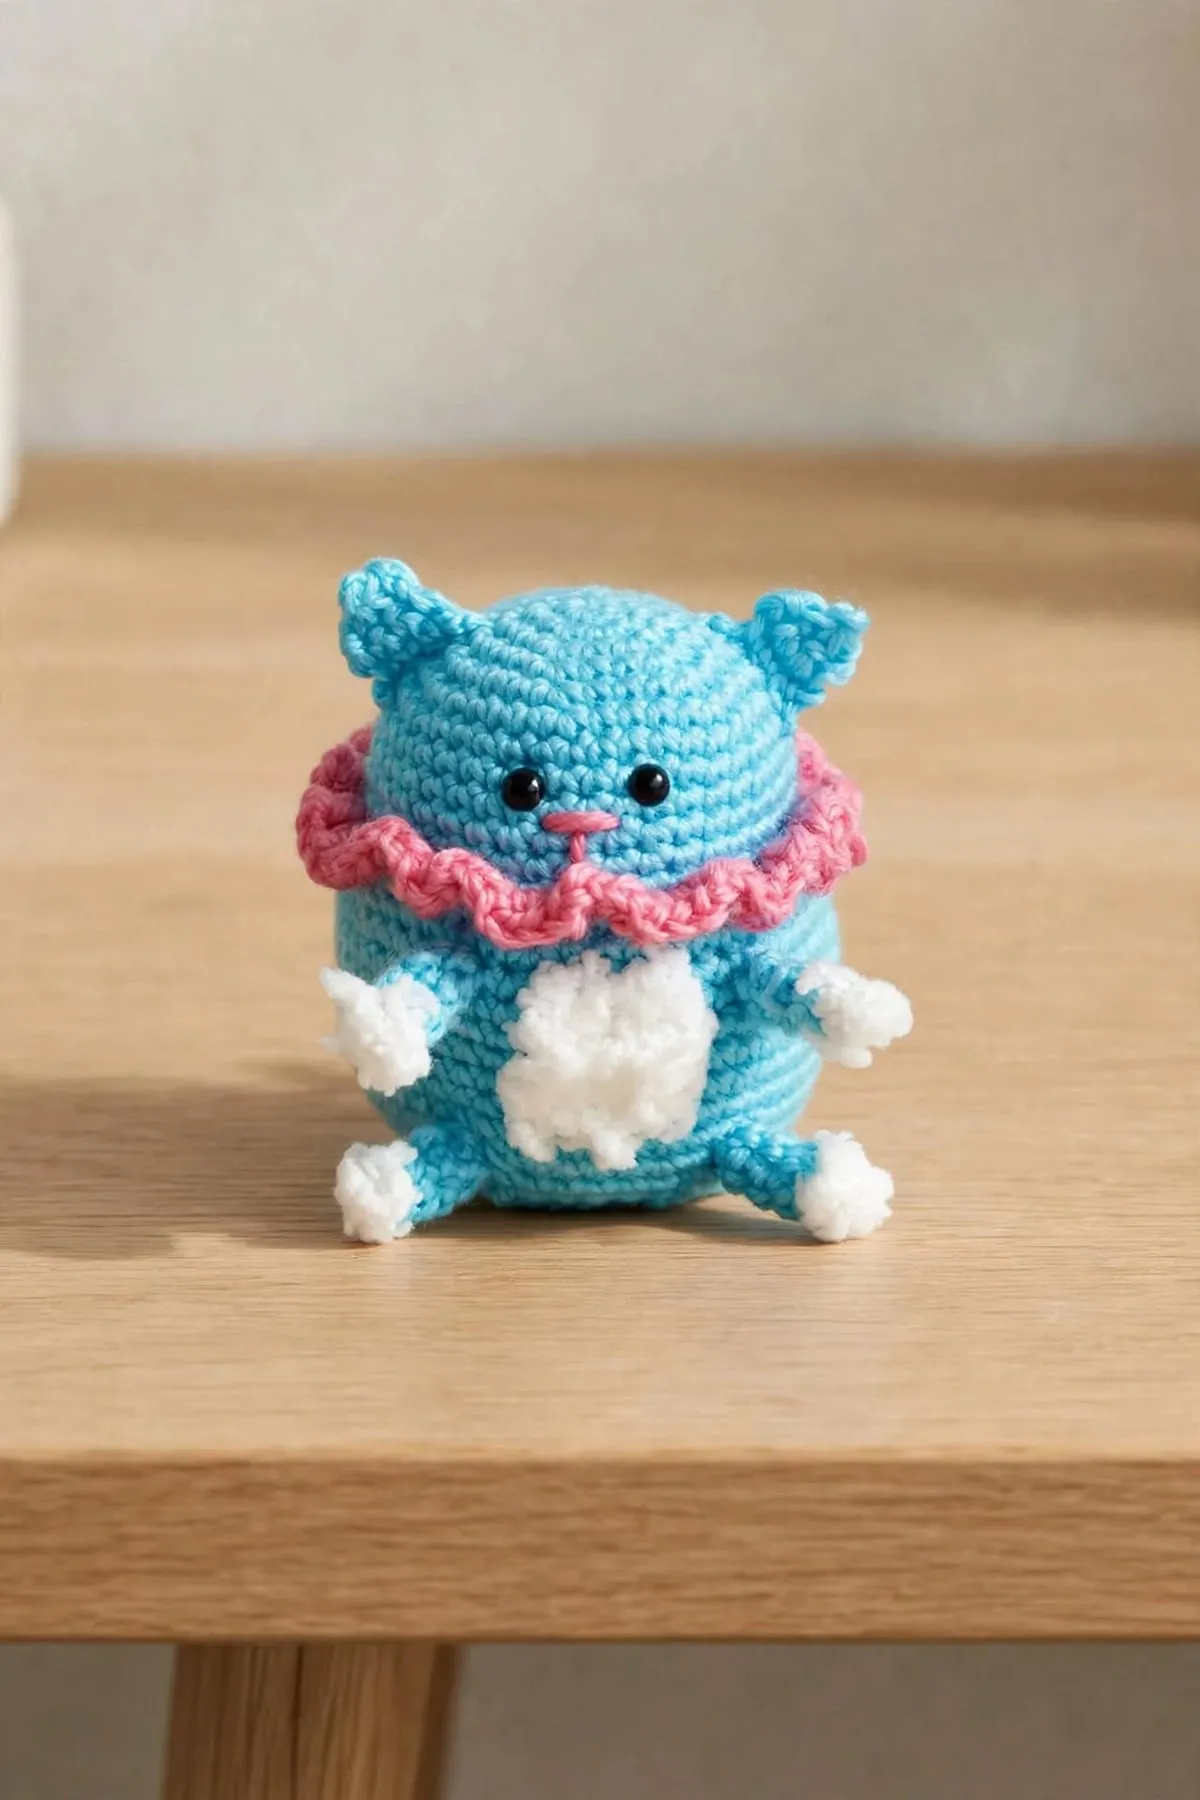
This cat comes in three sweet color versions. Each one uses four colors: a main color for the body, ears, legs and tail, a collar color, a fluffy white for the belly and paws, and a little contrast for the nose.
| Version | Body | Collar | Fluffy bits | Nose |
|---|---|---|---|---|
| 1 | beige | blue | white | pink |
| 2 | blue | pink | white | pink |
| 3 | pink | beige | white | beige |
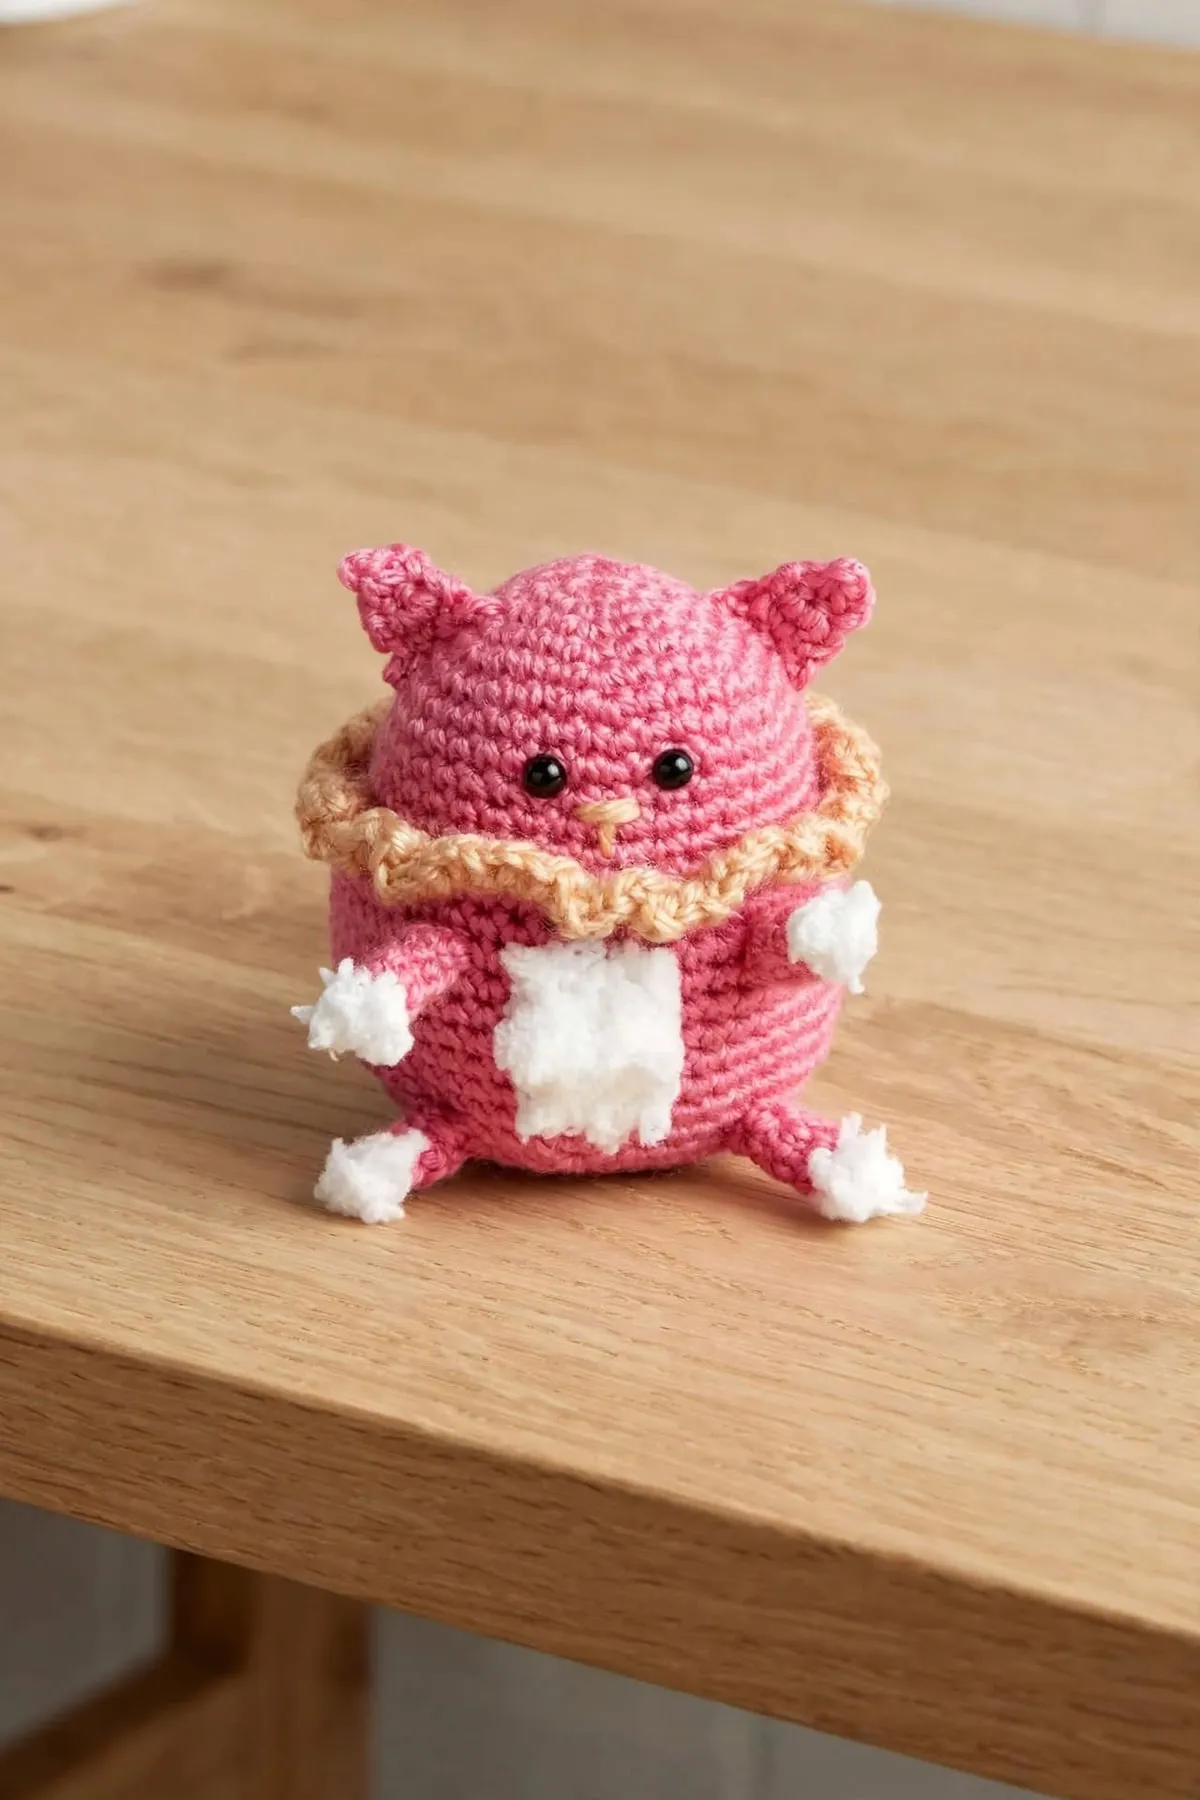
Of course, you can mix your own. A gray cat with a yellow collar would be lovely too.
Before you start
This one is rated intermediate, mostly because of the yarn. It’s a super fine (#1) yarn on a small 2.25 mm hook, which means tiny stitches and a little more patience than worsted-weight amigurumi. If you’re newer to amigurumi, the easy amigurumi bunny is a gentler place to start.
A few things are different from many amigurumi patterns:
- The rounds are joined. Instead of working in a continuous spiral, you join each round with a slip stitch to the first stitch, then chain 1 to start the next. The chain 1 doesn’t count as a stitch.
- It starts with a chain, not a magic ring. You work 6 sc into the 2nd chain from the hook. If you prefer, a magic ring with 6 sc works too and closes up a little tighter.
- You’ll change colors cleanly. Work the last stitch until 2 loops are on your hook, then pull the new color through those 2 loops.
How the ruffle collar works
The ruffle is the cutest part, and it’s simpler than it looks.
- After round 12, you switch to the collar color and work round 13 in the front loops only, with 3 half double crochet in every stitch. That’s 108 stitches, which is why it ruffles.
- For round 14, fold the ruffle up toward the head, and you’ll see a row of unused loops behind it. Those are the back loops of round 12. Work into them in the main color. The body carries on underneath, and the collar stands out on its own.
If you’ve never worked in front or back loops, take a peek at the abbreviations page first. It’s the same stitch, just worked into one loop instead of both.
Tips for success
- Check your gauge, and keep it snug. With super fine yarn, a small difference in tension changes the size a lot. Aim for 22 sc and 24 rows to 4 inches. If stuffing peeks through the stitches when you stuff, go down a hook size.
- Use a stitch marker in the first stitch of each round so you always know where to join.
- Place the eyes early. Add the safety eyes and embroider the nose right after round 12, before the collar. The opening is wide there, so the eye backs are easy to snap on.
- Stuff firmly. A well-stuffed body helps the cat keep its round, chubby shape.
- Pin before you sew. Pin the ears, belly, legs and tail in place and look from all sides before sewing.
Skills you’ll use
- How to single crochet, used for almost every round
- How to half double crochet, for the ruffle collar
- How to read a crochet pattern, if the brackets and stitch counts look confusing
- How to weave in ends, including hiding ends inside stuffed toys
They take so little yarn that they’re lovely for little gifts, party favors or a cozy shelf display. 🧶
The Pattern
- Skill level
- Intermediate
- Yarn
- Super fine (#1) textured amigurumi yarn
- Yarn amount
- Per cat: about 35 yd (32 m) of Color 1, 5 yd (5 m) of Color 2, and small amounts of Colors 3 and 4
- Hook
- 2.25 mm (B-1)
- Gauge
- 22 sc and 24 rows = 4 in (10 cm)
- Finished size
- About 4 in (10 cm) tall, not counting the ears
- Time
- Varies with experience
Body (Color 1, collar in Color 2)
- With Color 1, ch 2.
- Rnd 1: 6 sc in 2nd ch from hook. Join with sl st to first st. (6)
- Rnd 2: Ch 1. 2 sc in each sc around. Join. (12)
- Rnd 3: Ch 1. [1 sc in next sc, 2 sc in next sc] 6 times. Join. (18)
- Rnd 4: Ch 1. [1 sc in each of next 2 sc, 2 sc in next sc] 6 times. Join. (24)
- Rnd 5: Ch 1. [1 sc in each of next 3 sc, 2 sc in next sc] 6 times. Join. (30)
- Rnd 6: Ch 1. [1 sc in each of next 4 sc, 2 sc in next sc] 6 times. Join. (36)
- Rnds 7–12: Ch 1. 1 sc in each sc around. At the end of rnd 12, join with Color 2. Don't cut Color 1. (36)
- Attach the safety eyes now, while the opening is wide: place them around rnds 8–9, about 6 stitches apart. With Color 4, embroider a small nose between them with satin stitch, and a short straight stitch below it.
- Rnd 13: For the collar, with Color 2, ch 2 (doesn't count as a stitch). Working in front loops only, 3 hdc in each sc around. Join with sl st to the first hdc, pulling Color 1 through to finish the sl st. Cut Color 2. (108)
- Rnd 14: Fold the ruffle up toward the head so you can see the unused back loops of rnd 12 behind it. With Color 1, ch 1. Working in those back loops, [1 sc in each of next 5 sc, 2 sc in next sc] 6 times. Join. (42)
- Rnd 15: Ch 1. [1 sc in each of next 6 sc, 2 sc in next sc] 6 times. Join. (48)
- Rnds 16–22: Ch 1. 1 sc in each sc around. Join. (48)
- Rnd 23: Ch 1. [1 sc in each of next 6 sc, sc2tog] 6 times. Join. (42)
- Rnd 24: Ch 1. [1 sc in each of next 5 sc, sc2tog] 6 times. Join. (36)
- Rnd 25: Ch 1. [1 sc in each of next 4 sc, sc2tog] 6 times. Join. (30)
- Rnd 26: Ch 1. [1 sc in each of next 3 sc, sc2tog] 6 times. Join. (24)
- Rnd 27: Ch 1. [1 sc in each of next 2 sc, sc2tog] 6 times. Join. (18)
- Stuff the body firmly.
- Rnd 28: Ch 1. [1 sc in next sc, sc2tog] 6 times. Join. (12)
- Rnd 29: Ch 1. Sc2tog 6 times. Join. (6)
- Fasten off, leaving a long tail. Thread it through the remaining stitches, pull tight and secure.
Ears (make 2, Color 1)
- Ch 4, leaving a long tail for sewing.
- Row 1: 1 sc in 2nd ch from hook, 1 sc in each ch to the end. Turn. (3)
- Row 2: Ch 1. 1 sc in each sc to the end. Turn. (3)
- Row 3: Ch 1. Sc3tog (pull up a loop in each of the 3 sc, yo and pull through all 4 loops). Fasten off. (1)
Legs (make 4, Color 1 with Color 3 paws)
- With Color 1, ch 4, leaving a long tail for sewing. Join with sl st to the first ch to form a ring.
- Rnd 1: Ch 1. 1 sc in each ch around. Join. (4)
- Rnds 2–3: Ch 1. 1 sc in each sc around. Join. At the end of rnd 3, join with Color 3. Cut Color 1. (4)
- Rnd 4: With Color 3, ch 1. Sc2tog twice. Join. Fasten off. (2) The paw is just this one round, so it's a tiny white tuft.
Belly (Color 3)
- Ch 4.
- Row 1: 1 sc in 2nd ch from hook, 1 sc in each ch to the end. Turn. (3)
- Row 2: Ch 1. 2 sc in first sc, 1 sc in next sc, 2 sc in last sc. Turn. (5)
- Row 3: Ch 1. Sc2tog, 1 sc in next sc, sc2tog. Fasten off, leaving a long tail for sewing. (3)
- For a bigger belly patch, work 1 or 2 extra rows of Ch 1, 1 sc in each sc (5) between rows 2 and 3.
Tail (Color 1 with a Color 3 tip)
- With Color 1, ch 6, leaving a long tail for sewing. Join with sl st to the first ch to form a ring.
- Rnd 1: Ch 1. 1 sc in each ch around. Join. (6)
- Rnds 2–6: Ch 1. 1 sc in each sc around. Join. At the end of rnd 6, join with Color 3. Cut Color 1. (6)
- Rnd 7: With Color 3, ch 1. Sc2tog 3 times. Join. Fasten off. Stuff the tail firmly. (3)
Assembly
- Sew the ears to the top of the head, one on each side.
- Sew the belly to the front of the body, below the collar.
- Sew two legs to the front as arms, and two at the bottom as feet.
- Sew the tail to the back, near the bottom.
- Weave in all ends.
Pattern notes
- Join every round with a slip stitch to the first stitch. The chain 1 (or chain 2 on the collar round) at the start of each round doesn't count as a stitch.
- To change color, work the last stitch until 2 loops are left on your hook, then pull the new color through those 2 loops.
- Color versions: Version 1 is beige body, blue collar, white fluff, pink nose. Version 2 is blue body, pink collar, white fluff, pink nose. Version 3 is pink body, beige collar, white fluff, beige nose.
- For children under 3, embroider the eyes instead of using safety eyes.
Keep this pattern handy
Print it now, or get the free PDF to save on your phone or tablet.
Free Crochet Cat Pattern (Amigurumi Cat with a Ruffle Collar) · Pattern by mycrochetmakes · mycrochetmakes.com/crochet-cat-pattern/
Free for personal use. Please don't sell or redistribute this pattern.
Frequently asked questions
Can I make this cat with a thicker yarn?
Yes. Use a hook 1 to 2 sizes smaller than your yarn label suggests so the fabric stays tight. A medium (#4) yarn will make a noticeably bigger cat.
Do I join each round or work in a spiral?
This pattern joins each round with a slip stitch to the first stitch, then starts the next round with a chain 1. The chain 1 doesn't count as a stitch.
Is this cat safe for babies?
For children under 3, skip the safety eyes and embroider the eyes with black yarn instead. Sew all the pieces on very securely.
How do I make the ruffle collar lie nicely?
Work the collar round in front loops only, then work the next body round into the back loops of the same round. The collar will stand out on its own. A light steam or a gentle tug into shape helps it sit evenly.
What is the fluffy white yarn?
The belly, paws and tail tip use a textured, fuzzy white yarn. Any soft, fluffy white yarn in a similar thickness will give you the same look.