Free Christmas Pudding Crochet Pattern (Easy Amigurumi)
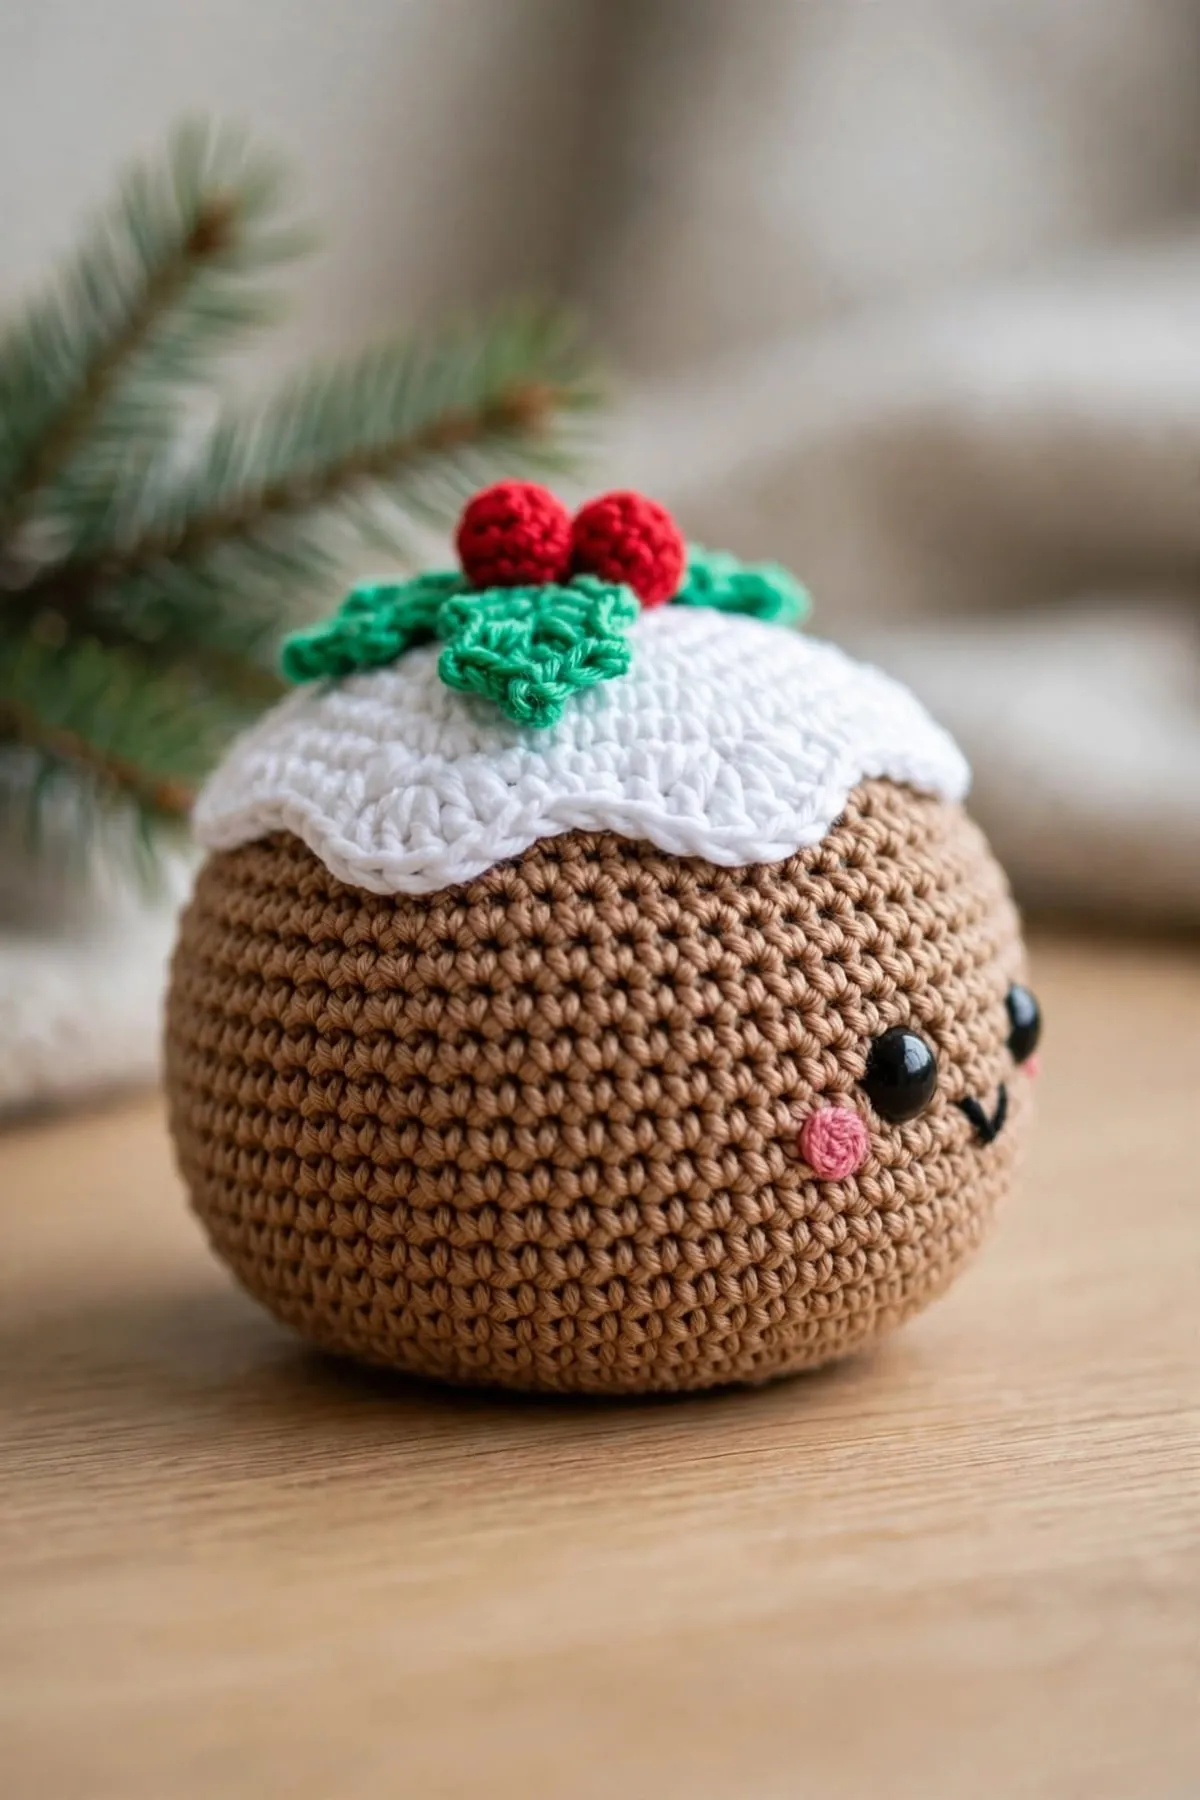
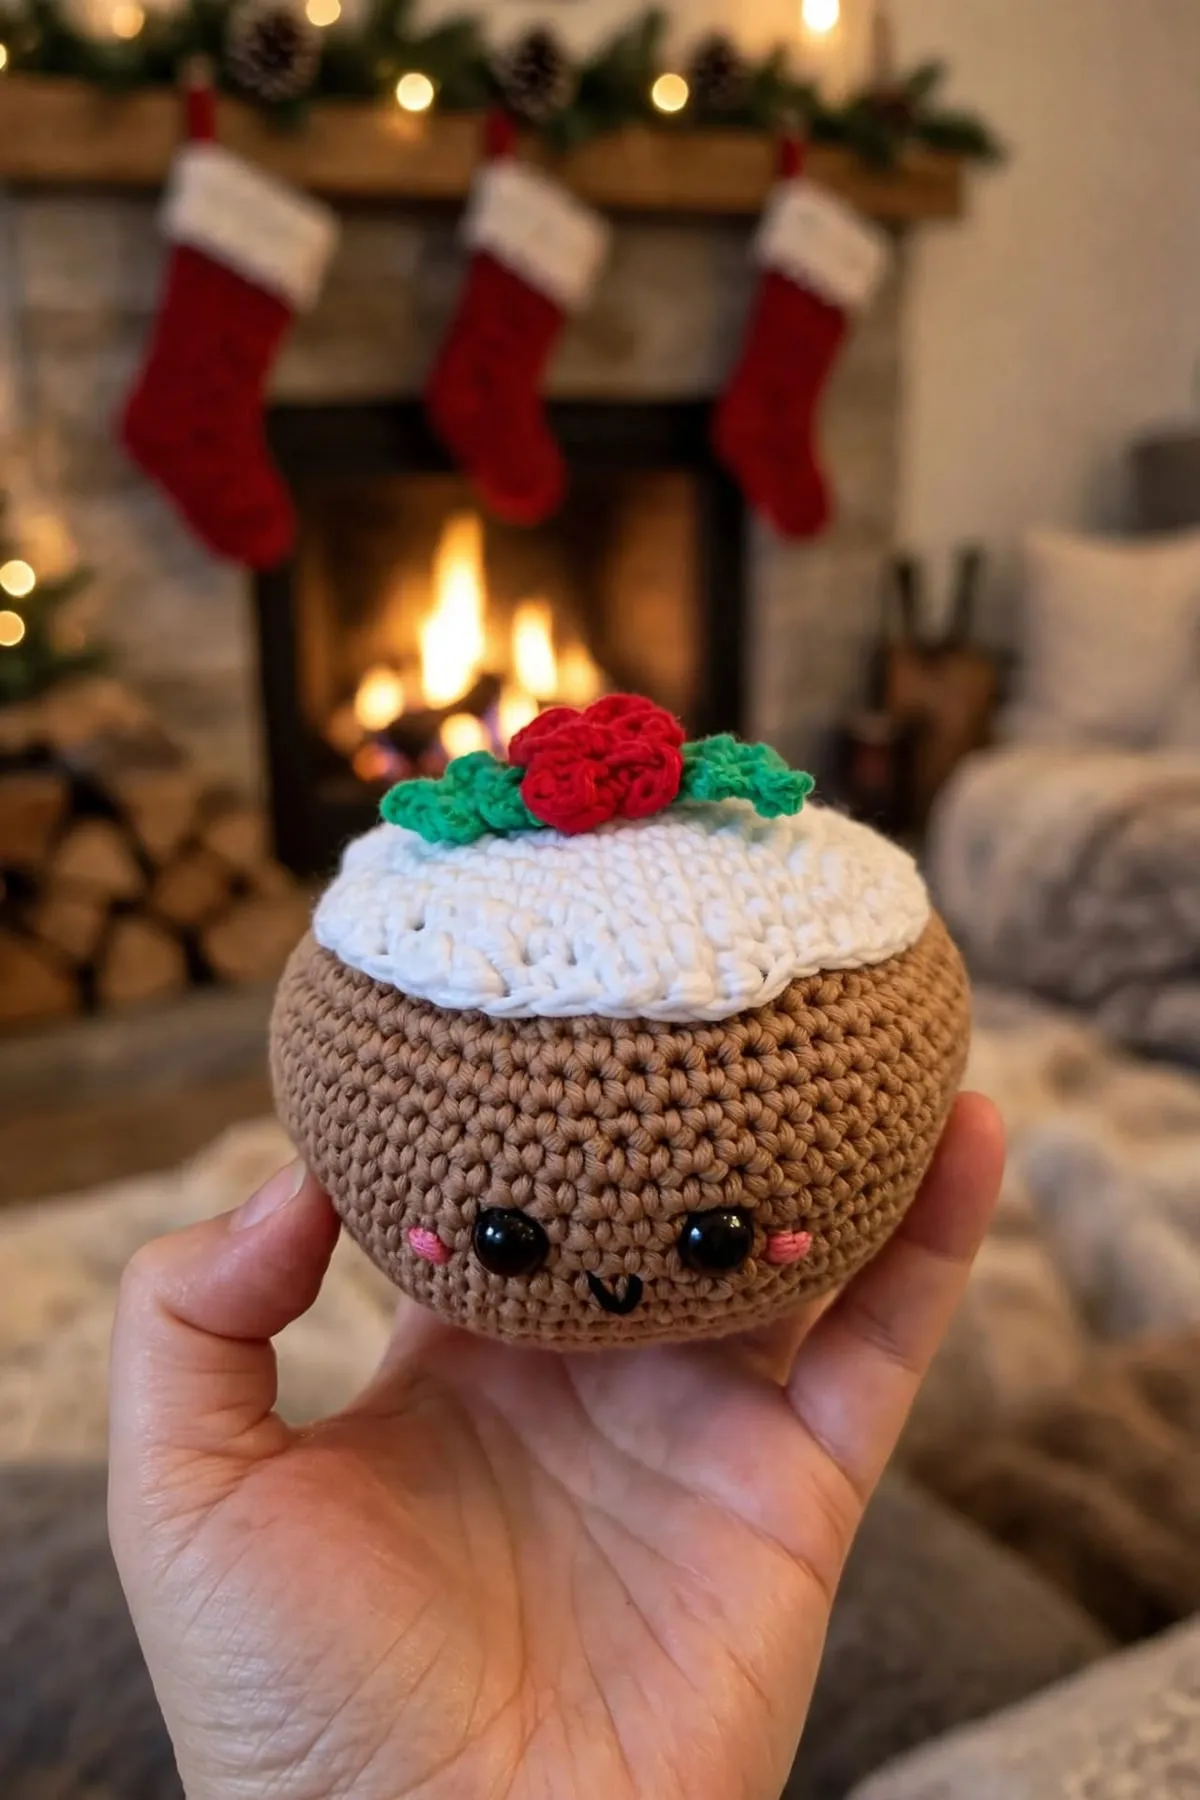
This happy little Christmas pudding has a round, squat body, a drizzle of white icing and a sprig of holly on top. It's mostly single crochet, it sits flat on a shelf, and it's quick enough to make a few before Christmas.
 Save
Pattern Highlights
- It's mostly single crochet worked in the round, so it's a lovely easy amigurumi.
- A round in the back loops gives it a flat base, so it sits nicely on a shelf or mantel.
- The drippy icing edge is just one round of simple stitches.
- Every round is written out with a stitch count, so you can check as you go.
Materials
- Medium weight (#4) yarn in brown, white, green and red, plus scraps of black and pink for the face
- 3.5 mm (E-4) crochet hook
- 1 pair of 10 mm safety eyes
- Polyester fiberfill stuffing
- Stitch marker
- Yarn needle
- Pins and scissors
Abbreviations used
This pattern uses US crochet terms. Tap any abbreviation for a full explanation, or see the complete crochet abbreviations list.
- MR – magic ring
- ch – chain
- sc – single crochet (UK: double crochet (dc))
- hdc – half double crochet (UK: half treble crochet (htr))
- dc – double crochet (UK: treble crochet (tr))
- inc – increase
- dec – decrease
- sl st – slip stitch (UK: slip stitch (ss))
- BLO – back loop only
- rnd(s) – round(s)
- st(s) – stitch(es)
- FO – fasten off
About this pudding
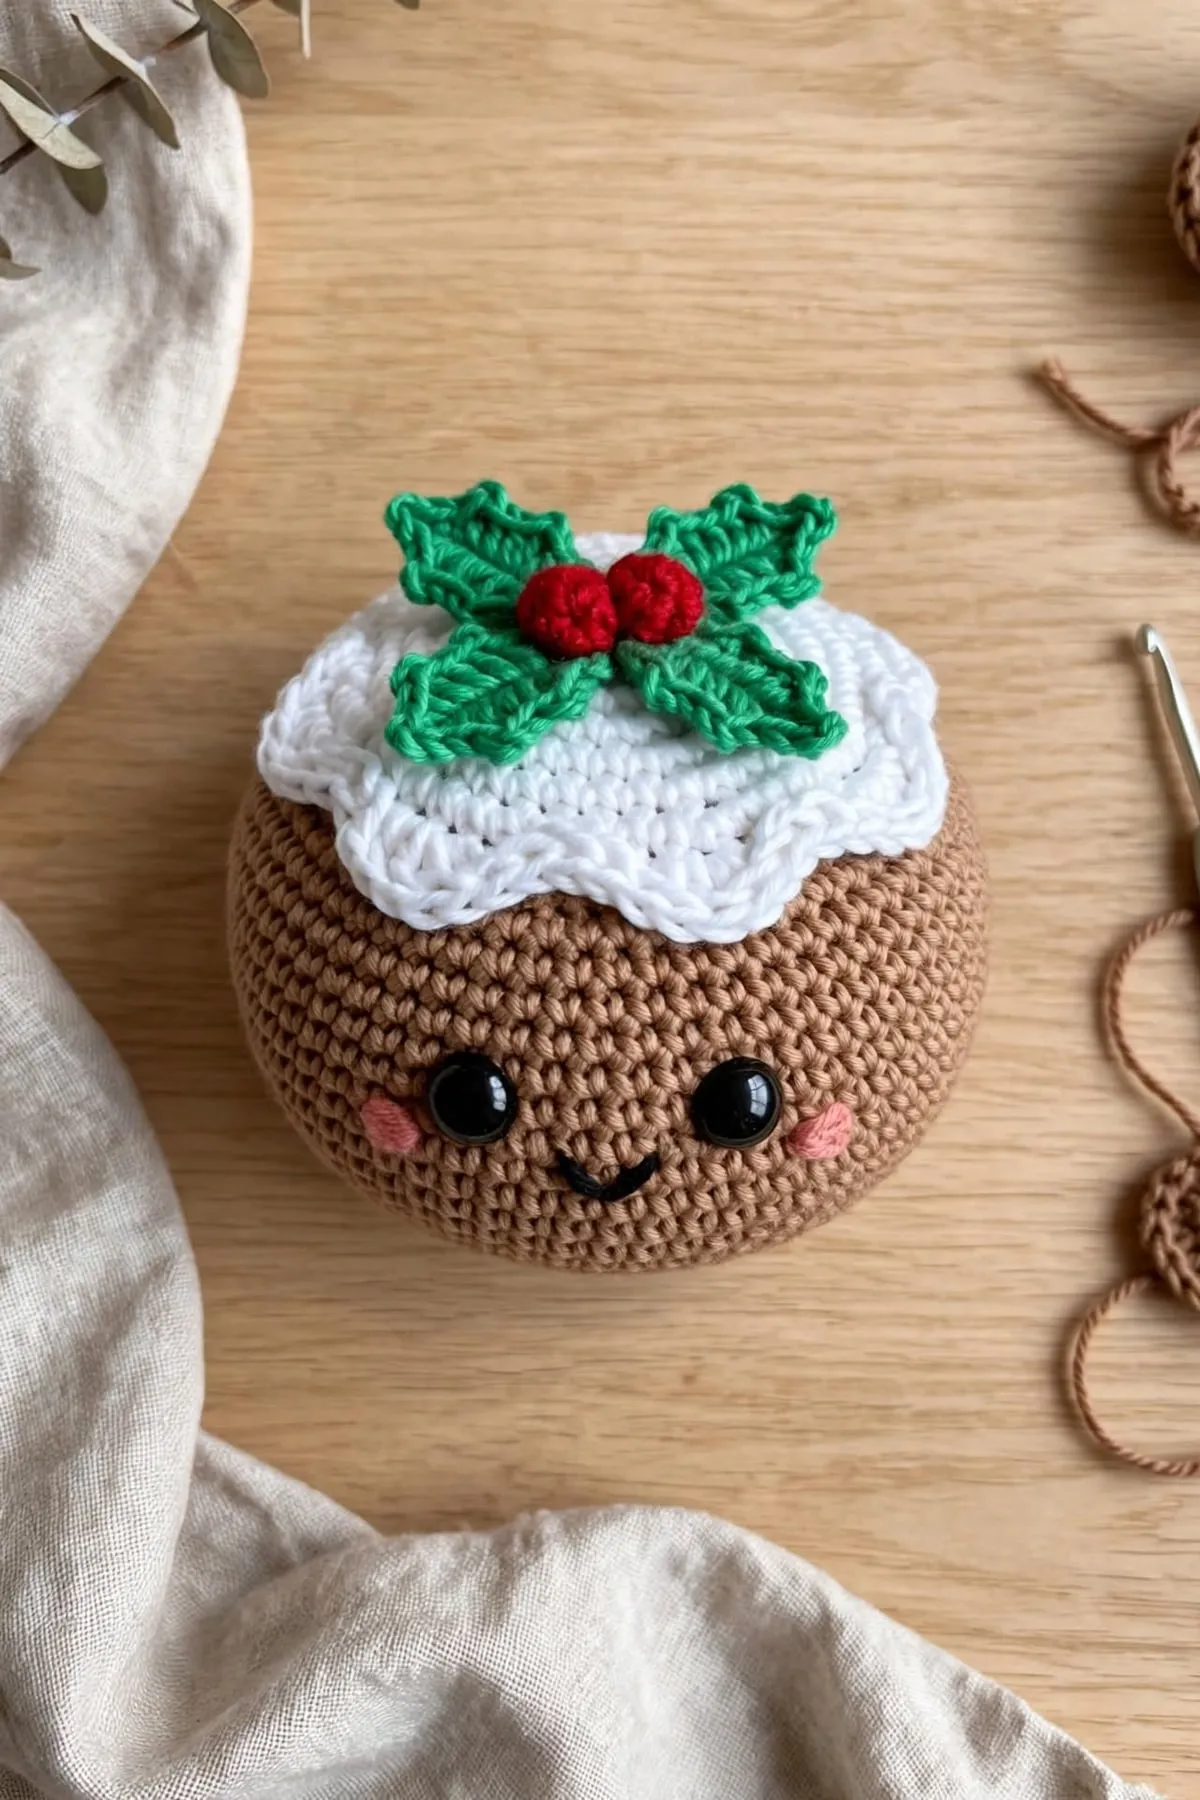
This little pudding is made in four simple parts: a round body, a circle of icing with a drippy edge, two holly leaves and three tiny berries. The face is a pair of safety eyes, a stitched smile and two rosy cheeks.
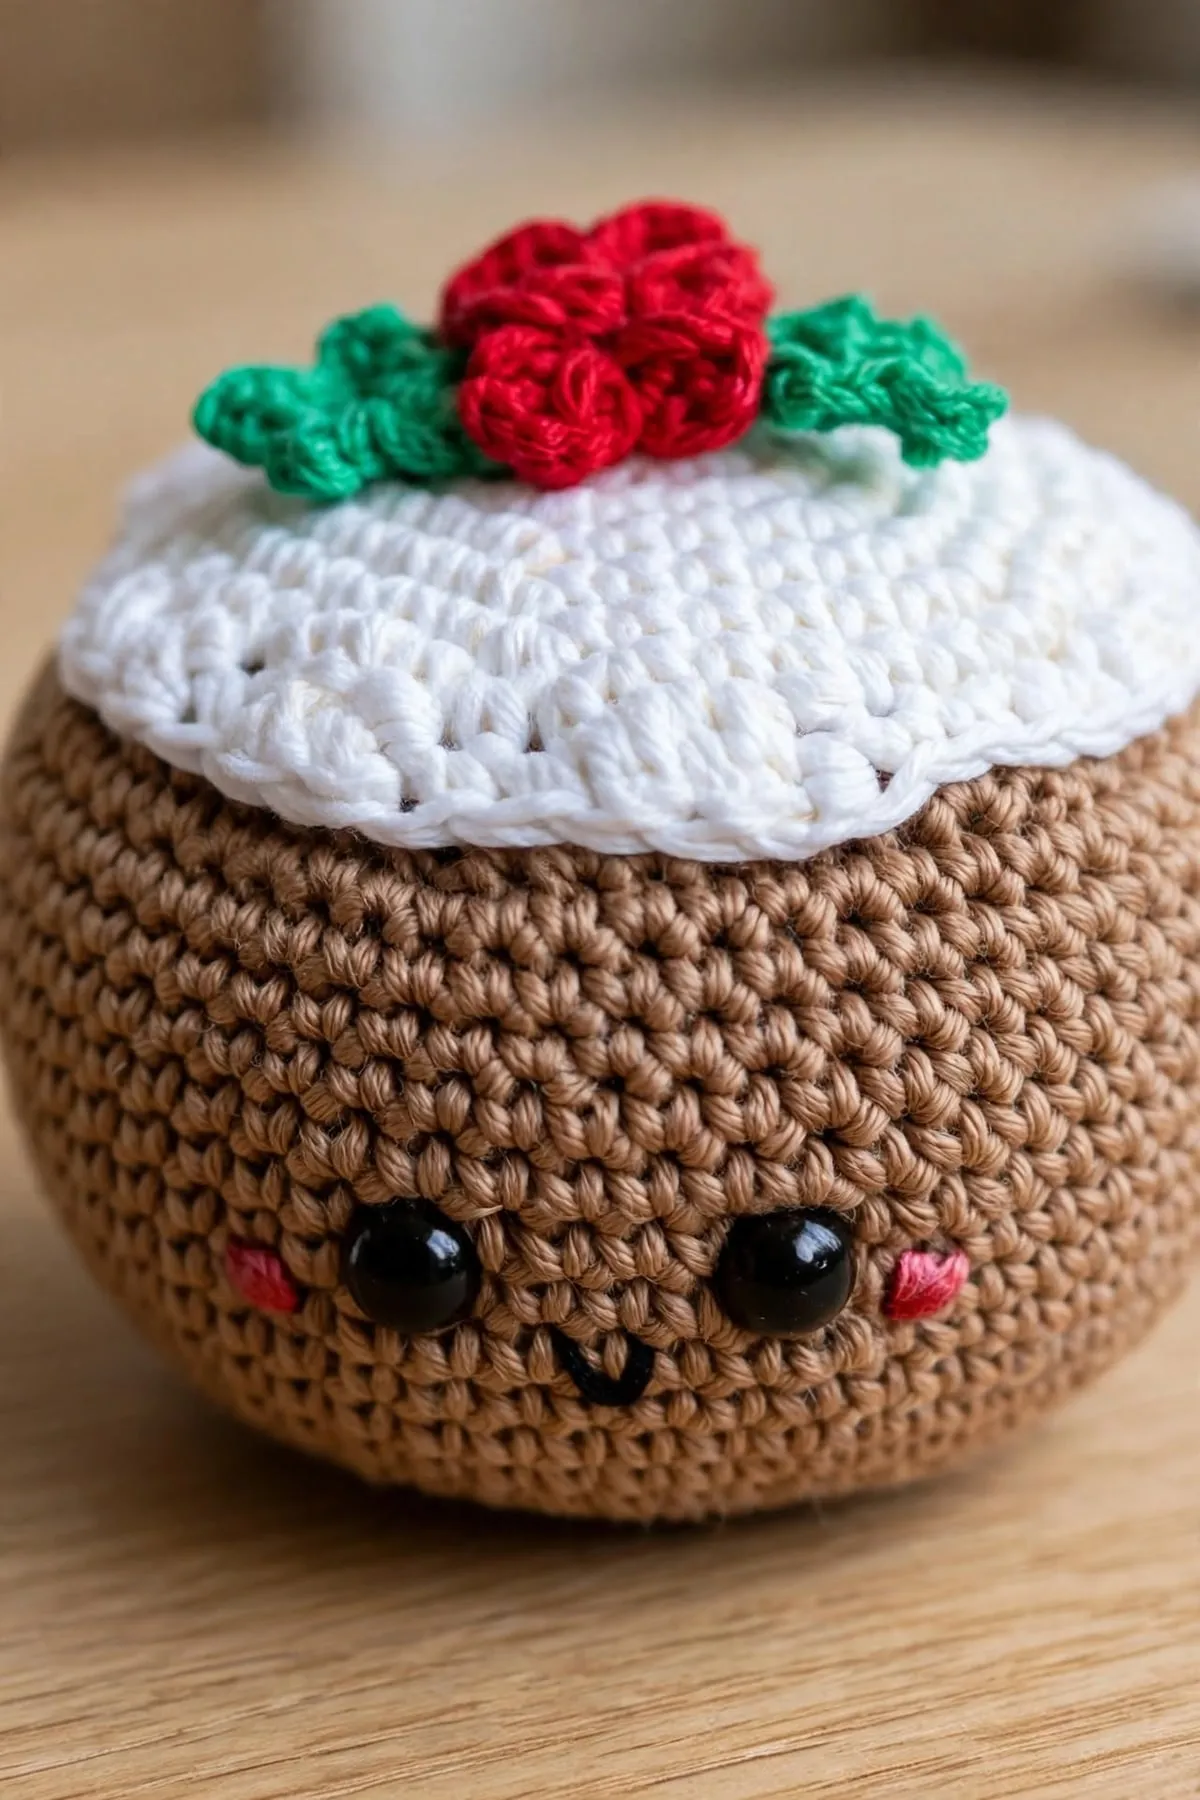
You’ll need brown, white, green and red yarn, plus small scraps of black and pink for the face.
Before you start
This one is rated easy. It’s almost all single crochet, with a few half double and double crochet stitches in the icing drips and on the holly leaves.
- It’s worked in a spiral. Don’t join your rounds. Put a stitch marker in the first stitch of each round so you always know where you are.
- It starts with a magic ring. If you’re new to it, my magic ring tutorial walks you through it step by step.
- Add the face early. The eyes, smile and cheeks go on after round 17, while the opening is still wide enough to reach inside.
How the flat base works
The pudding is worked from the bottom up. The first 7 rounds are a flat circle. Then round 8 is worked in the back loops only. That one round bends the work upward and leaves a neat ridge around the bottom, so the finished pudding sits flat instead of rolling.
If you’ve never worked in back loops, take a peek at the abbreviations page. It’s the same single crochet, just worked into one loop instead of both.
Making the drippy icing
The icing starts just like the body, as a flat circle. The last round makes the drips. Each drip is a little hill of stitches that get taller, then shorter again: slip stitch, single crochet, half double crochet, two double crochet, half double crochet, single crochet.
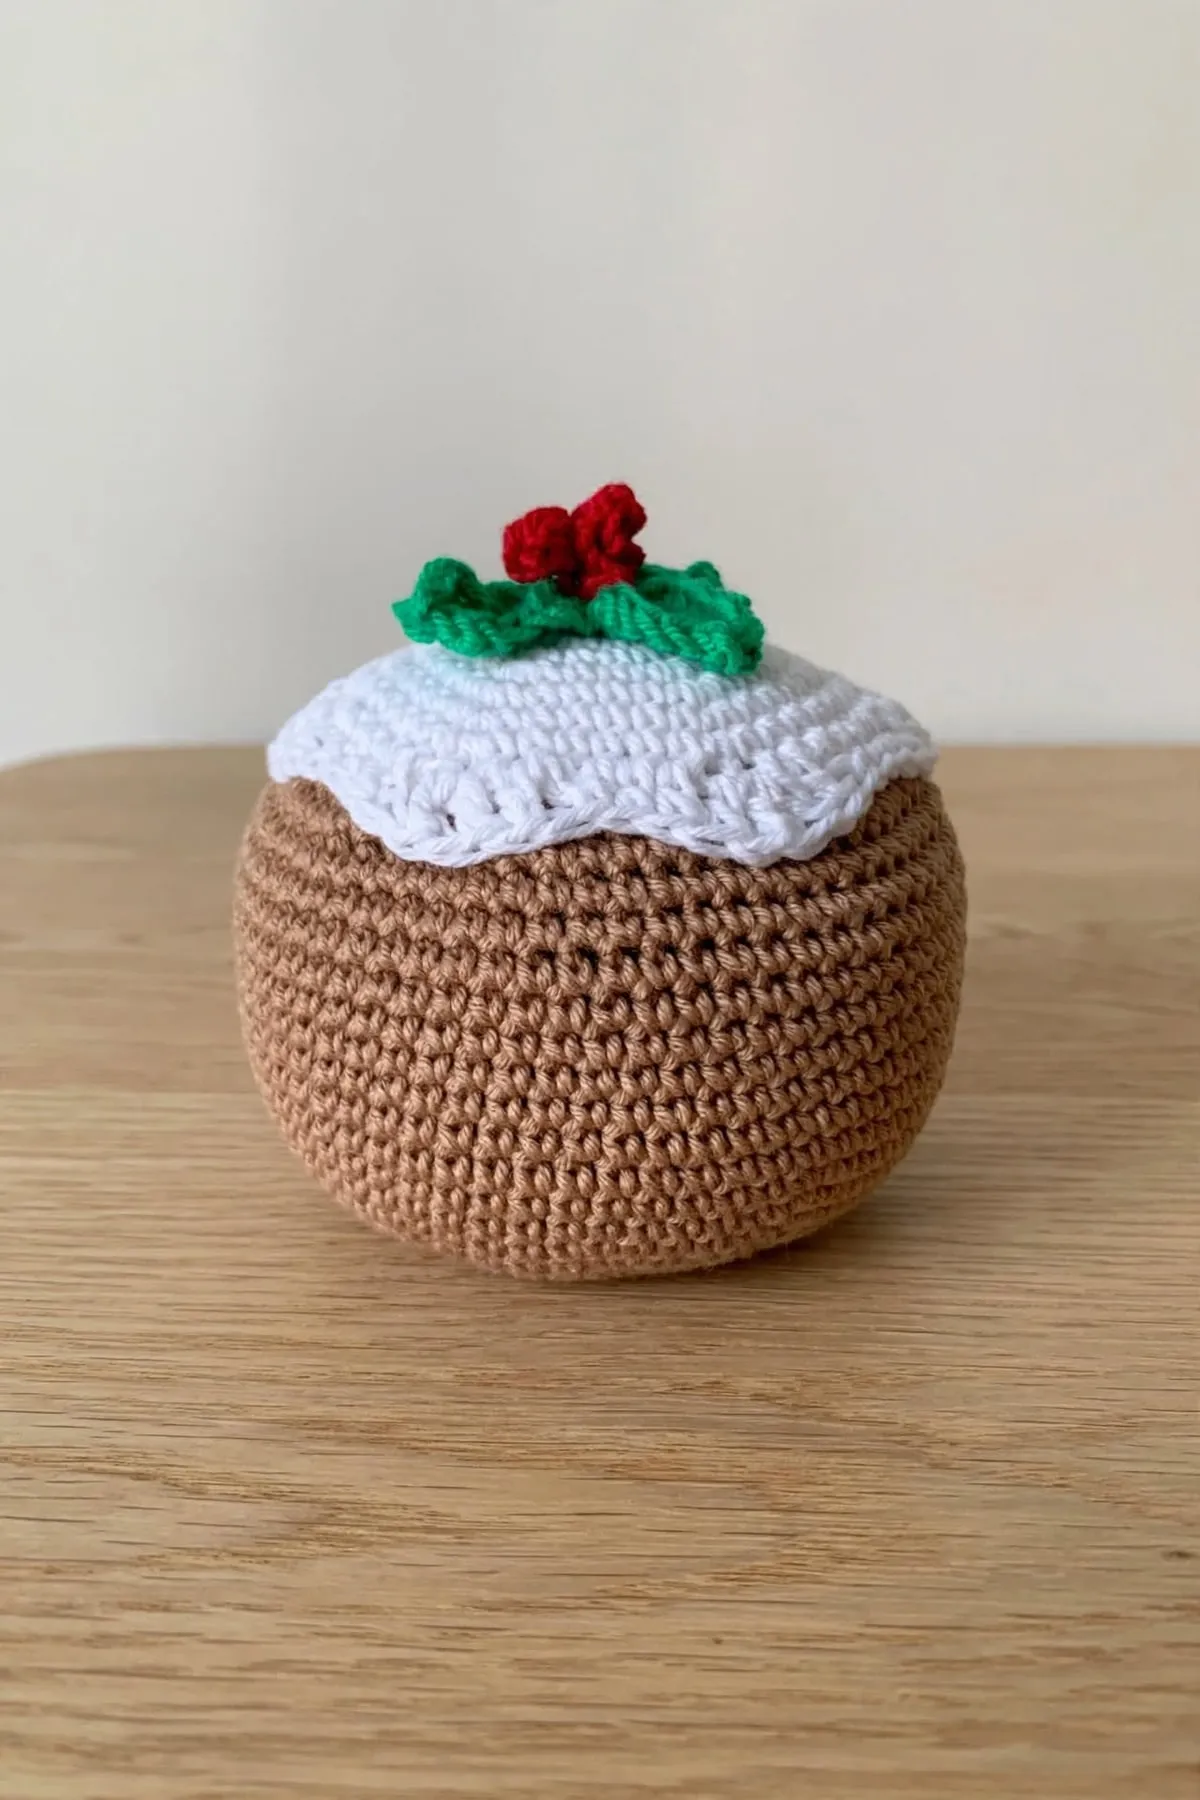
When you sew it on, let the drips hang down over the sides of the pudding. Pin it in place first, so the icing sits evenly all the way around.
Tips for success
- Keep your stitches tight. Small, firm stitches keep the stuffing hidden and the pudding nice and round.
- Stuff the top more than the bottom. A firm top and a lightly stuffed base give the classic squat pudding shape.
- Space the eyes evenly. Count 8 stitches between them, and look from the front before you snap the backs on.
- Pin before you sew. Pin the leaves, berries and icing in place and step back to check before sewing.
Skills you’ll use
- How to crochet a magic ring, to start every round piece
- How to single crochet, used for almost every round
- How to half double crochet and how to double crochet, for the icing drips and holly leaves
- How to weave in ends, including hiding ends inside stuffed toys
Make one for the mantel, or a whole little row of them. They’re lovely tucked into a Christmas gift basket, too. 🎄
The Pattern
- Skill level
- Easy
- Yarn
- Medium weight (#4) cotton or acrylic
- Yarn amount
- About 35 yd (32 m) brown, 10 yd (9 m) white, 6 yd (5 m) green, 3 yd (3 m) red, and scraps of black and pink. Amounts are estimates.
- Hook
- 3.5 mm (US E-4)
- Gauge
- Not critical. Work tightly so the stuffing doesn't show.
- Finished size
- About 3.5 in (9 cm) wide and 3 in (7.5 cm) tall, depending on your tension
- Time
- Varies with experience
Body (brown)
- Worked from the bottom up in a continuous spiral. Rnds 1–7 make the flat base.
- Rnd 1: 6 sc in MR. (6)
- Rnd 2: Inc 6 times. (12)
- Rnd 3: [Sc in next st, inc] 6 times. (18)
- Rnd 4: [Sc in next st, inc, sc in next st] 6 times. (24)
- Rnd 5: [Sc in next 3 sts, inc] 6 times. (30)
- Rnd 6: [Sc in next 2 sts, inc, sc in next 2 sts] 6 times. (36)
- Rnd 7: [Sc in next 5 sts, inc] 6 times. (42)
- Rnd 8: Working in back loops only, sc in each st around. (42) This makes a neat edge so the pudding sits flat.
- Rnd 9: Working in both loops again, [sc in next 3 sts, inc, sc in next 3 sts] 6 times. (48)
- Rnds 10–17: Sc in each st around. (48)
- Add the face now, while the opening is wide. Insert the 10 mm safety eyes between rnds 12 and 13, 8 stitches apart. With black yarn, embroider a small smile centered between the eyes, one round below them. With pink yarn, make two short stitches beside each eye for the cheeks.
- Rnd 18: [Sc in next 3 sts, dec, sc in next 3 sts] 6 times. (42)
- Rnd 19: [Sc in next 5 sts, dec] 6 times. (36)
- Rnd 20: [Sc in next 2 sts, dec, sc in next 2 sts] 6 times. (30)
- Start stuffing. Keep the base flat and fill the top firmly so the pudding is round and squat.
- Rnd 21: [Sc in next 3 sts, dec] 6 times. (24)
- Rnd 22: [Sc in next st, dec, sc in next st] 6 times. (18)
- Rnd 23: [Sc in next st, dec] 6 times. (12)
- Finish stuffing.
- Rnd 24: Dec 6 times. (6)
- Fasten off. Thread the tail through the front loops of the last 6 sts, pull tight to close, and weave in the end.
Icing (white)
- Worked in a continuous spiral, then finished with a round of drips.
- Rnd 1: 6 sc in MR. (6)
- Rnd 2: Inc 6 times. (12)
- Rnd 3: [Sc in next st, inc] 6 times. (18)
- Rnd 4: [Sc in next st, inc, sc in next st] 6 times. (24)
- Rnd 5: [Sc in next 3 sts, inc] 6 times. (30)
- Rnd 6: [Sc in next 2 sts, inc, sc in next 2 sts] 6 times. (36)
- Rnd 7: [Sc in next 5 sts, inc] 6 times. (42)
- Rnd 8: Drip round. [Sl st in next st, sc in next st, hdc in next st, 2 dc in next st, hdc in next st, sc in next st] 7 times. (49) Sl st in the next st.
- Fasten off, leaving a long tail for sewing.
Holly leaves (make 2, green)
- Picot: ch 2, sl st in the 2nd ch from the hook.
- Ch 9.
- First side: starting in the 2nd ch from the hook, sl st in the first ch, sc in next ch, (hdc, picot, hdc) in next ch, sc in next ch, (hdc, picot, hdc) in next ch, sc in next ch, (hdc, picot, hdc) in next ch, sl st in the last ch.
- Ch 1 to turn around the end of the chain.
- Second side: working along the other side of the chain, sl st in the first ch, (hdc, picot, hdc) in next ch, sc in next ch, (hdc, picot, hdc) in next ch, sc in next ch, (hdc, picot, hdc) in next ch, sc in next ch, sl st in the last ch.
- Sl st in the first sl st at the tip of the leaf. Fasten off, leaving a long tail for sewing.
Berries (make 3, red)
- Rnd 1: 6 sc in MR. (6)
- Rnd 2: Sc in each st around. (6)
- Fasten off, leaving a long tail. Tuck the starting tail inside as a tiny bit of stuffing. Thread the long tail through the front loops of the last 6 sts and pull tight into a little ball.
Assembly
- Sew the two holly leaves to the center of the icing, pointing out in opposite directions.
- Sew the three berries in a little cluster where the leaves meet.
- Place the icing on top of the pudding, centered, with the drips hanging down to about rnd 17. Pin it, then sew all the way around the edge with the white tail.
- Weave in all remaining ends.
Pattern notes
- Work the body and icing in a continuous spiral. Don't join the rounds. Move your stitch marker up to the first stitch of each new round.
- For "dec," an invisible decrease through the front loops gives the neatest finish.
- Safety eyes aren't suitable for children under 3. For a baby-safe version, embroider the eyes with black yarn.
Keep this pattern handy
Print it now, or get the free PDF to save on your phone or tablet.
Free Christmas Pudding Crochet Pattern (Easy Amigurumi) · Pattern by mycrochetmakes · mycrochetmakes.com/christmas-pudding-crochet-pattern/
Free for personal use. Please don't sell or redistribute this pattern.
Frequently asked questions
What yarn works best for a crochet Christmas pudding?
Any medium weight (#4) cotton or acrylic works. Cotton gives crisp stitch definition. Acrylic is a little softer. Use the hook size that gives you a tight fabric, so the stuffing doesn't show.
How do I make the pudding sit flat?
Round 8 is worked in the back loops only, which turns the work and makes a defined edge around the base. Stuff the top firmly and the base lightly, and press it gently on a table to flatten the bottom.
Can I make the icing drips uneven?
Yes, and it looks lovely. In the drip round, swap one or two of the "2 dc in next st" for "(dc, tr) in next st" to make some drips longer.
Is this pudding safe for babies?
Safety eyes aren't suitable for children under 3. For a baby-safe version, embroider the eyes with black yarn and sew every piece on very securely.
How long does it take to make?
It depends on your speed, but it's a small project. Many crocheters can finish one in an afternoon or evening.