Free Koala Amigurumi Crochet Pattern (Mini Koala with Fluffy Ears)
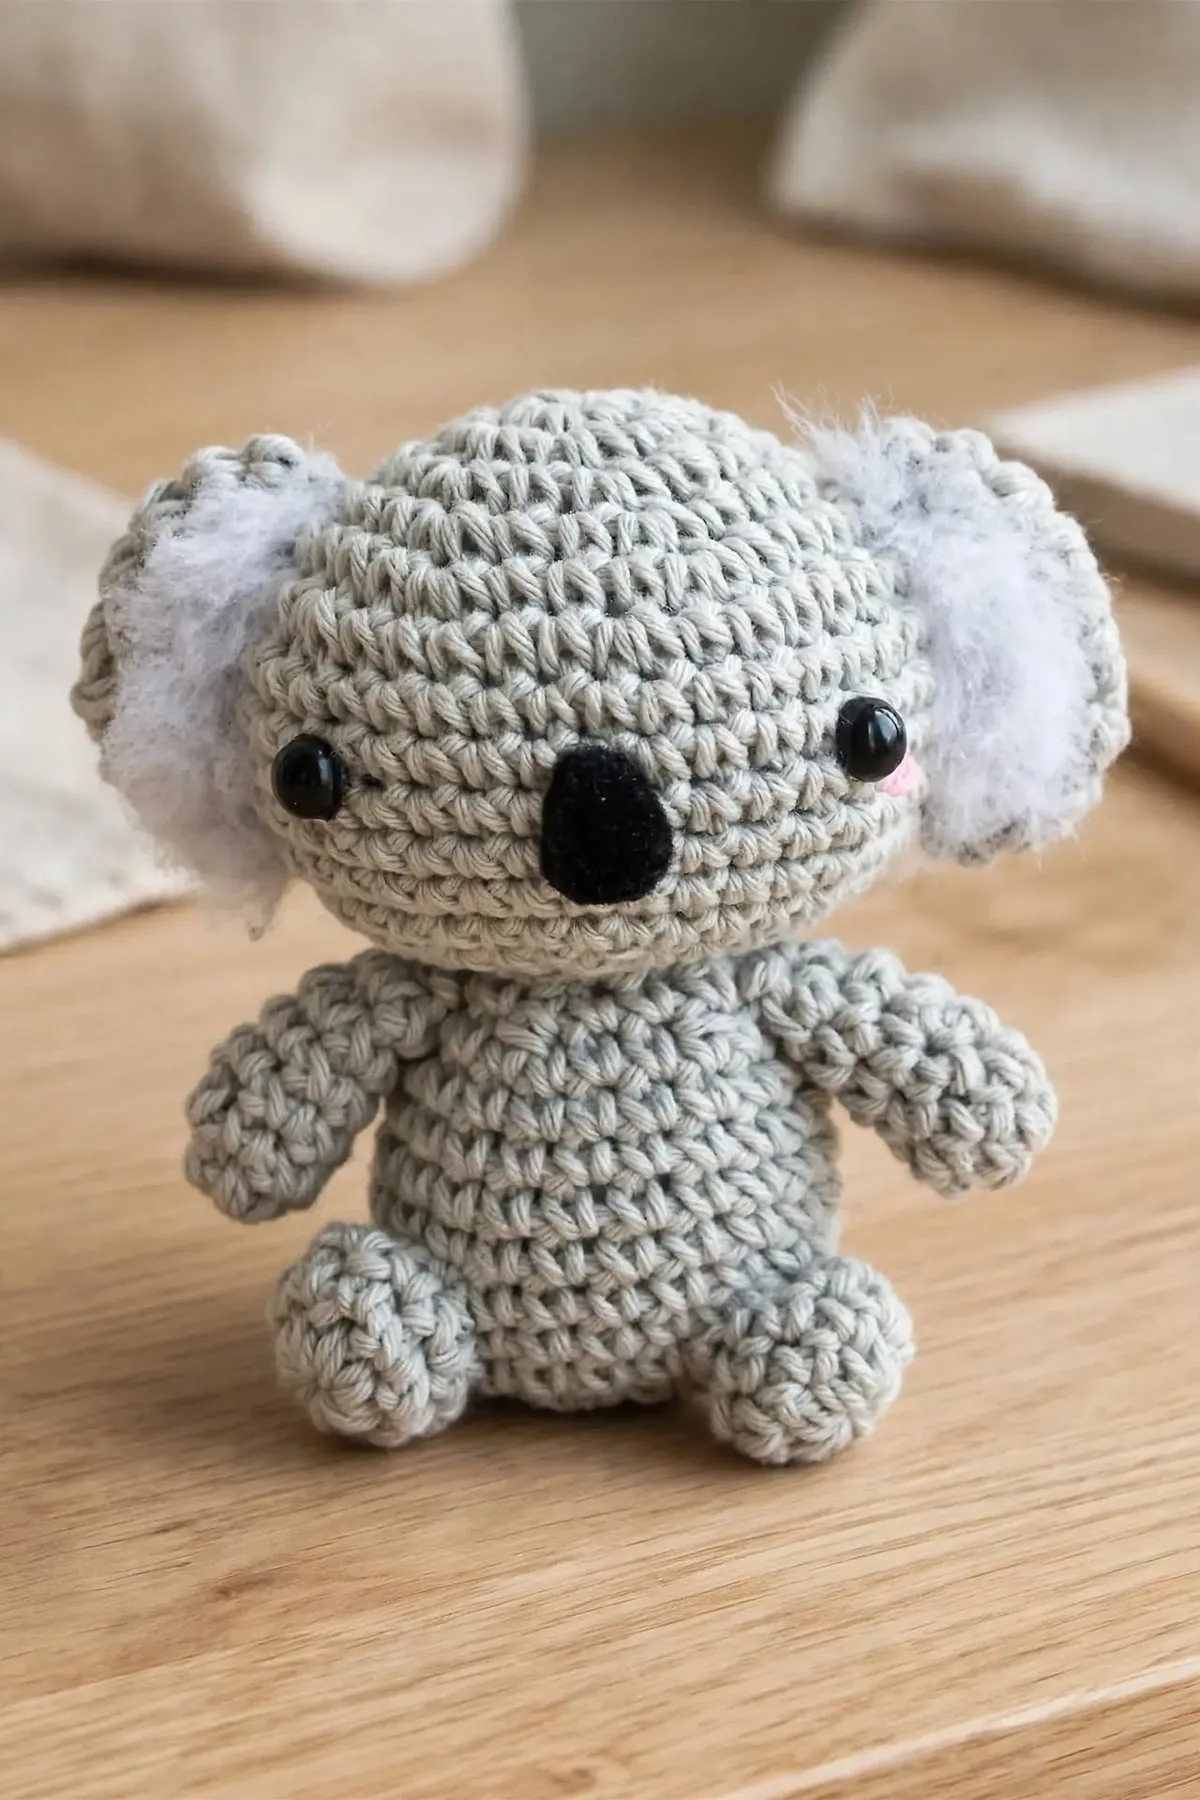
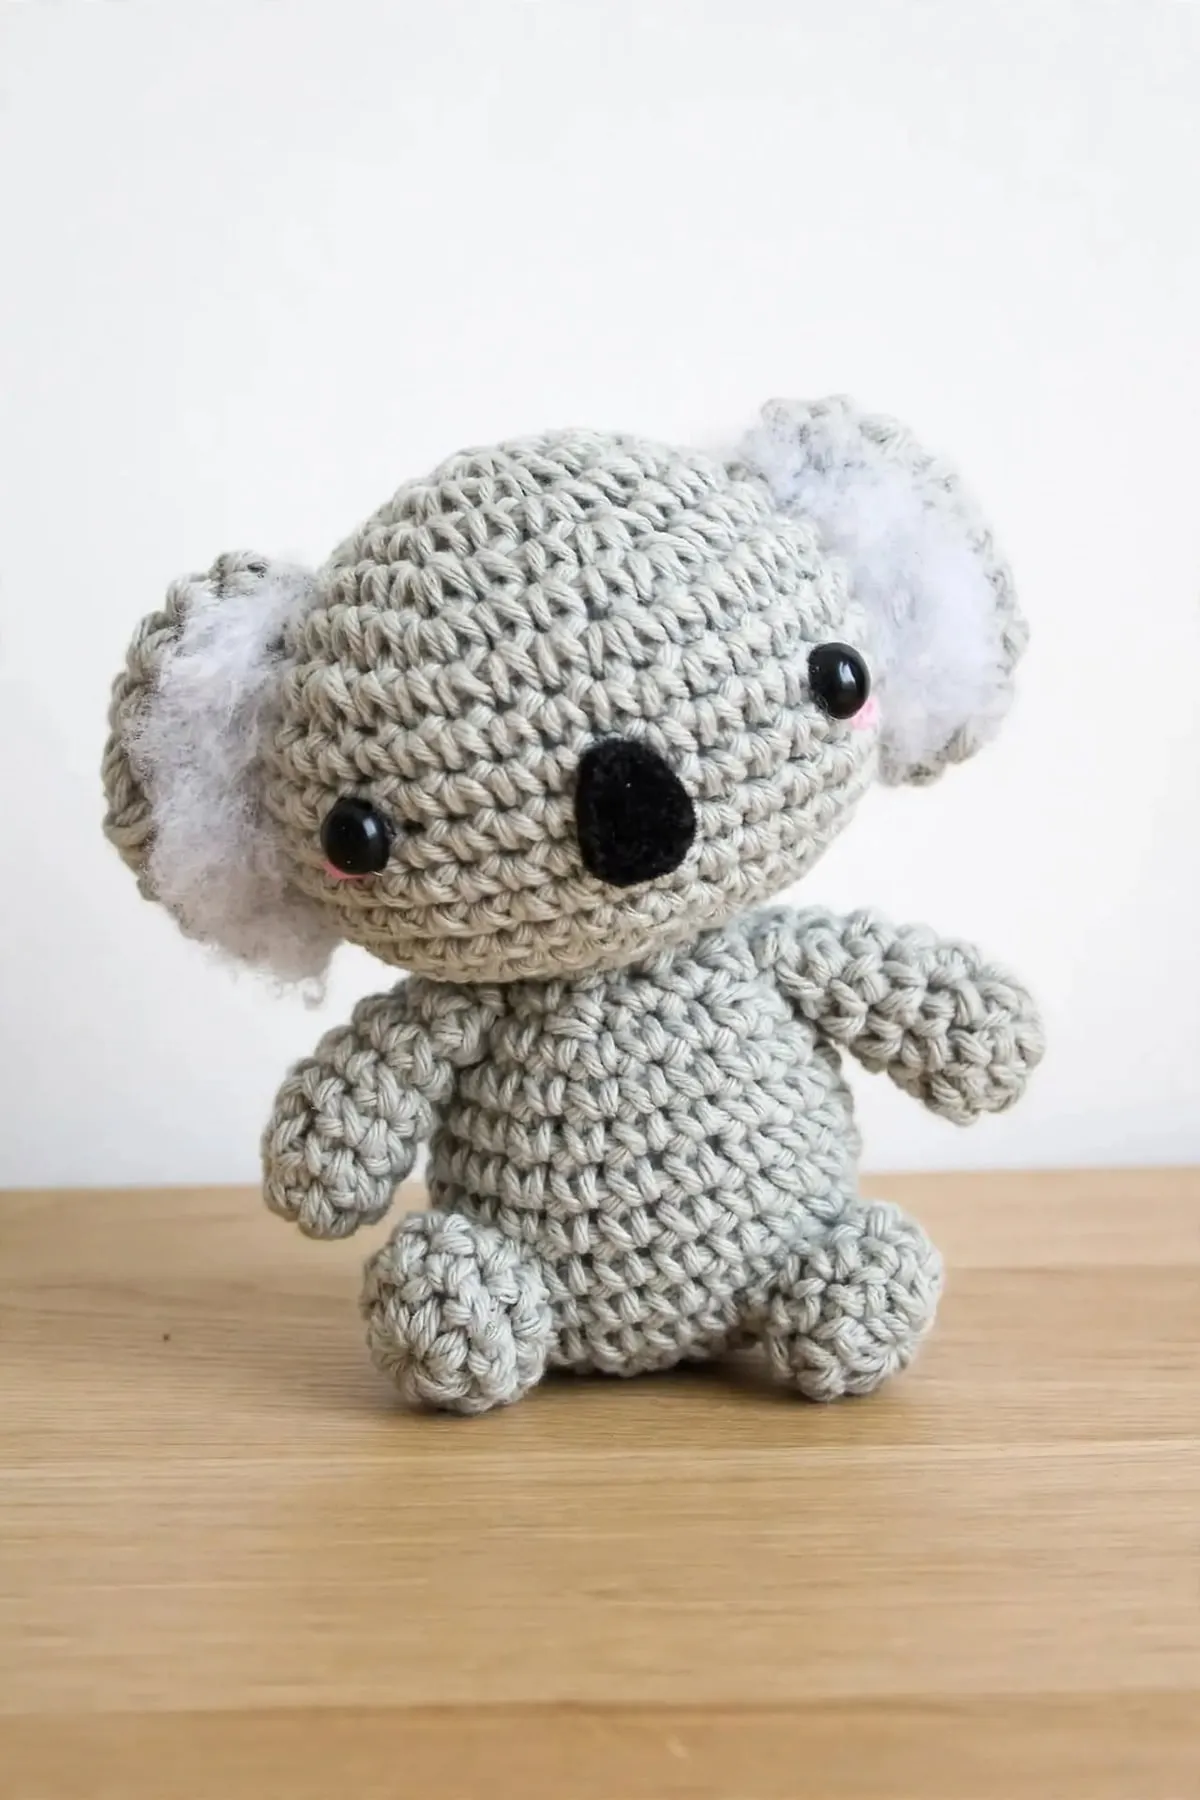
This mini koala is small enough to sit in the palm of your hand, with soft fluffy ears, a big felt nose and rosy cheeks. It's all single crochet, and the fluffy ears are a fun little trick with a pet brush.
 Save
Pattern Highlights
- It's all single crochet, worked in the round, so it's a great easy amigurumi.
- It's tiny, about 7 cm (2.8 in) tall, so it works up quickly.
- The fluffy ears are made by brushing out white acrylic yarn. It's easier than it looks.
- Every round is written out with a stitch count, so you can check as you go.
Materials
- Gray and pink cotton yarn
- White acrylic yarn, for the fluffy ears
- 2.5 mm crochet hook
- 2 safety eyes, 5 mm
- A small piece of black felt, for the nose
- Polyester fiberfill stuffing
- Craft glue, yarn needle, pins and scissors
- A pet slicker brush, for fluffing the ears
- Stitch marker
Abbreviations used
This pattern uses US crochet terms. Tap any abbreviation for a full explanation, or see the complete crochet abbreviations list.
About this koala
This little koala is made in six simple parts: a round head, a body, two arms, two legs and two ears. The face is just a pair of tiny safety eyes, a felt nose and two stitched pink cheeks. The fluffy white inner ears are added at the very end.
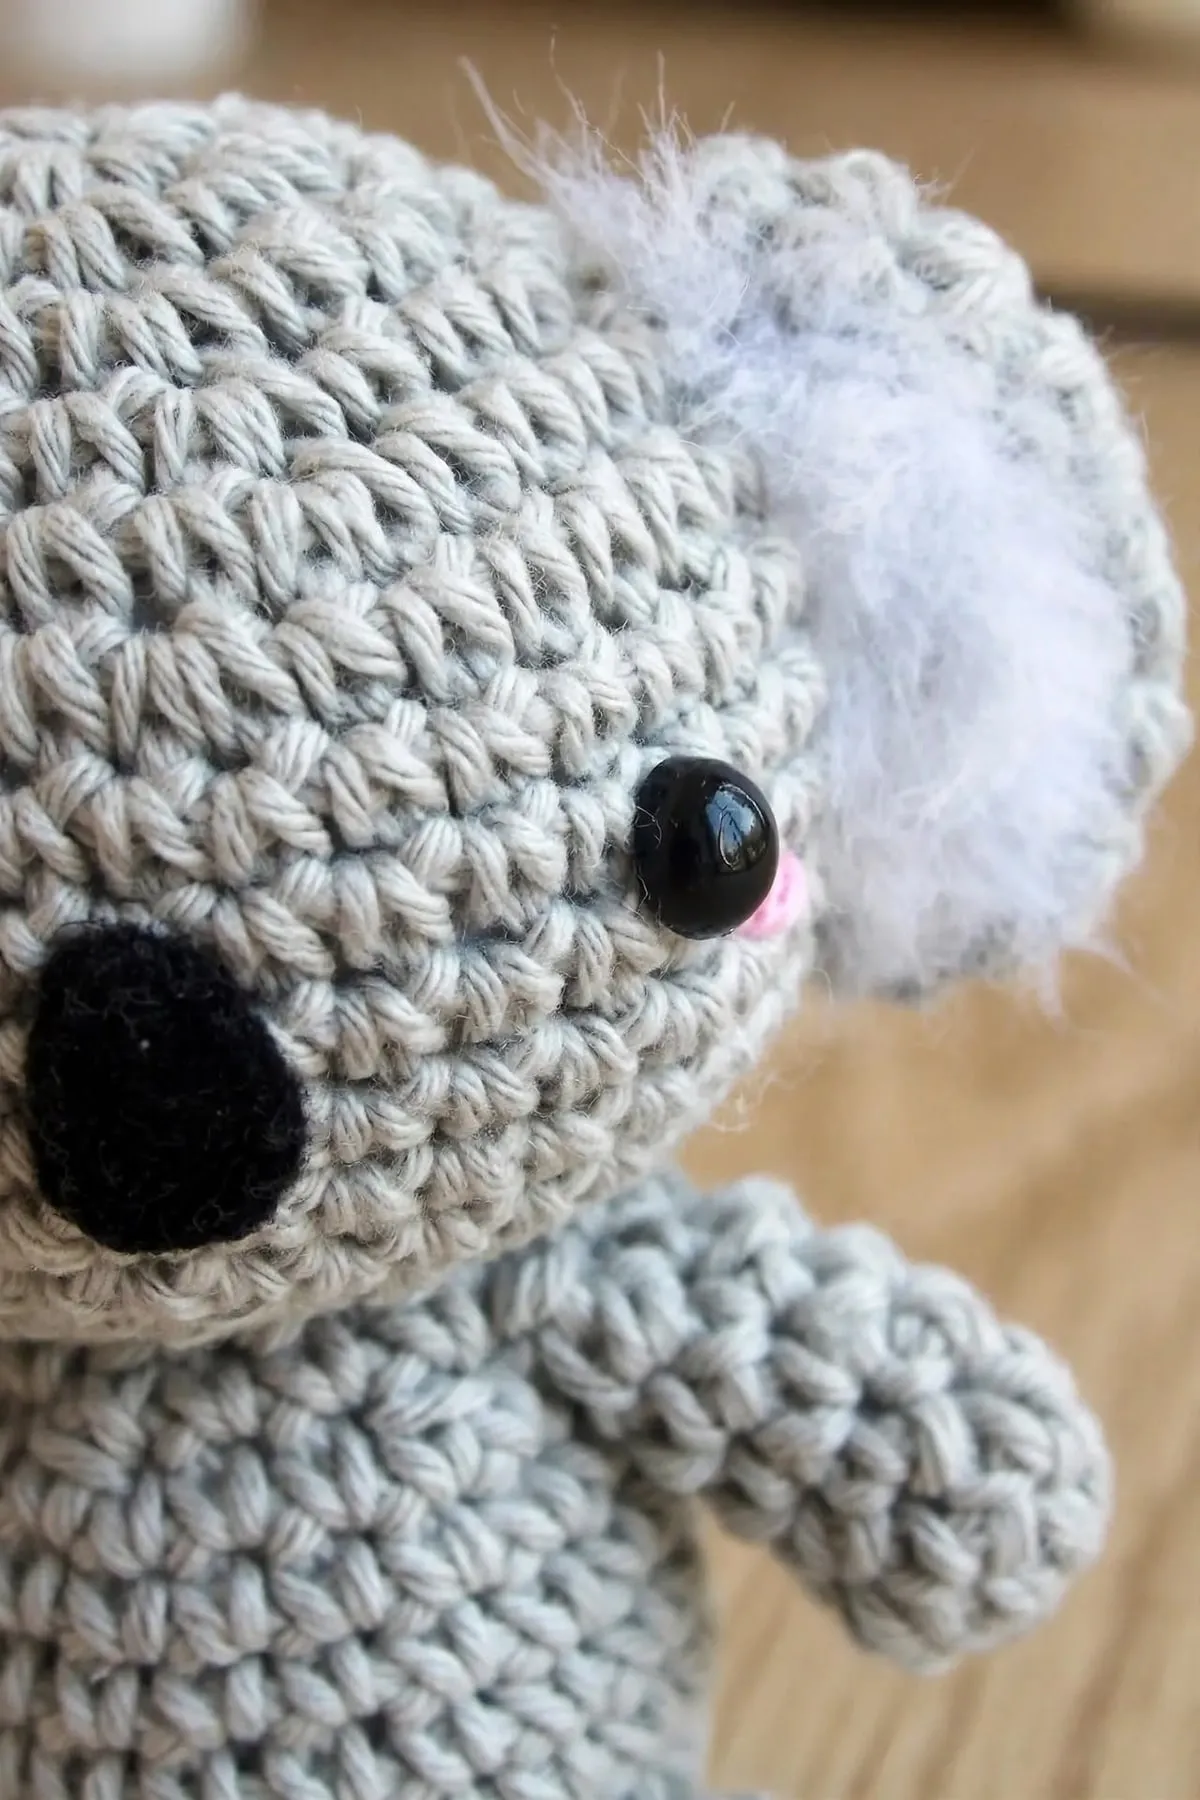
You’ll need gray and pink cotton yarn, a little white acrylic yarn for the ears, and a scrap of black felt.
Before you start
This one is rated easy. Every piece is single crochet worked in the round, with a few simple increases and decreases.
- It’s worked in a spiral. Don’t join your rounds. Put a stitch marker in the first stitch of each round so you don’t lose your place.
- Every piece starts with a magic ring. If you’re new to it, my magic ring tutorial walks you through it step by step.
- Add the eyes before you stuff. The eyes go in after round 11 of the head, while you can still reach inside to snap the backs on.
How to make the fluffy ears
This is the fun part. The fluff is white acrylic yarn, looped onto the front of each ear and then brushed out.
- Make small loops up the cupped front of the ear, tying each one with a little knot.
- Snip the loops open so the ends hang loose.
- Brush them gently with a pet slicker brush. The yarn separates into soft, cloud-like fluff.
- Trim it to a tidy shape.
Brush slowly and hold the ear as you go, so you don’t pull the loops back out. If it’s not fluffy enough, add a few more loops and brush again.
Tips for success
- Keep your stitches tight. At this tiny size, small, firm stitches keep the stuffing hidden.
- Stuff the head firmly. A firm, round head is what gives the koala its cute shape.
- Pin before you sew. Pin the head, arms, legs and ears in place, and look from the front before sewing anything.
- Try the nose before you glue. Cut the felt nose, hold it in place, and trim it until it looks right. A slightly big nose looks the most koala-like.
Skills you’ll use
- How to crochet a magic ring, to start every piece
- How to single crochet, used for every round
- How to read a crochet pattern, if the brackets and stitch counts look confusing
- How to weave in ends, including hiding ends inside stuffed pieces
Make one to tuck into a gift, or a few to sit together on a shelf. 🐨
The Pattern
- Skill level
- Easy
- Yarn
- Sport to DK weight (#2–#3) cotton, plus a little acrylic for the ears
- Yarn amount
- About 30 yd (27 m) gray, 3 yd (3 m) white acrylic, and a scrap of pink. Amounts are estimates.
- Hook
- 2.5 mm
- Gauge
- Not critical. Work tightly so the stuffing doesn't show.
- Finished size
- About 7 cm (2.8 in) tall
- Time
- Varies with experience
Head (gray)
- Rnd 1: 6 sc in MR. (6)
- Rnd 2: Inc 6 times. (12)
- Rnd 3: [Sc in next st, inc] 6 times. (18)
- Rnd 4: [Sc in next 2 sts, inc] 6 times. (24)
- Rnd 5: [Sc in next 3 sts, inc] 6 times. (30)
- Rnd 6: [Sc in next 5 sts, inc] 5 times. (35)
- Rnds 7–11: Sc in each st around. (35)
- Insert the 5 mm safety eyes between rnds 8 and 9, about 3.5 cm (1.4 in) apart.
- Rnd 12: [Sc in next 3 sts, dec] 7 times. (28)
- Rnd 13: [Sc in next 2 sts, dec] 7 times. (21)
- Rnd 14: [Sc in next st, dec] 7 times. (14)
- Fasten off, leaving a long tail for sewing. Stuff the head firmly. The opening stays open so you can sew it onto the body.
Body (gray)
- Rnd 1: 6 sc in MR. (6)
- Rnd 2: Inc 6 times. (12)
- Rnd 3: [Sc in next st, inc] 6 times. (18)
- Rnd 4: [Sc in next 5 sts, inc] 3 times. (21)
- Rnds 5–10: Sc in each st around. (21)
- Rnd 11: [Sc in next 2 sts, dec] 5 times, sc in next st. (16)
- Rnd 12: [Sc in next st, dec] 5 times, sc in next st. (11)
- Fasten off, leaving a tail. Stuff the body firmly.
Arms (make 2, gray)
- Rnd 1: 6 sc in MR. (6)
- Rnds 2–6: Sc in each st around. (6)
- Fasten off, leaving a tail for sewing. Stuff lightly.
Legs (make 2, gray)
- Rnd 1: 8 sc in MR. (8)
- Rnds 2–3: Sc in each st around. (8)
- Fasten off, leaving a tail for sewing. Stuff lightly.
Ears (make 2, gray)
- Rnd 1: 6 sc in MR. (6)
- Rnd 2: Inc 6 times. (12)
- Rnd 3: [Sc in next st, inc] 6 times. (18)
- Rnd 4: [Sc in next 2 sts, dec] 4 times, sc in next 2 sts. (14)
- Rnd 5: Sc in each st around. (14)
- Fasten off, leaving a tail for sewing. Don't stuff. Press the ear flat into a little cup shape.
Face
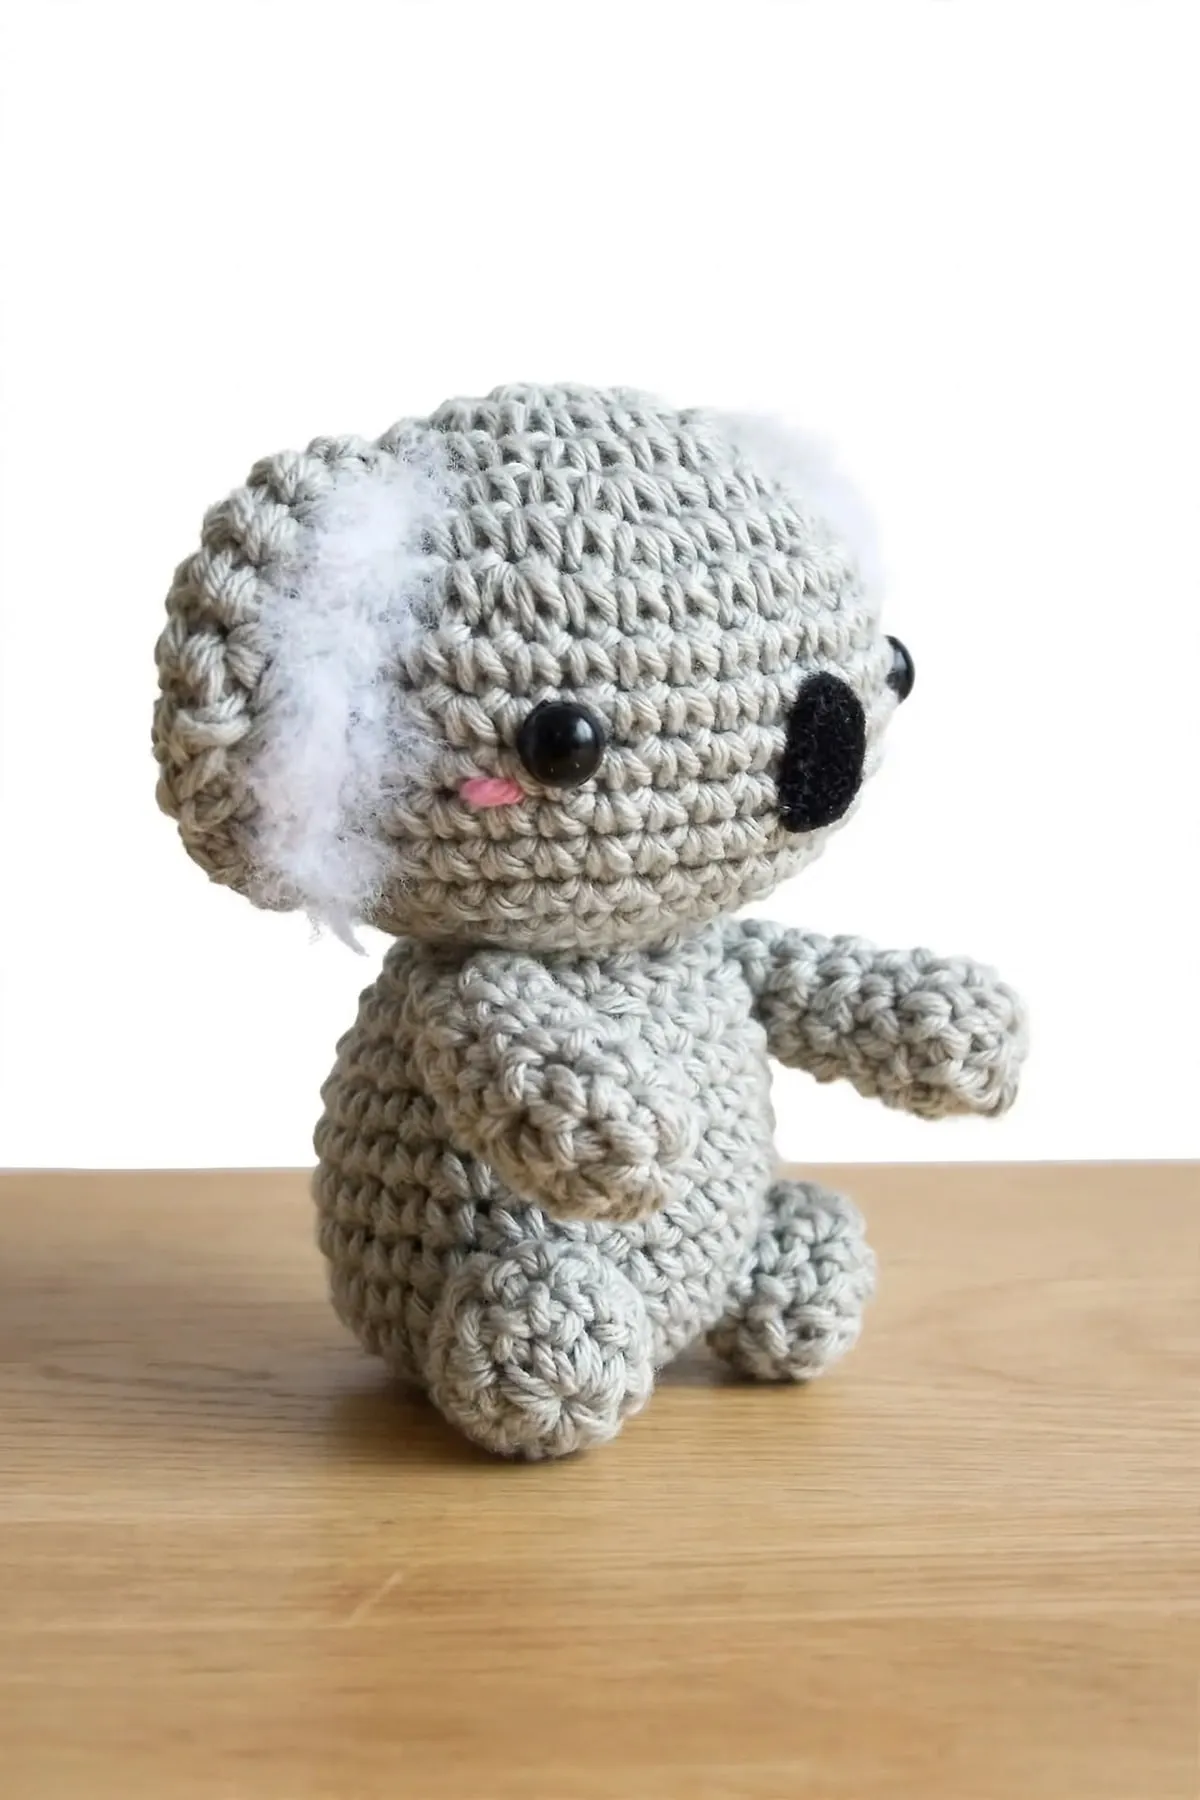
- With pink yarn, stitch a small line under each eye for the cheeks.
- Cut a nose from black felt: a rounded oval about 1.3 cm (1/2 in) tall, slightly narrower at the top. Glue it between the eyes.
Assembly
- Pin the head onto the body, then sew them together. Add a little extra stuffing in the neck before you close the seam, so the head doesn't wobble.
- Pin the arms to the sides of the body, just below the head, and sew.
- Pin the legs to the bottom front of the body and sew.
- Pin the ears to the sides of the head, with the cupped side facing forward, and sew.
Fluffy ears (white)
- Thread a yarn needle with white acrylic yarn.
- Start at the bottom of the ear, on the front (cupped) side, close to where it meets the head. Bring the needle up through a stitch, leave a loop about 1 cm (3/8 in) long, and tie a small knot to hold it.
- Move up about 2 stitches and make the next loop the same way. Keep going up the ear until you reach the top, about 6–7 loops per ear.
- Do the same on the other ear.
- Snip open all the loops so the ends are loose.
- Brush the white yarn gently with a pet slicker brush to separate the fibers into fluff.
- Trim the fluff to the length you like.
Pattern notes
- Work every piece in a continuous spiral. Don't join the rounds. A stitch marker in the first stitch of each round helps.
- For "dec," an invisible decrease through the front loops gives the neatest finish.
- Safety eyes and a glued felt nose aren't suitable for children under 3. For a baby-safe version, embroider the eyes and nose with black yarn.
Keep this pattern handy
Print it now, or get the free PDF to save on your phone or tablet.
Free Koala Amigurumi Crochet Pattern (Mini Koala with Fluffy Ears) · Pattern by mycrochetmakes · mycrochetmakes.com/koala-amigurumi-crochet-pattern/
Free for personal use. Please don't sell or redistribute this pattern.
Frequently asked questions
Why do the fluffy ears need acrylic yarn?
Acrylic yarn brushes out into soft, cloud-like fluff. Cotton doesn't fluff up the same way, which is why the body is cotton and the ear fluff is acrylic.
What kind of brush do I need?
A pet slicker brush, the kind with fine wire bristles used for dogs and cats. Brush gently and slowly so you don't pull the loops out.
Can I make a bigger koala?
Yes. Use a thicker yarn and a bigger hook, keeping the stitches tight. Medium weight (#4) yarn with a 3.5 mm hook makes a koala about 9–10 cm tall.
Is this koala safe for babies?
No. Safety eyes and a glued felt nose aren't safe for children under 3. For a baby-safe version, embroider the eyes and nose with black yarn.
How long does it take to make?
It depends on your speed, but it's a small project. Many crocheters can make one in an evening or two.