Free Elf Amigurumi Crochet Pattern (Little Christmas Elf)
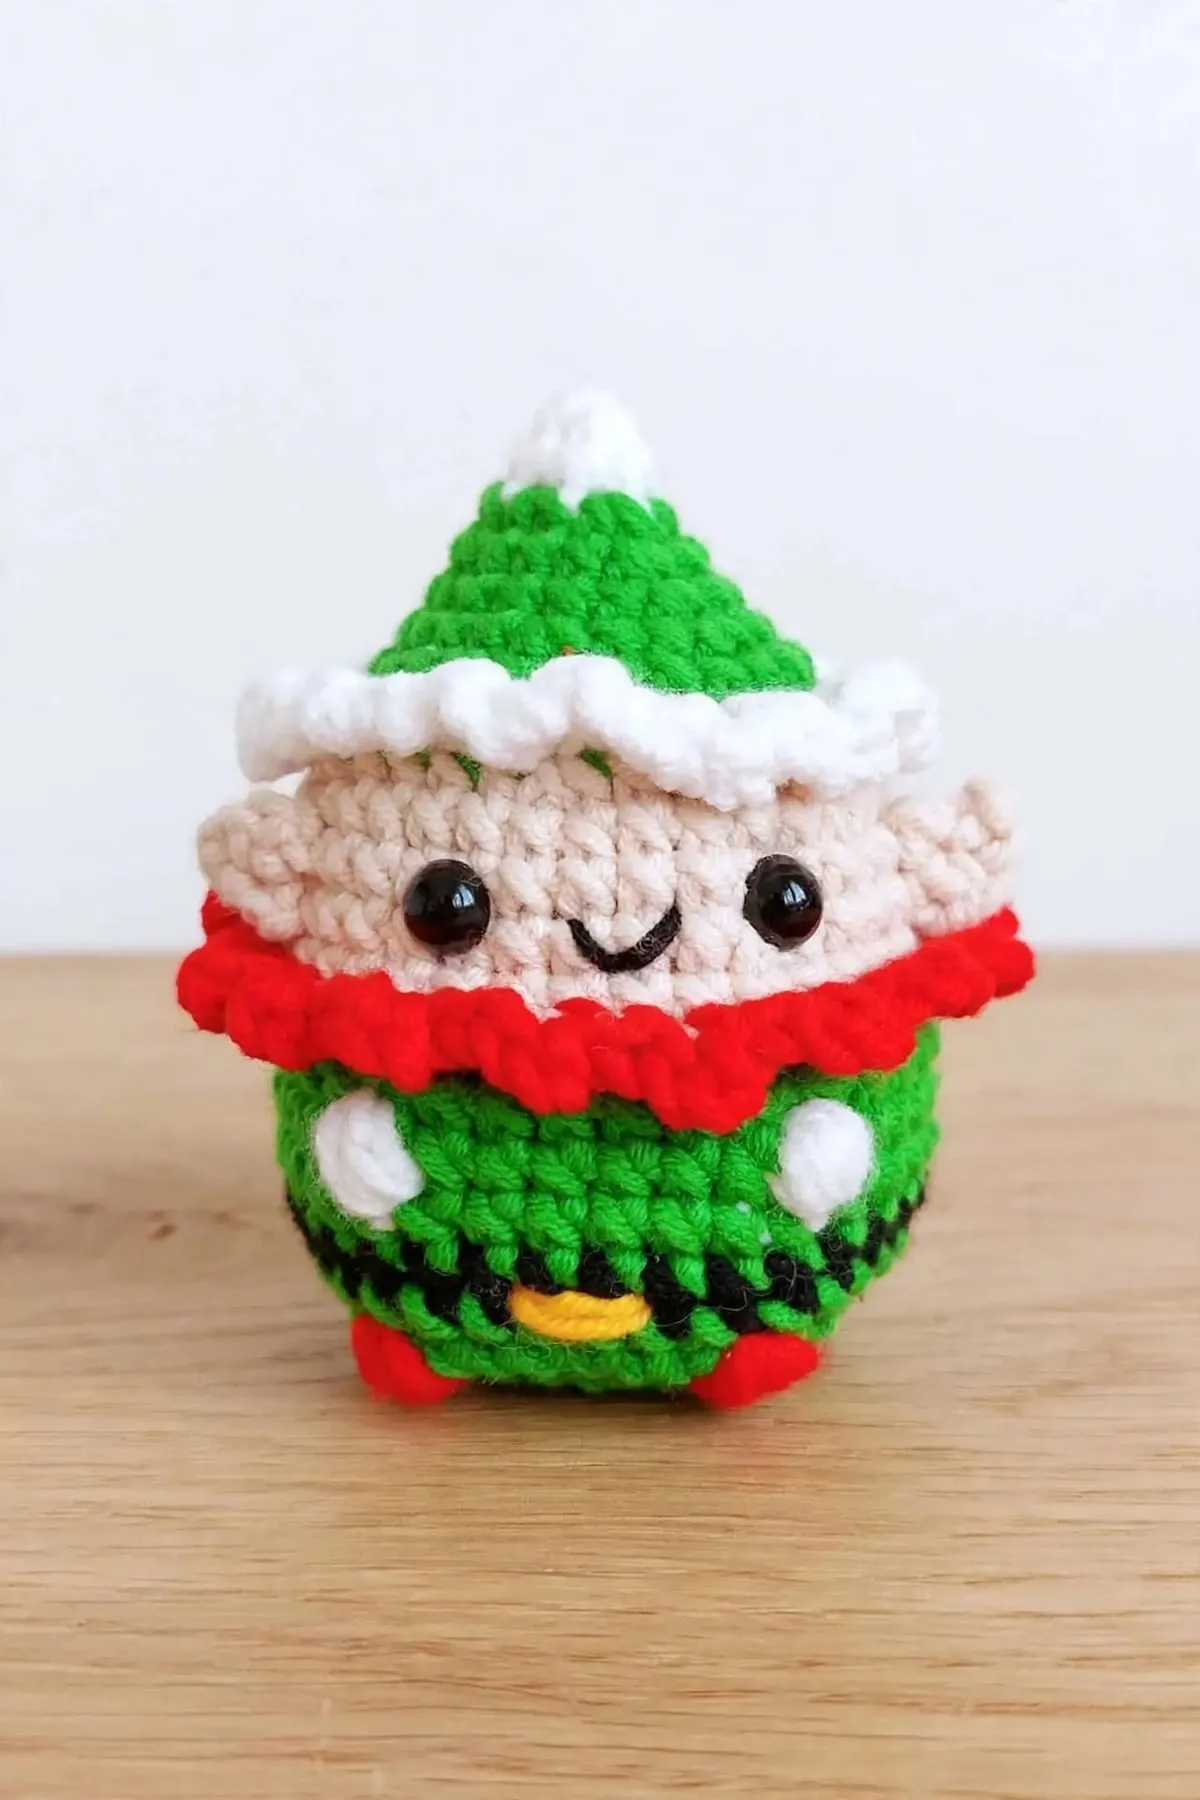
This chubby little Christmas elf is made in one piece, from the tip of the hat right down to the feet. The ruffled collar and hat trim are added at the end, and the mittens and feet are little puff stitches.
 Save
Pattern Highlights
- The hat, face and body are one piece, so there's very little sewing.
- The mittens and feet are puff stitches worked right into the body.
- The ruffled collar and hat trim go into loops you left on purpose, so they line up perfectly.
- Every round is written out with a stitch count, so you can check as you go.
Materials
- Light worsted (#3) yarn in green, snow white, beige, red, yellow and black
- 2.75 mm (C-2) crochet hook
- 1 pair of 7 mm safety eyes
- Black embroidery thread
- Polyester fiberfill stuffing
- Pins, yarn needle, stitch marker and scissors
Abbreviations used
This pattern uses US crochet terms. Tap any abbreviation for a full explanation, or see the complete crochet abbreviations list.
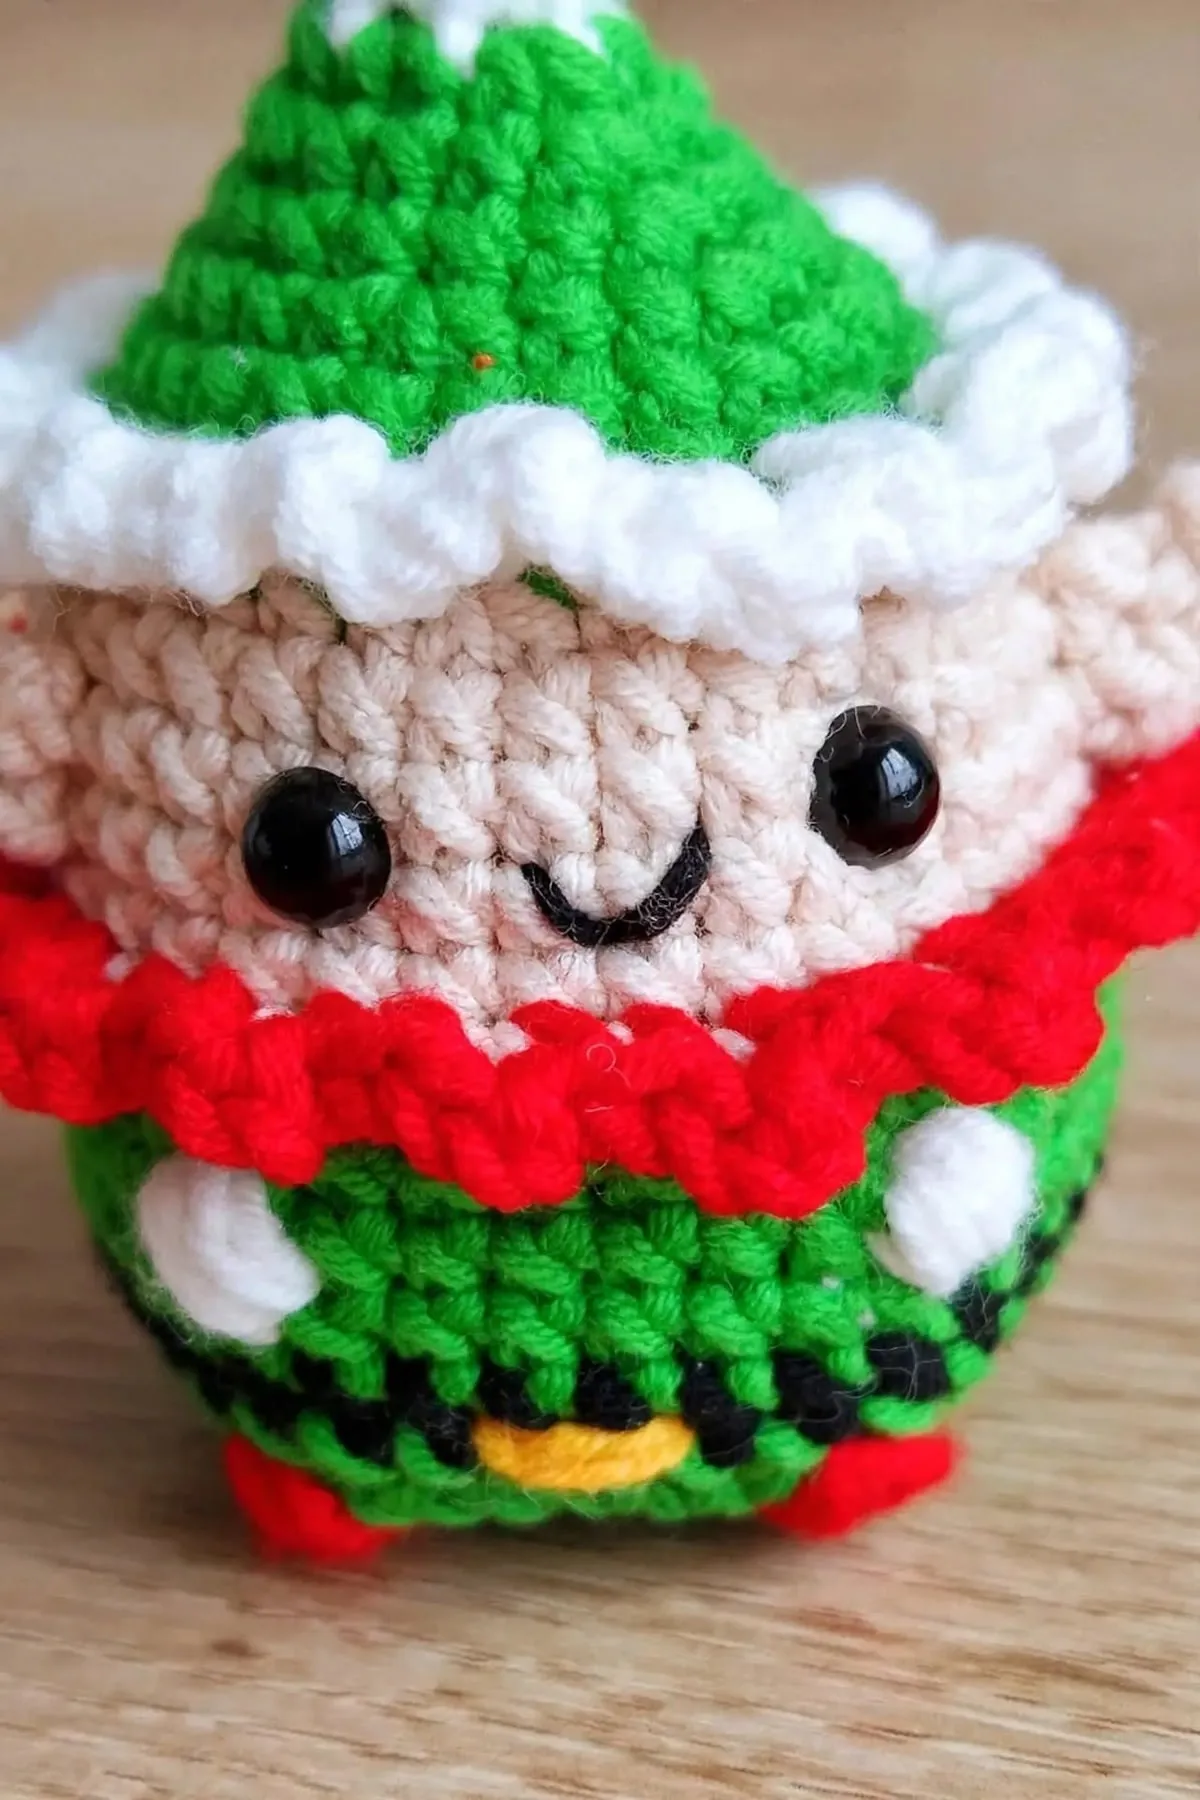
About this elf
This little elf is one round piece from top to bottom: a white pompom tip, a green hat, a beige face, and a green body with a black belt. The white hat trim and the red collar are crocheted on at the end, and two tiny pointed ears are sewn to the sides of the face.
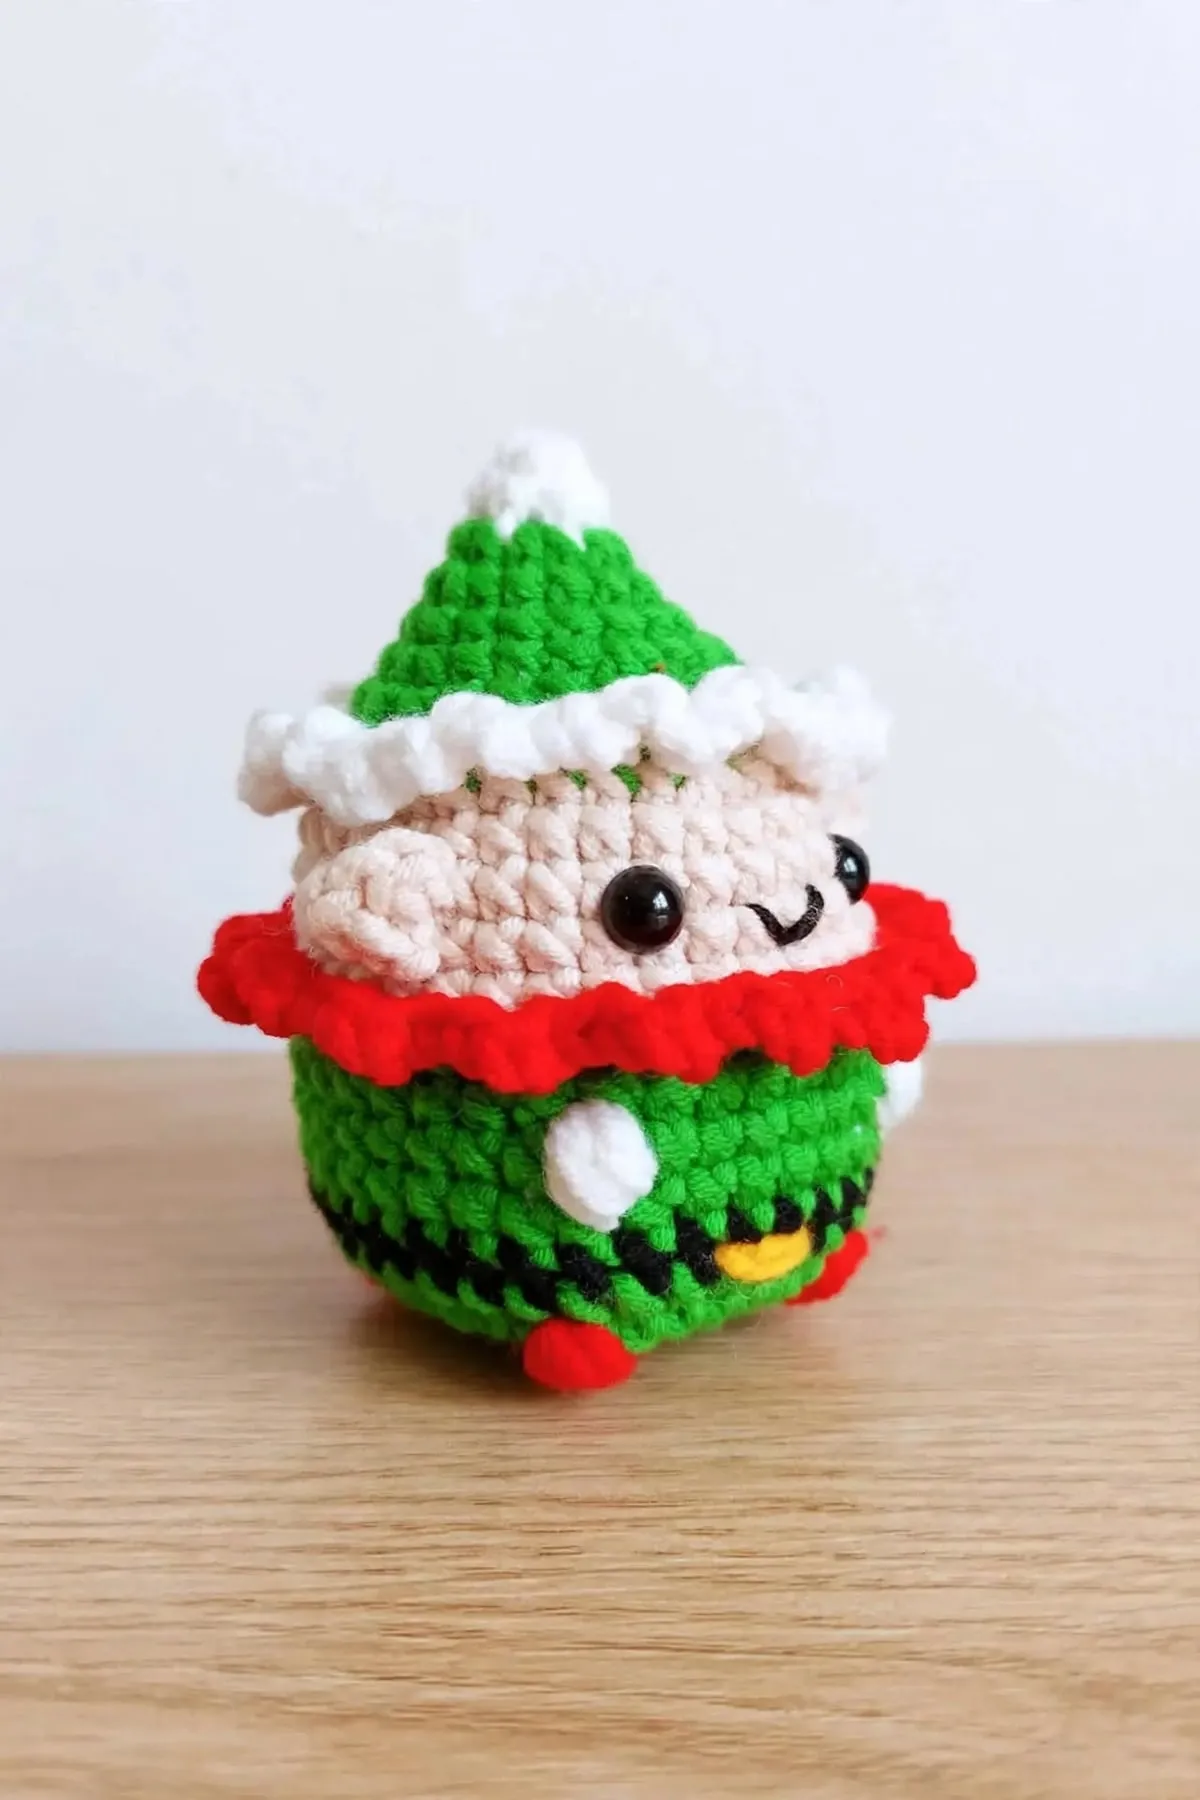
You’ll need green, snow white, beige, red, a little yellow and black yarn, plus black embroidery thread for the smile.
Before you start
This one is rated intermediate. The stitches are mostly single crochet, but there are quite a few color changes, two puff stitch rounds, and two trims worked into front loops.
- It’s worked in a spiral. Don’t join your rounds. A stitch marker in the first stitch of each round keeps your place.
- It starts with a magic ring. If you’re new to it, my magic ring tutorial walks you through it step by step.
- Add the face before you stuff. The eyes and smile go on after round 17, while the opening is still wide.
How the trims work
Rounds 9 and 14 are worked in back loops only. That leaves a row of unused front loops just above and just below the face, like little ledges.
At the end, you crochet the white hat trim into the ledge above the face (round 8) and the red ruffled collar into the ledge below it (round 13). Because they’re worked into the same round of stitches all the way around, they sit perfectly straight.
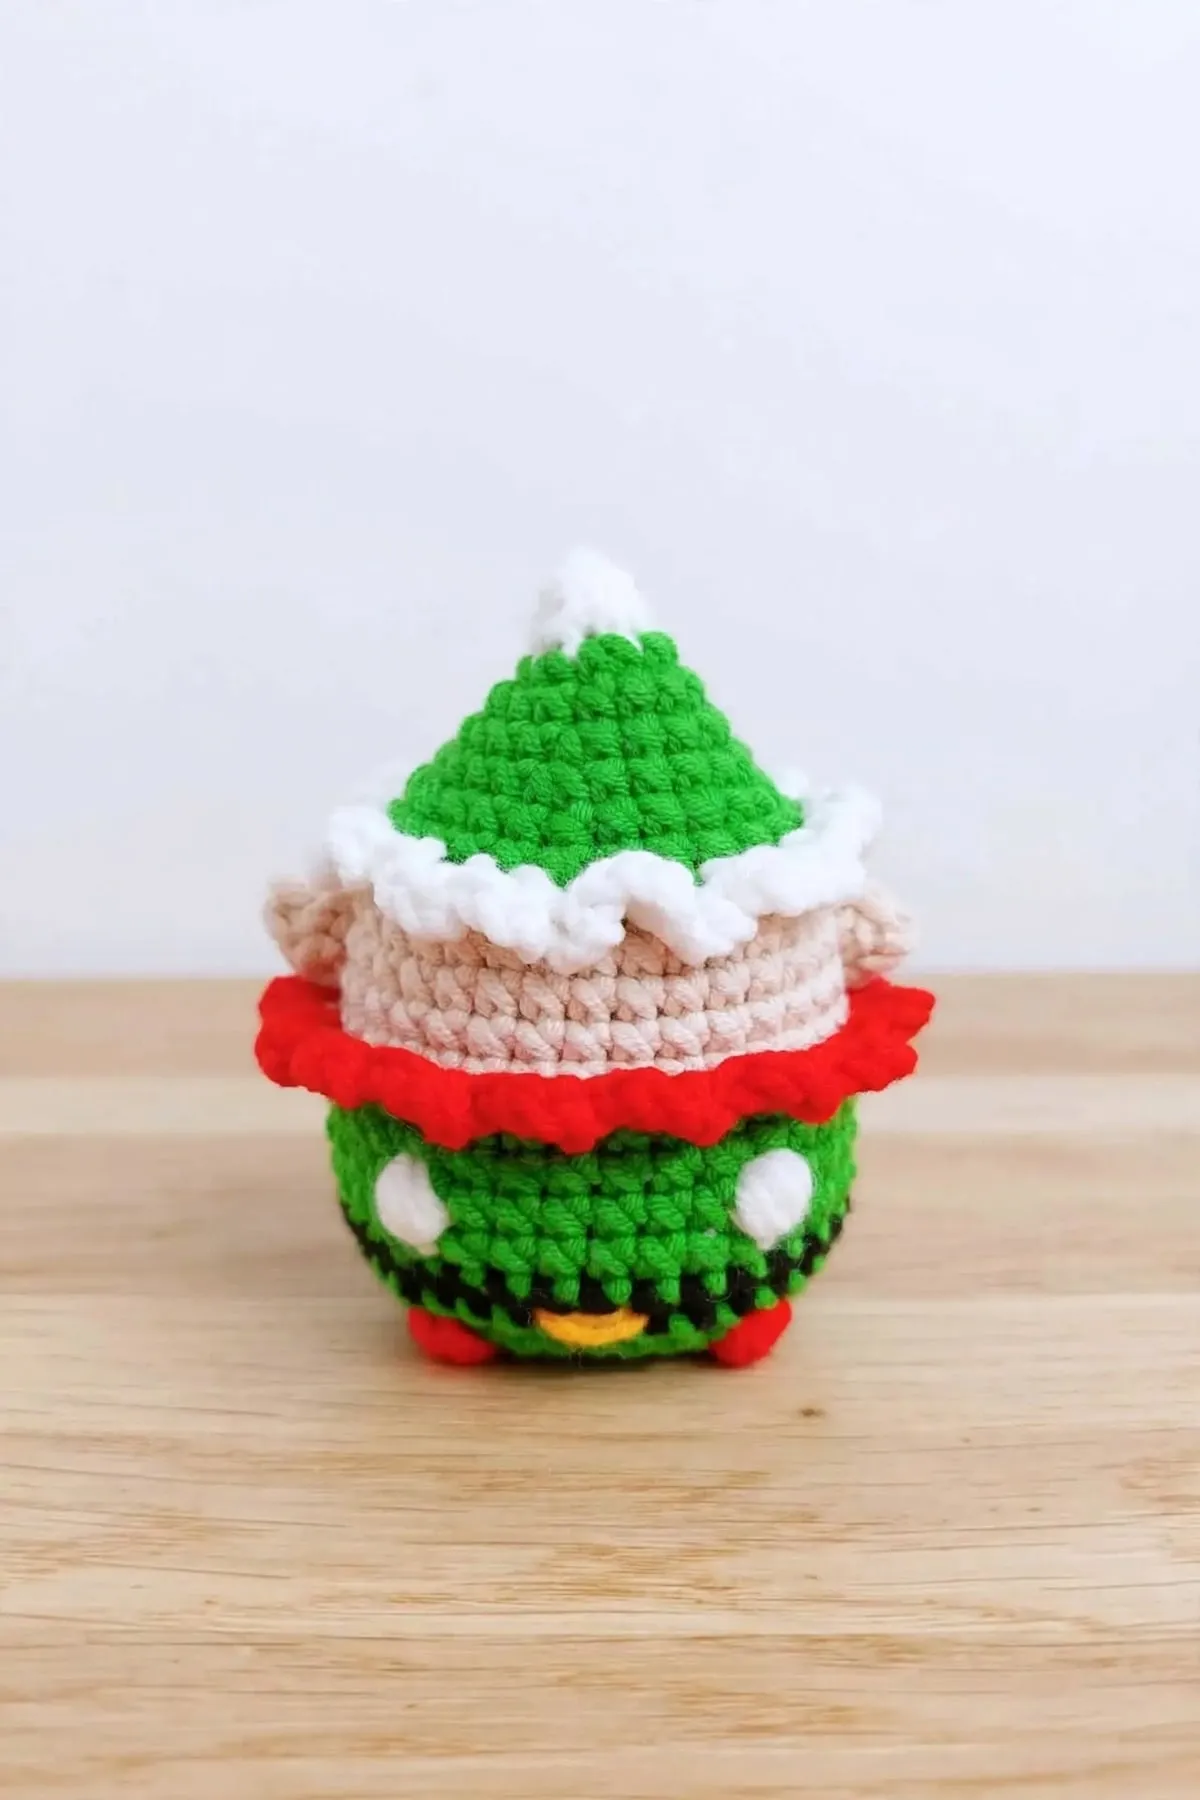
How to make the puff stitch mittens and feet
The white mittens and red feet are puff stitches, worked right into the body as you go:
- Change to the puff color on the stitch before.
- Insert your hook in the next stitch, yarn over and pull up a loop. Do this 5 times in the same stitch.
- Change back to green, yarn over, and pull through all 6 loops at once.
Pull the puff gently to the front with your finger so it pops out nicely.
Tips for success
- Change colors cleanly. Pull the new color through the last 2 loops of the stitch before, so the color starts exactly where it should.
- Tie the puff tails inside. Knot the white and red tails together on the inside of the body, so the puffs don’t loosen.
- Stuff firmly. A well-stuffed body keeps the elf round and chubby.
- Check the trims. If the collar ruffles too much or too little, it’s easy to pull out and redo. It’s just one round.
Skills you’ll use
- How to crochet a magic ring, to start the body and ears
- How to single crochet, used for almost every round
- How to read a crochet pattern, if the brackets and stitch counts look confusing
- How to weave in ends, for all those color changes
Make one to sit on the mantel, or a whole little team of elves for Christmas. 🎄
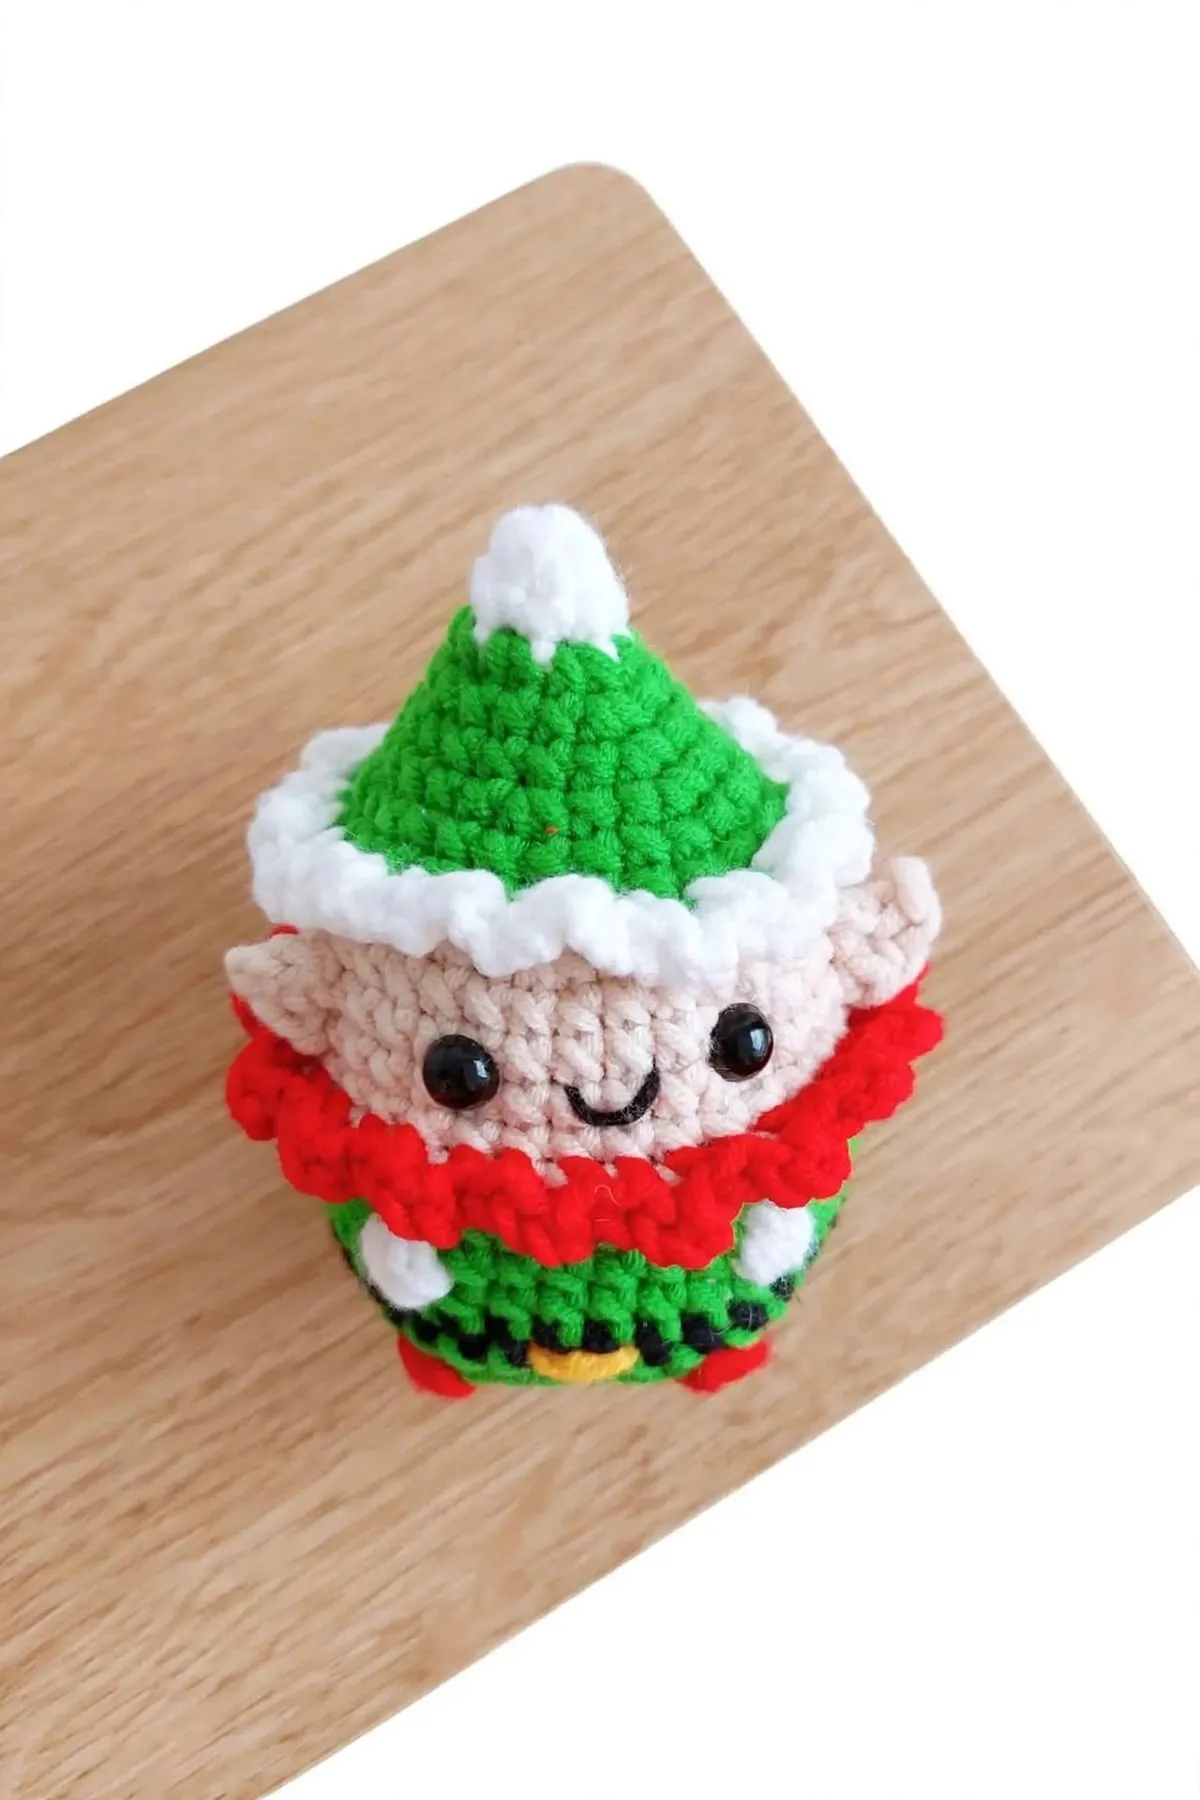
The Pattern
- Skill level
- Intermediate
- Yarn
- Light worsted / DK (#3) yarn
- Yarn amount
- Green 15 g, snow white 8 g, beige 8 g, red 5 g, and small amounts of yellow and black
- Hook
- 2.75 mm (US C-2)
- Gauge
- Not critical. Work tightly so the stuffing doesn't show.
- Finished size
- About 3.5 in (9 cm) tall (an estimate; it depends on your yarn and tension)
- Time
- Varies with experience
Body (one piece, from the hat down)
- The hat, face and body are all one piece, worked from the tip of the hat down. Change colors at the end of the round before, by pulling the new color through the last 2 loops of the last stitch.
- Start with snow (white).
- Rnd 1: 6 sc in MR. (6)
- Rnd 2: Sc in each st around. (6) Change to green.
- Rnd 3: With green, inc 6 times. (12)
- Rnd 4: [Sc in next 3 sts, inc] 3 times. (15)
- Rnd 5: [Sc in next 4 sts, inc] 3 times. (18)
- Rnd 6: [Sc in next 2 sts, inc] 6 times. (24)
- Rnd 7: Sc in each st around. (24)
- Rnd 8: [Sc in next 3 sts, inc] 6 times. (30) Change to beige.
- Rnd 9: With beige, working in back loops only, [sc in next 4 sts, inc] 6 times. (36)
- Rnds 10–13: Sc in each st around. (36) Change to green at the end of rnd 13.
- Rnd 14: With green, working in back loops only, sc in each st around. (36)
- Rnd 15: Sc in each st around. (36)
- Rnd 16: Mittens. Sc in next 14 sts, changing to snow on the last one. Puff in next st, finishing with green. Sc in next 6 sts, changing to snow on the last one. Puff in next st, finishing with green. Sc in next 14 sts. (36)
- Rnd 17: Sc in each st around. (36) Change to black.
- Insert the 7 mm safety eyes between rnds 11 and 12, 6 stitches apart, in line with the two mittens. With black embroidery thread, stitch a small smile between and just below the eyes.
- Rnd 18: Belt. With black, sc in each st around. (36) Change to green.
- Rnd 19: With green, sc in each st around. (36)
- Rnd 20: Feet. Sc in next 14 sts, changing to red on the last one. Puff in next st, finishing with green. Sc in next 6 sts, changing to red on the last one. Puff in next st, finishing with green. Sc in next 14 sts. (36)
- Rnd 21: [Sc in next st, dec] 12 times. (24)
- Rnd 22: [Sc in next 2 sts, dec] 6 times. (18)
- Start stuffing, and keep stuffing as you go.
- Rnd 23: [Sc in next st, dec] 6 times. (12)
- Rnd 24: Dec 6 times. (6)
- Fasten off, leaving a long tail. Thread it through the front loops of the last 6 sts, pull tight to close, and weave in the end.
Ears (make 2, beige)
- In a MR: sc, ch 3, sl st in the 3rd ch from the hook, sc. Pull the ring closed. This makes a little pointed ear.
- Fasten off, leaving a long tail for sewing. Sew each ear to the side of the face, about 4 stitches out from the eye.
Belt buckle (yellow)
- With yellow yarn, embroider a small buckle over the black belt (rnd 18), centered on the front below the smile.
Snow trim on the hat
- Hold the elf with the hat pointing up. Just above the face, you'll see the unused front loops of rnd 8.
- Join snow with a sl st in any of those front loops. [Ch 2, sc in next front loop] 29 times, ch 2, sl st in the joining st. (30 ch-2 loops)
- Fasten off and weave in the end.
Red collar
- Just below the face, you'll see the unused front loops of rnd 13.
- Join red with a sl st in any of those front loops. [Ch 3, sc in next 2 front loops] 17 times, ch 3, sc in next front loop, sl st in the joining st. (18 ch-3 points)
- Fasten off and weave in the end.
Pattern notes
- Puff stitch: [insert hook in the st, yo, pull up a loop] 5 times in the same st (6 loops on hook). With the next color, yo and pull through all 6 loops.
- Work in a continuous spiral. Don't join the rounds. A stitch marker in the first stitch of each round helps.
- Safety eyes aren't suitable for children under 3. For a baby-safe version, embroider the eyes with black yarn.
Keep this pattern handy
Print it now, or get the free PDF to save on your phone or tablet.
Free Elf Amigurumi Crochet Pattern (Little Christmas Elf) · Pattern by mycrochetmakes · mycrochetmakes.com/elf-amigurumi-crochet-pattern/
Free for personal use. Please don't sell or redistribute this pattern.
Frequently asked questions
What is a puff stitch?
It's a little bump made by pulling up several loops in the same stitch, then pulling through them all at once. Here it makes the round mittens and feet.
Why are some rounds worked in back loops only?
Rounds 9 and 14 are worked in back loops only. That leaves the front loops of rounds 8 and 13 free, so you can crochet the white hat trim and red collar into them at the end.
Do I cut the yarn at every color change?
For the white and red puff stitches, cut the yarn and tie the tails together inside. For the main colors, you can cut the old color each time, since the color changes stay in one place.
Is this elf safe for babies?
No. Safety eyes aren't suitable for children under 3. For a baby-safe version, embroider the eyes with black yarn.
How big is the finished elf?
With light worsted yarn and a 2.75 mm hook, it's a small, chubby elf about 3.5 in (9 cm) tall. Your size may vary a little with your yarn and tension.