Free Crochet Christmas Tree Pattern (Mini Amigurumi Tree Ornament)
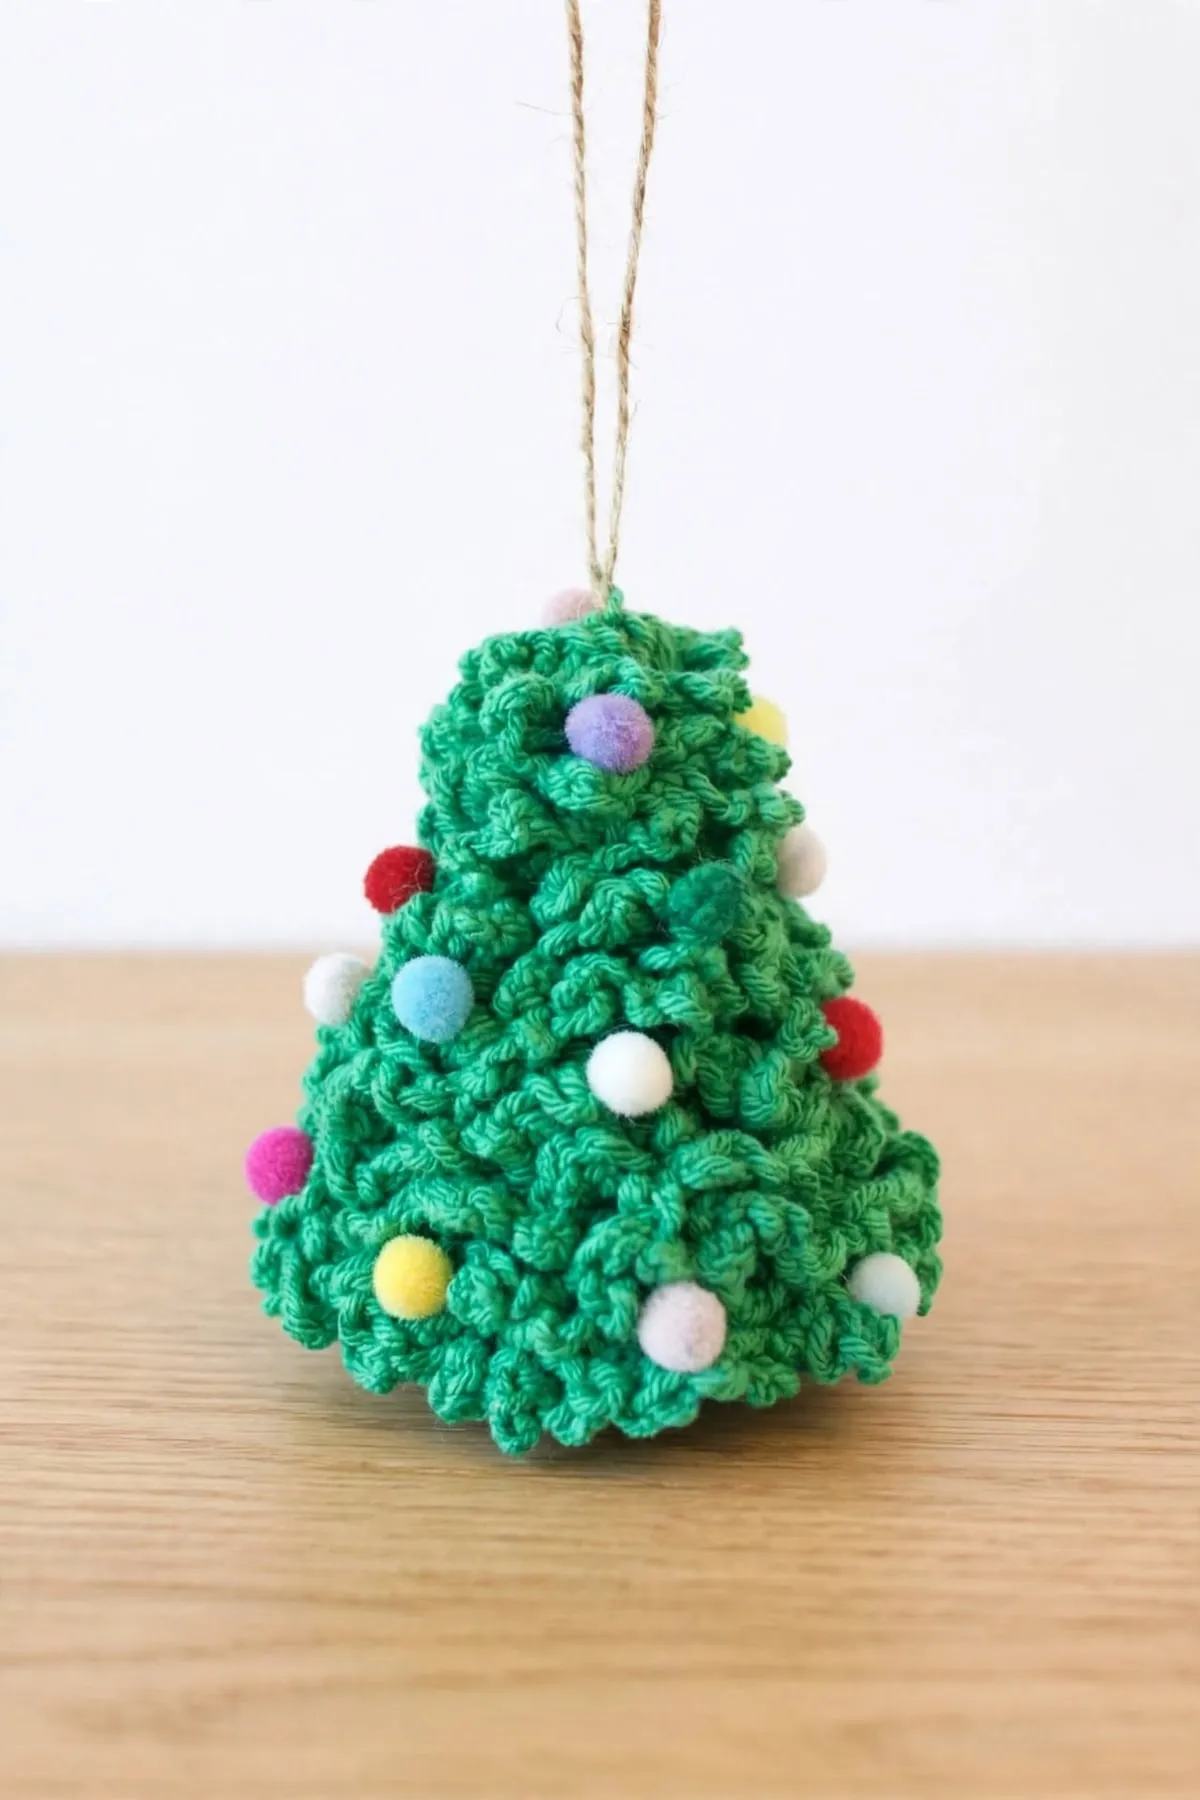
This mini Christmas tree is covered in soft, loopy branches and dotted with tiny pom poms. It's one color, worked as a little cone, and the branches go into loops you leave on purpose as you go. Add a hanging loop and it's ready for the tree.
 Save
Pattern Highlights
- It's one color, so there are no color changes to worry about.
- The loopy branches give it a fluffy, textured look that's fun to make.
- It's small, about 4 in (10 cm) tall, so it's quick to finish.
- Every round is written out with a stitch count, so you can check as you go.
Materials
- Green cotton yarn (the sample uses Hobium La Mia Cottony)
- 3.25 mm (D-3) crochet hook
- Yarn needle
- Optional, for decorating and hanging, mini pom poms or mini jingle bells, craft glue, and twine or gold thread
- Stitch marker
Abbreviations used
This pattern uses US crochet terms. Tap any abbreviation for a full explanation, or see the complete crochet abbreviations list.
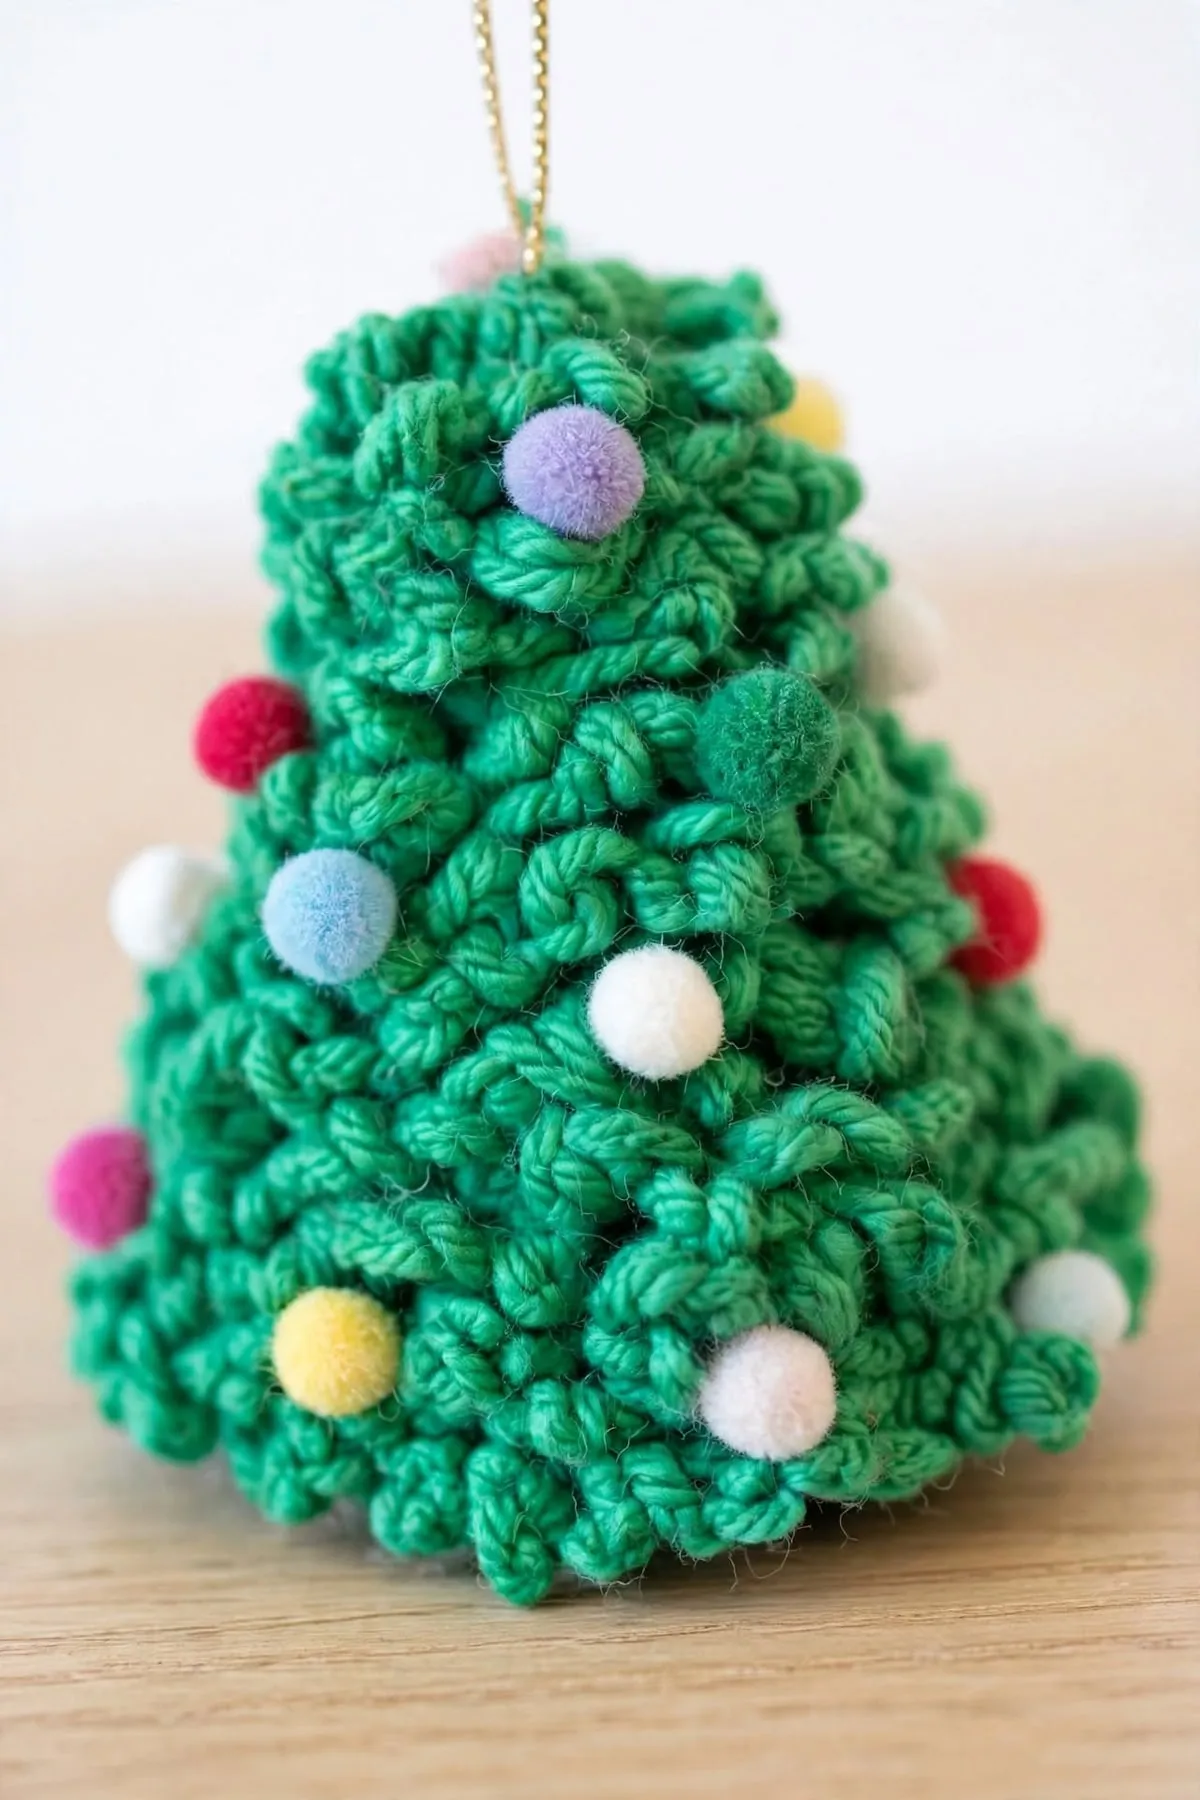
About this tree
This little tree is one piece. First you crochet a small cone from the top down, working every other round in back loops only. Then, without cutting the yarn, you work loopy chain branches into the free front loops, from the bottom of the tree up to the top. A few pom poms and a hanging loop finish it off.
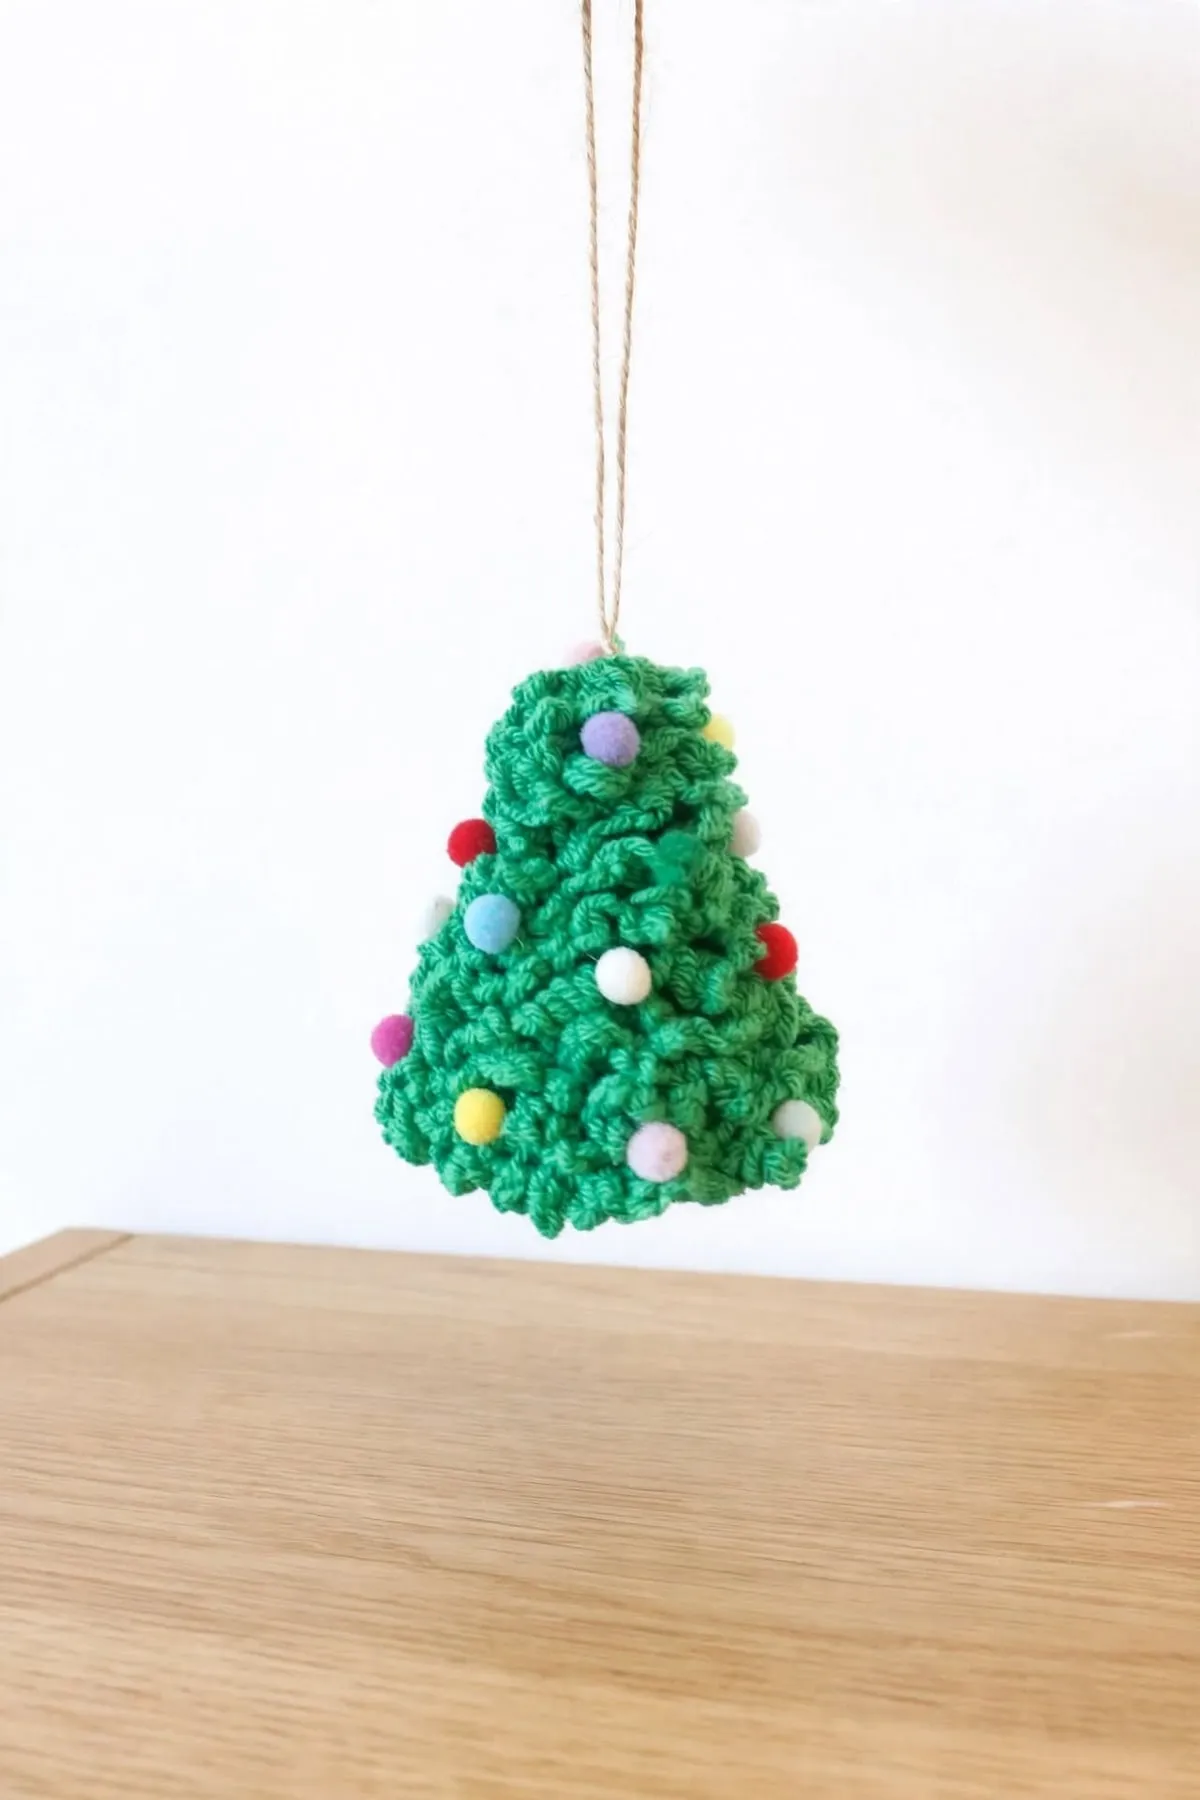
All you need is green cotton yarn, plus mini pom poms or bells and a bit of twine if you’d like to decorate and hang it.
Before you start
This one is rated intermediate. The stitches are simple, but you’ll need to keep track of back loop rounds, and find your way around the rings of front loops for the branches.
- It’s worked in a spiral. Don’t join your rounds. A stitch marker in the first stitch of each round keeps your place.
- It starts with a magic ring. If you’re new to it, my magic ring tutorial walks you through it step by step.
- Don’t cut the yarn after the cone. The branches start right where the last round ends.
How the branches work
Every other round of the cone is worked in back loops only. Each of those rounds leaves a ring of unused front loops just below it, so the cone ends up with little ledges of loops on rounds 2, 4, 6 and so on, down to round 22.
For the branches, you go back up the tree from the bottom, working a chain-5 loop into every one of those free front loops. When you finish a ring, step up 2 rounds to the next ring and keep going. By the time you reach the top, the whole tree is covered in soft loops.
Tips for success
- Count your back loop rounds. Odd rounds from 3 to 21, plus round 23, are worked in back loops. Rounds 2, 4, 6 … 20 and 22 are normal.
- Keep your chain-5 loops even. Even loops give the tree a neat, fluffy look all over.
- Turn the tree as you go. Holding it upside down can make the front loops easier to see.
- Decorate last. Glue the pom poms on once the branches are done, so they don’t get in your way.
Skills you’ll use
- How to crochet a magic ring, to start the cone
- How to single crochet, for every round
- How to make a slip knot and chain, for the loopy branches
- How to weave in ends, to finish neatly
Make a few in different greens and hang them together on the tree. 🎄
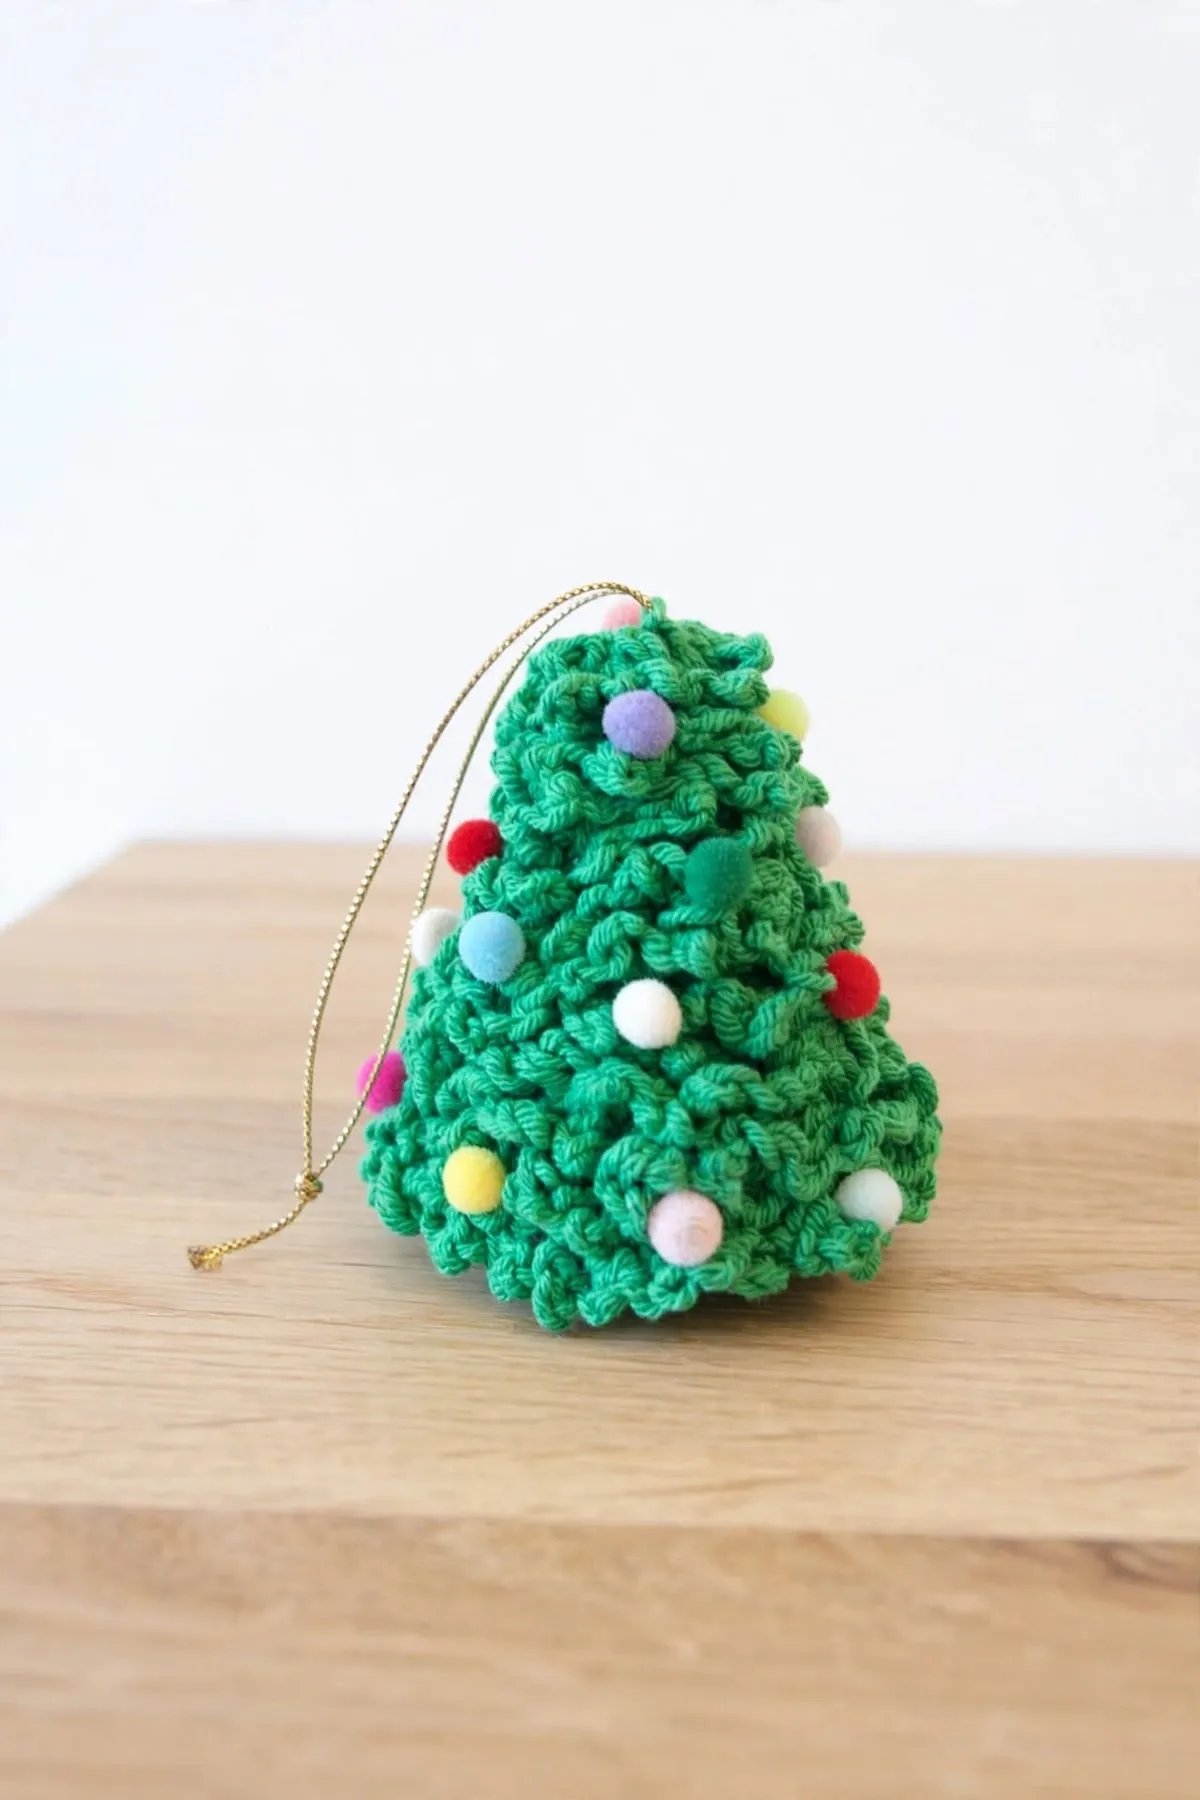
The Pattern
- Skill level
- Intermediate
- Yarn
- Light cotton yarn (sport to DK)
- Yarn amount
- About 60 yd (55 m) green. An estimate.
- Hook
- 3.25 mm (US D-3)
- Gauge
- Not critical. Work tightly so the cone keeps its shape.
- Finished size
- About 4 in (10 cm) tall
- Time
- Varies with experience
Tree (green)
- Worked from the top down in a continuous spiral. Every odd round from rnd 3 on (and rnd 23) is worked in back loops only. That leaves free front loops on rnds 2, 4, 6 … 20 and 22 for the branches later.
- Rnd 1: 6 sc in MR. (6)
- Rnd 2: Sc in each st around. (6)
- Rnd 3: Working in back loops only, [inc, sc in next st] 3 times. (9)
- Rnd 4: Sc in each st around. (9)
- Rnd 5: Working in back loops only, [inc, sc in next 2 sts] 3 times. (12)
- Rnd 6: Sc in each st around. (12)
- Rnd 7: Working in back loops only, [inc, sc in next 3 sts] 3 times. (15)
- Rnd 8: Sc in each st around. (15)
- Rnd 9: Working in back loops only, [inc, sc in next 4 sts] 3 times. (18)
- Rnd 10: Sc in each st around. (18)
- Rnd 11: Working in back loops only, [inc, sc in next 5 sts] 3 times. (21)
- Rnd 12: Sc in each st around. (21)
- Rnd 13: Working in back loops only, [inc, sc in next 6 sts] 3 times. (24)
- Rnd 14: Sc in each st around. (24)
- Rnd 15: Working in back loops only, [inc, sc in next 7 sts] 3 times. (27)
- Rnd 16: Sc in each st around. (27)
- Rnd 17: Working in back loops only, [inc, sc in next 8 sts] 3 times. (30)
- Rnd 18: Sc in each st around. (30)
- Rnd 19: Working in back loops only, [inc, sc in next 9 sts] 3 times. (33)
- Rnd 20: Sc in each st around. (33)
- Rnd 21: Working in back loops only, [inc, sc in next 10 sts] 3 times. (36)
- Rnd 22: [Inc, sc in next 11 sts] 3 times. (39)
- Rnd 23: Working in back loops only, sc in each st around. (39) Sl st in the next st. Don't fasten off.
Branches (green)
- Keep going with the same yarn. The free front loops sit in rings around the tree, on every other round, from rnd 22 at the bottom up to rnd 2 at the top.
- Ch 4. Sc in the first free front loop of rnd 22, just to the left of your chain.
- [Ch 5, sc in next free front loop] all the way around the ring.
- At the end of each ring, step up: ch 5 and sc in the first free front loop of the ring above (2 rounds higher). Keep going around that ring the same way.
- Work up the tree ring by ring until you reach the last free front loop at the top (rnd 2).
- Ch 4 and sl st in the center top of the tree. Fasten off and weave in all ends.
Hanging loop and decorating (optional)
- Thread a 10 in (25 cm) piece of twine or gold thread through the top of the tree, and knot the ends together to make a hanging loop.
- Glue on mini pom poms, or sew on mini jingle bells, here and there among the branches.
Pattern notes
- Work in a continuous spiral. Don't join the rounds. A stitch marker in the first stitch of each round helps.
- Mini pom poms and jingle bells can be a choking hazard for children under 3.
Keep this pattern handy
Print it now, or get the free PDF to save on your phone or tablet.
Free Crochet Christmas Tree Pattern (Mini Amigurumi Tree Ornament) · Pattern by mycrochetmakes · mycrochetmakes.com/christmas-tree-amigurumi-crochet-pattern/
Free for personal use. Please don't sell or redistribute this pattern.
Frequently asked questions
Do I need to stuff the tree?
No. It's a hollow cone, so it's light enough to hang from a branch. The loopy branches give it all its body.
Why are some rounds worked in back loops only?
Working every other round in back loops only leaves a ring of free front loops below it. Those are where the branches go, so the tree is covered in loops from top to bottom.
What yarn should I use?
A smooth cotton gives the neatest, crispest loops. The sample uses Hobium La Mia Cottony, but any light cotton that works with a 3.25 mm hook will do.
Is this tree safe for small children?
Mini pom poms and jingle bells can be a choking hazard for children under 3. Leave them off, or keep the tree out of reach of little ones.
Can I make it without the hanging loop?
Yes. The cone sits flat, so it also stands nicely on a shelf, mantel or table.